A beginner’s guide to building a simple website with Quarto & Netlify
Are you eager to build a website but don’t have any web development experience or coding knowledge? Fear not! In this guide, I’ll walk you through the process of creating a simple website using the Quarto visual editor and deploying it seamlessly with Netlify’s drag and drop tool.
Why Quarto & Netlify?
Why use Quarto & Netlify over other website building options like WordPress? While WordPress software is open-source and free, you have to pay for hosting to make your website available online. Additionally, you may need to purchase premium plugins or themes for additional functionality or style.
Instead, Quarto offers beautiful, free Bootstrap themes and plenty of simple website functionality like blog listings, searches, etc. When you get more comfortable with your website, you’ll have more control over the design and layout of your site without being overwhelmed by excessive options of WordPress themes or plugins. Quarto websites can be hosted online with Netlify’s completely free plan.
Check out some example Quarto websites at qmdclub.com (this site is one of the examples 😄).
1 Install your tools
First things first, let’s get your tools set up: RStudio & Quarto. RStudio is the desktop application that we’ll work in, while Quarto is what will build the website. We’ll use the Quarto visual editor to write and format the content for our website pages. While there’s no installation required for Netlify, you will need to create a free account.
Download and install R and RStudio Desktop from Posit. Note that R and RStudio are different things. R is a programming language often used for statistics, data analyses, and data visualizations. RStudio is the integrated development environment (IDE), or desktop application, that has nice point-and-click features. Although we won’t directly use R, we still need to download it so we can use RStudio.
Quarto will automatically be installed with RStudio. The version of Quarto installed with RStudio may not be the latest version, so you can optionally install Quarto separately. Quarto is an open-source publishing system, developed by the same company (Posit) that develops RStudio so they integrate very nicely.
RStudio and Quarto are powerful tools that can create a lot more than just websites. However, in this tutorial, I assume you’ve never used either before. I’ll introduce only the components necessary to get you started with a simple website.
2 Create a Quarto website
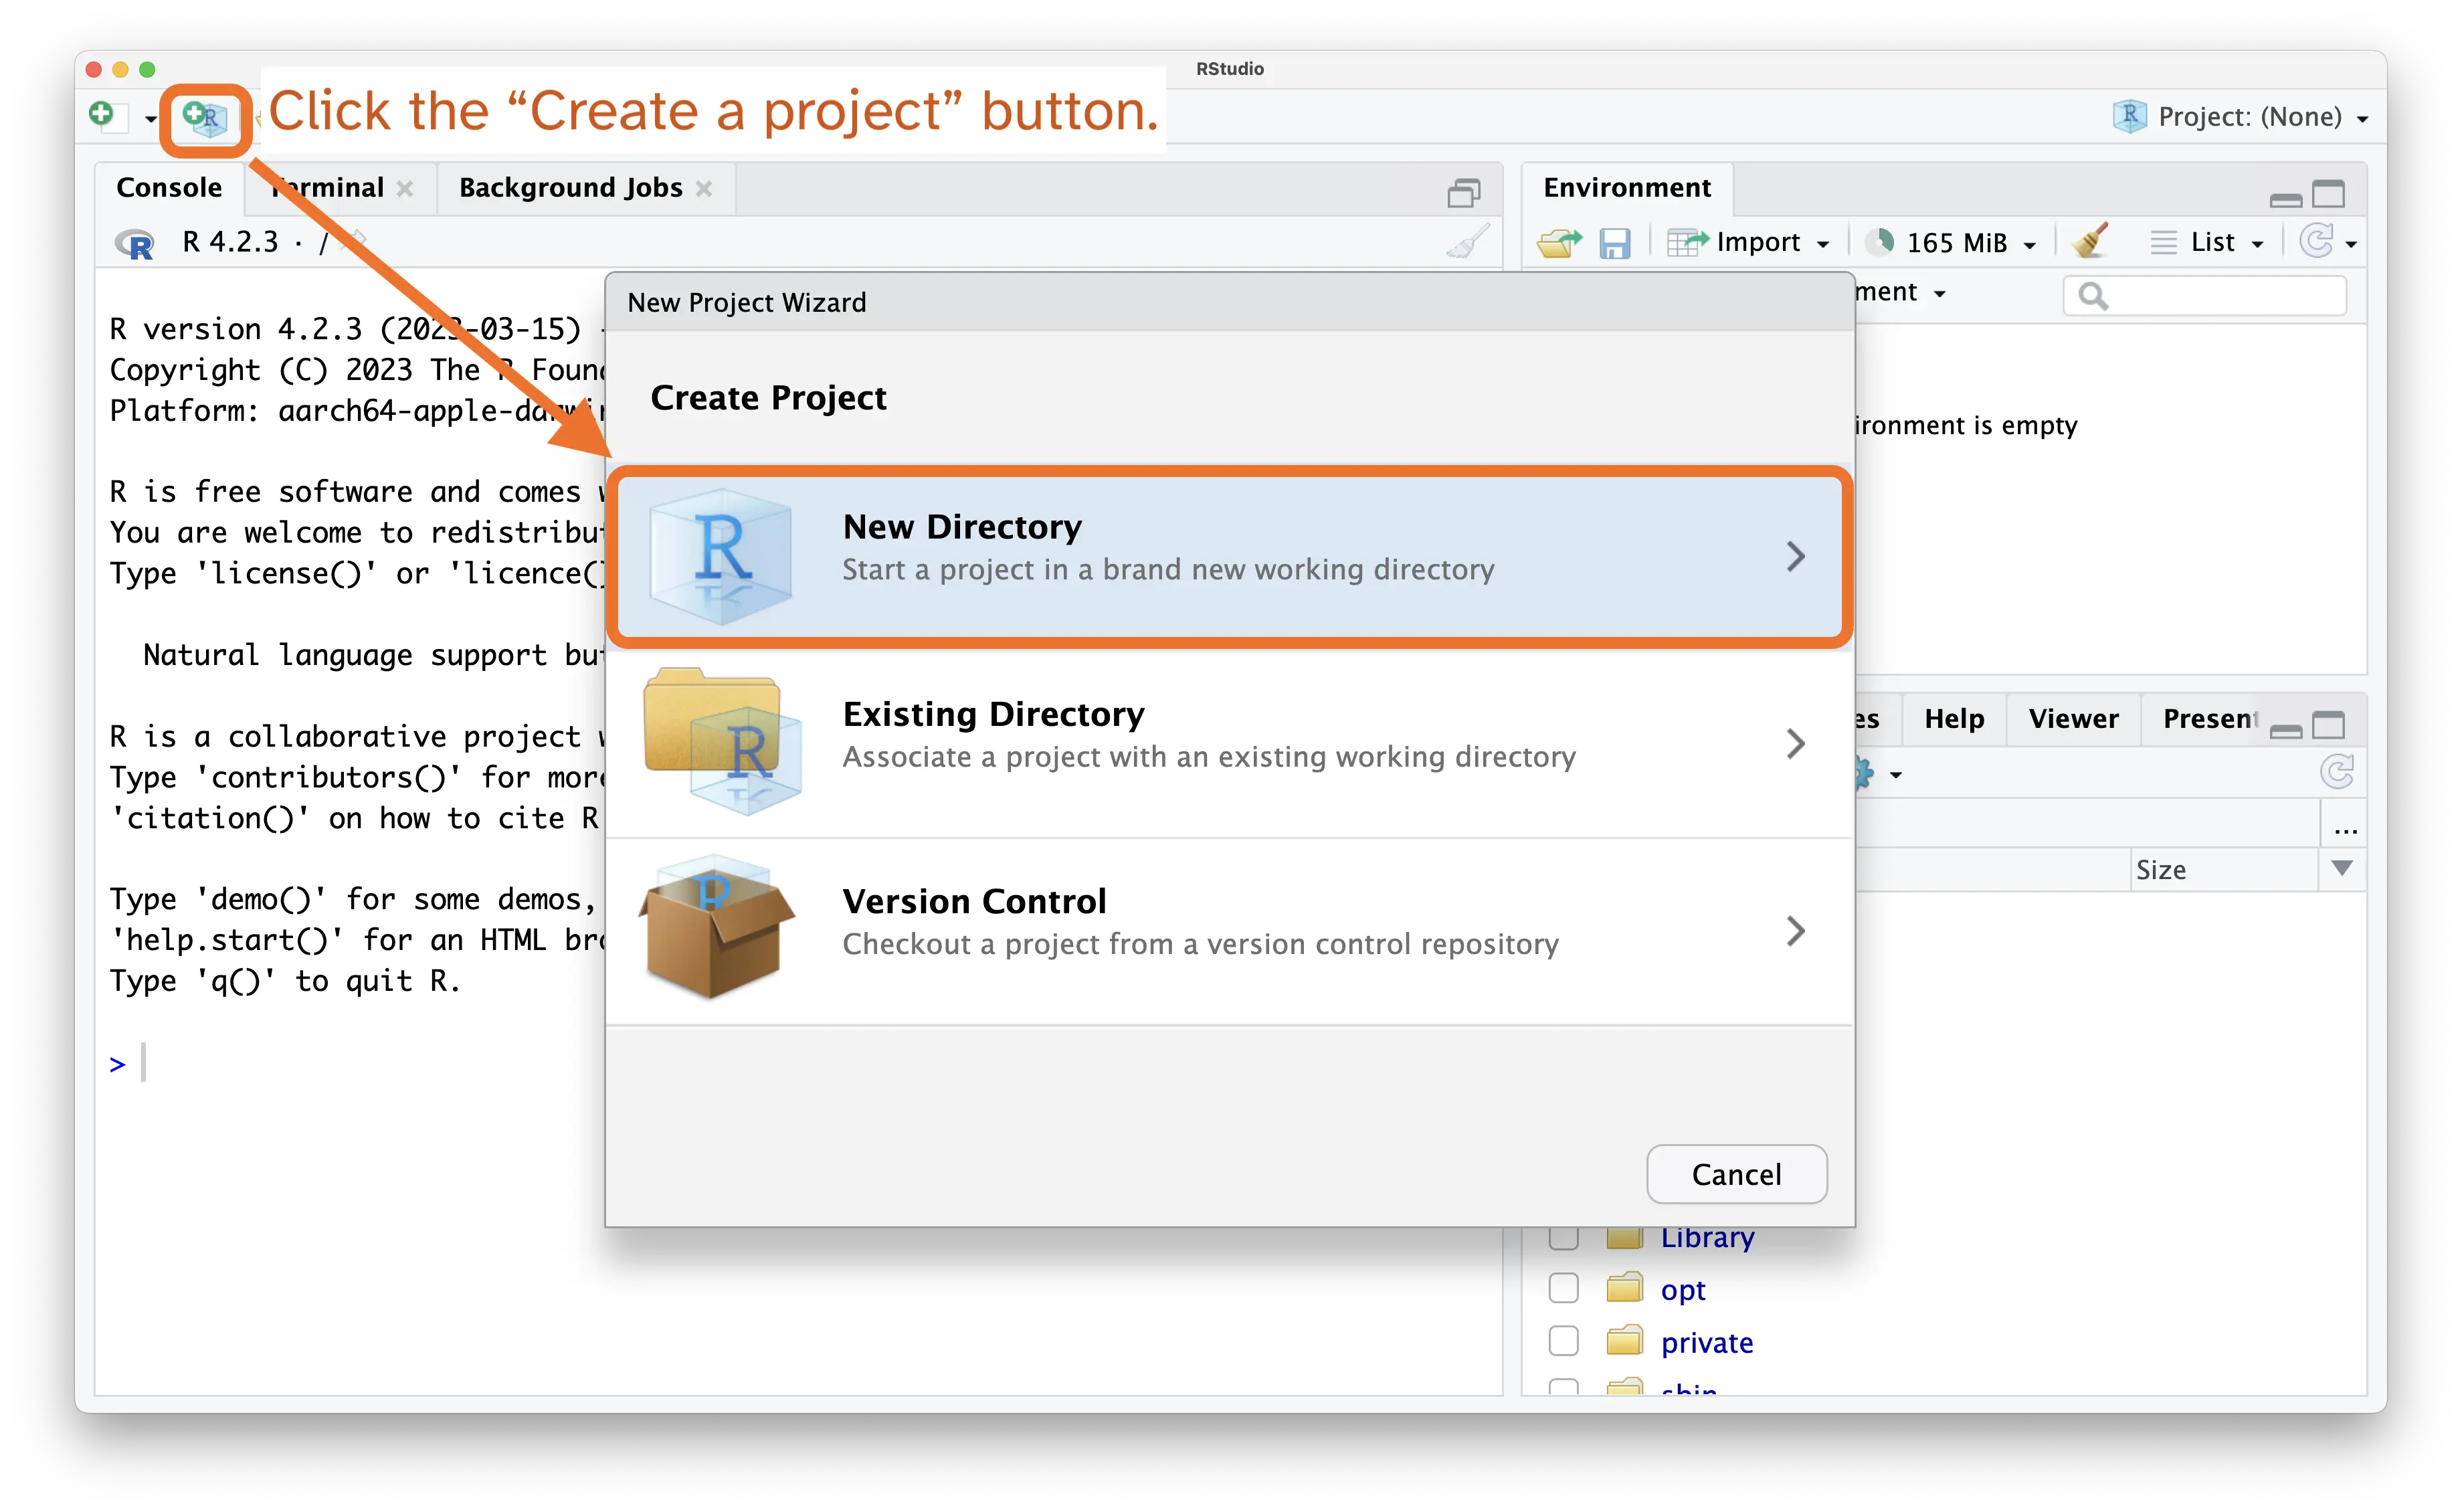
Open RStudio, click the Create a project button to open the New Project Wizard, and then select New Directory.
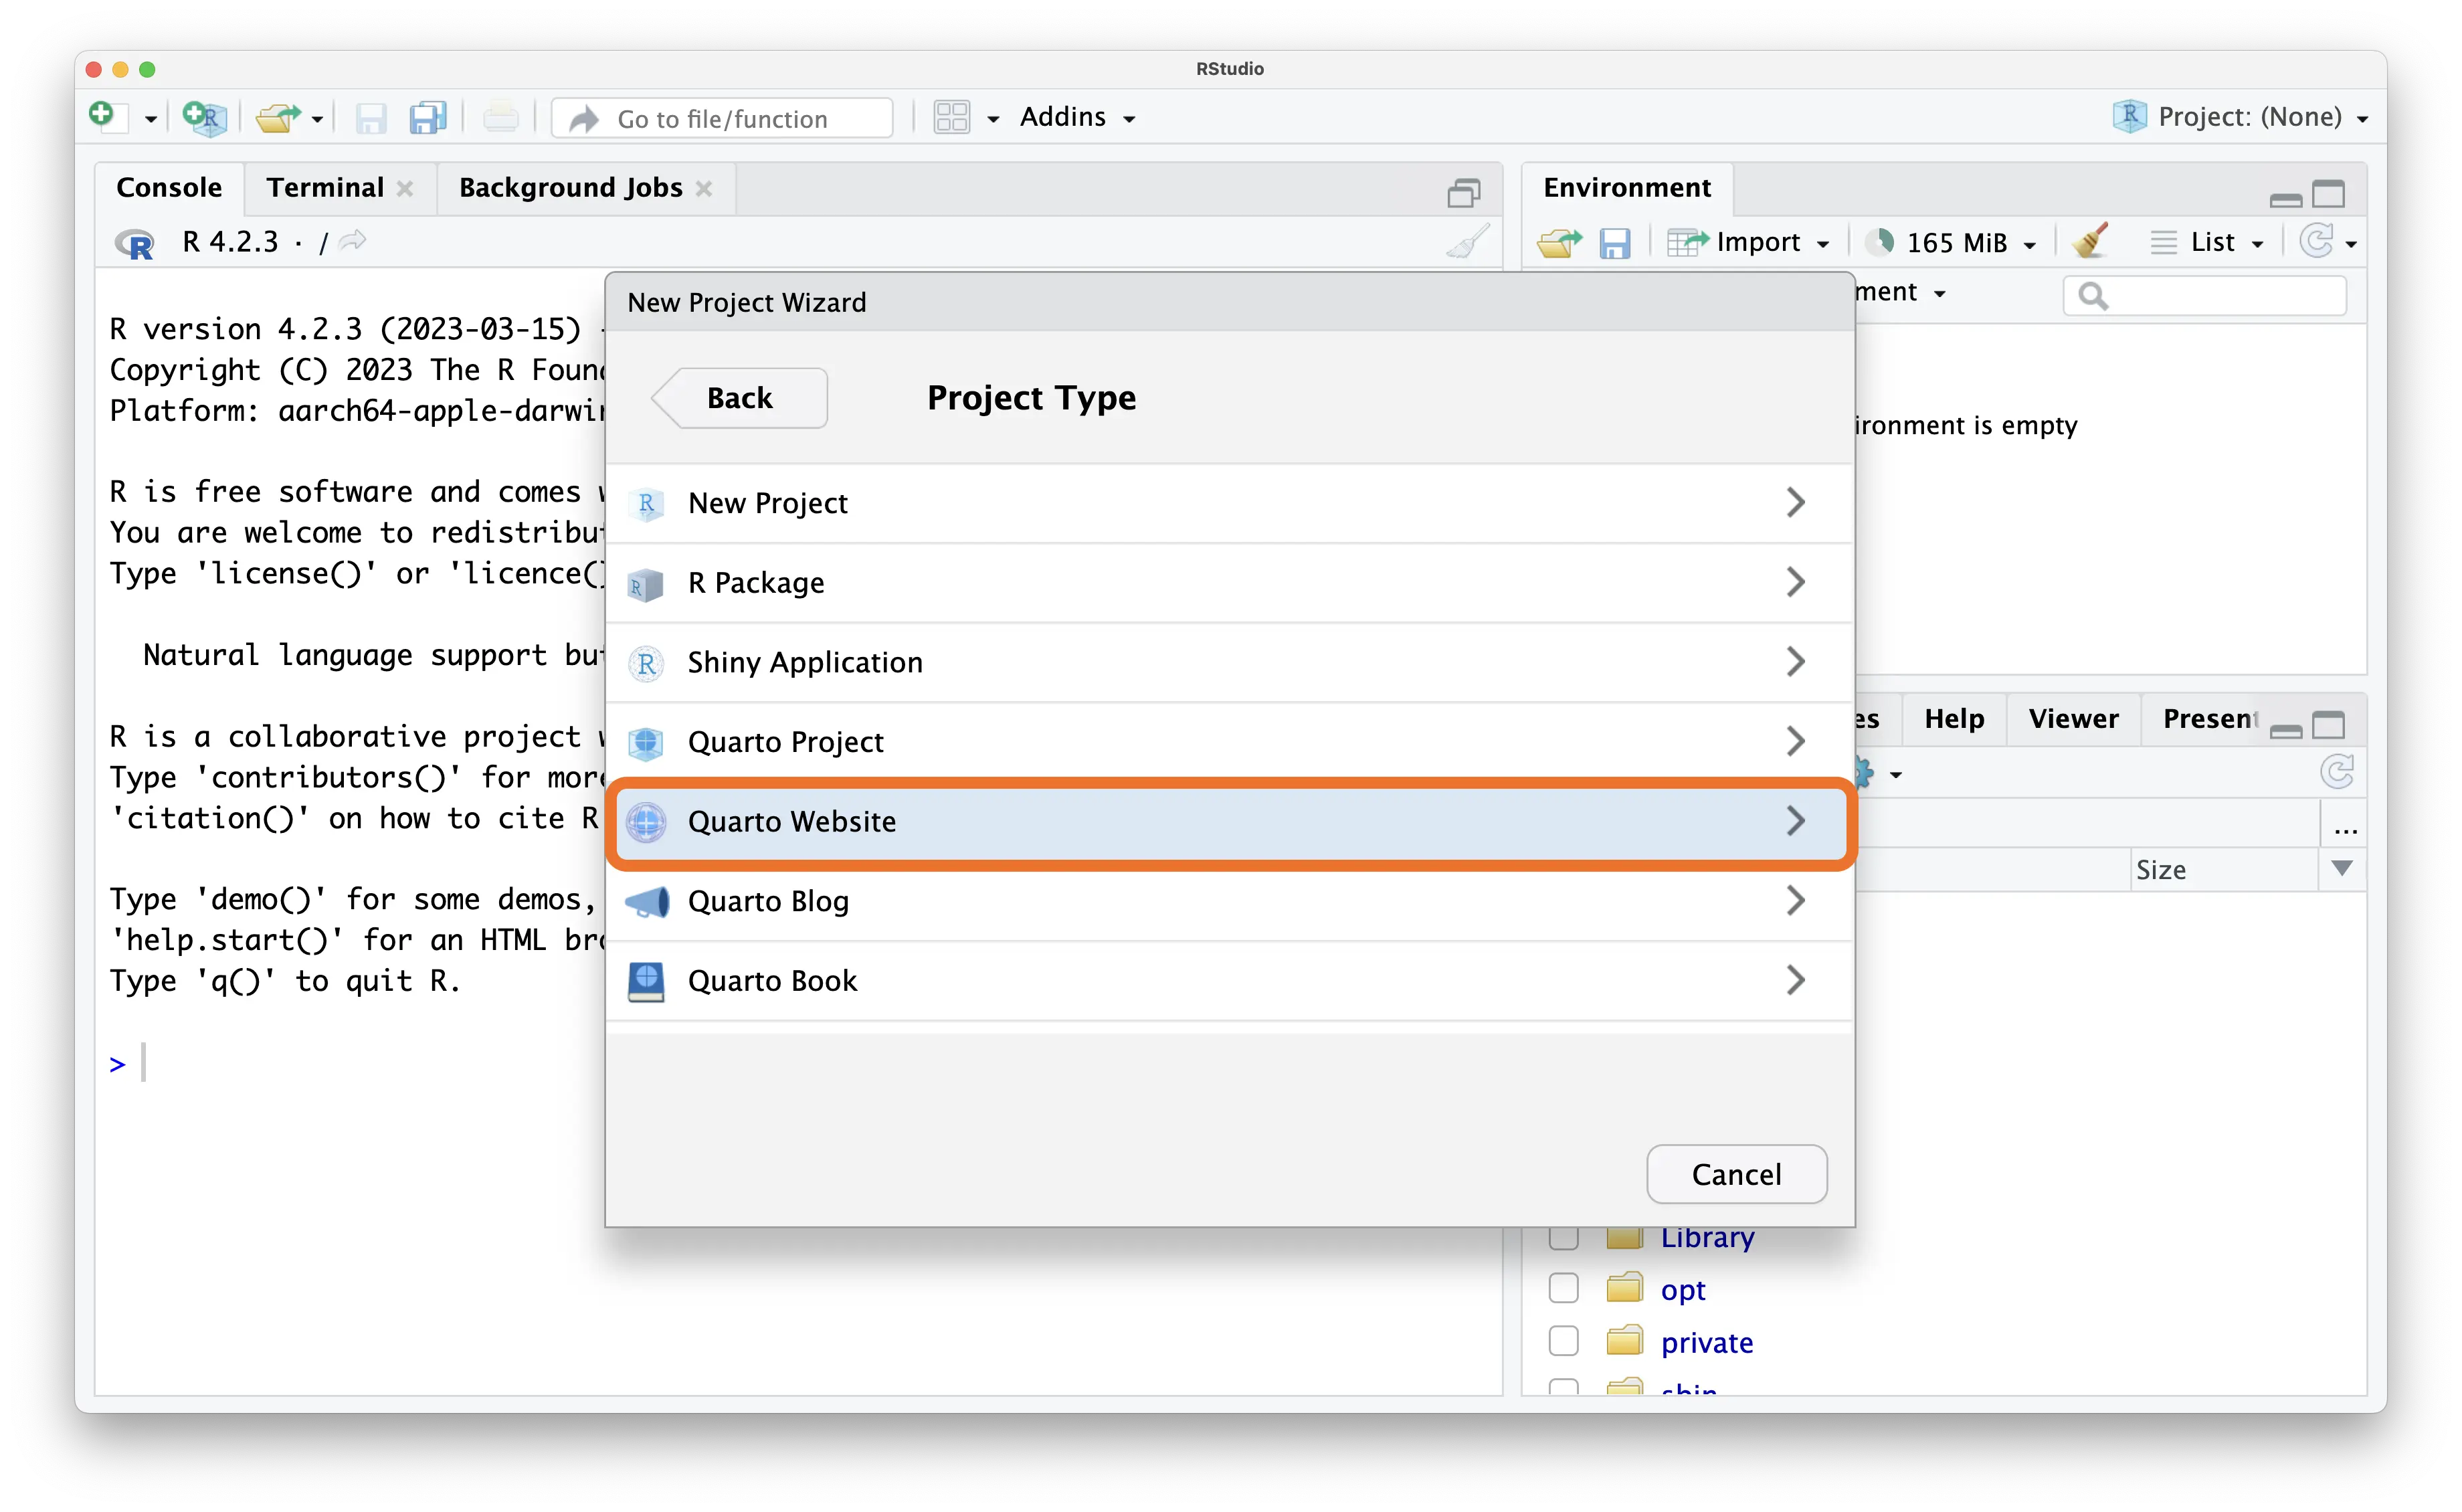
Select Quarto Website as the project type.
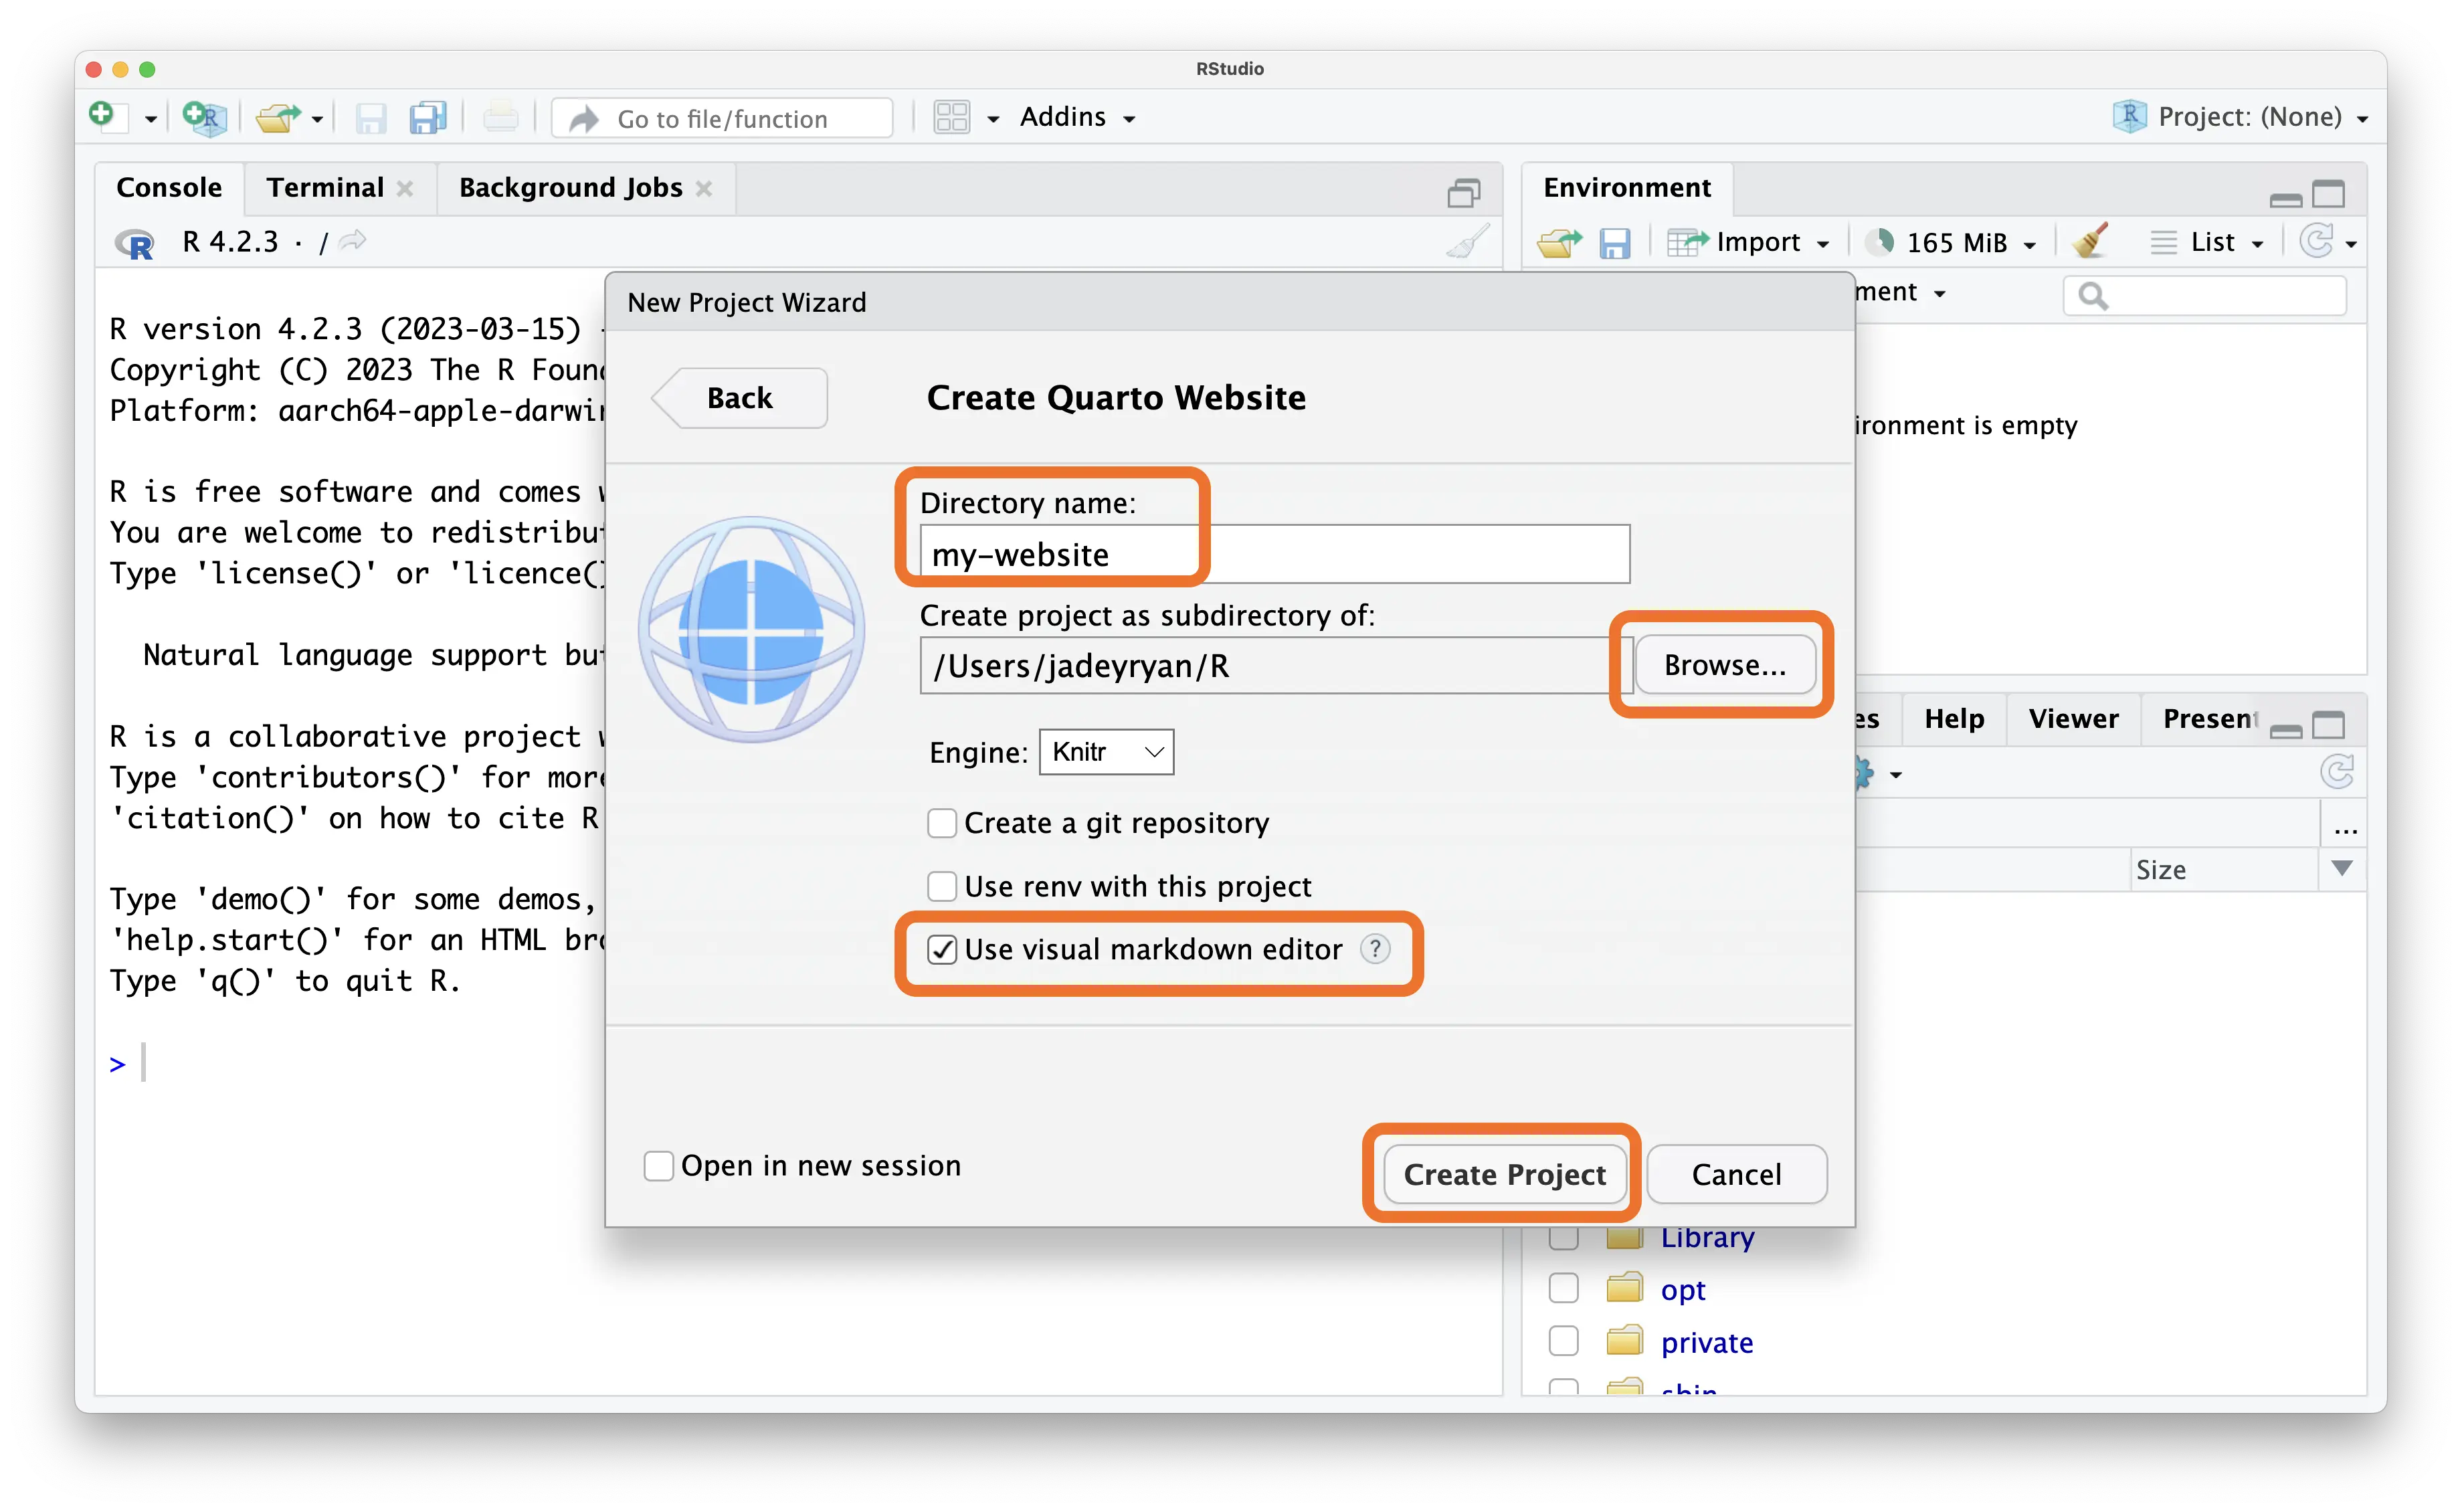
A “directory” is basically the same thing as a computer folder. Choose what you want to name your folder (probably the same as your website name)1, browse to where you want this folder to live, check the Use visual markdown editor button, and then click Create Project.
We should now be in a new project that has index.qmd open in visual editor mode, and some new things in our Files pane. We’ll get to what these files are in the next Understand the files section. But first, let’s take a look at what the default website looks like. Open the Build pane, and then click the Render Website button.
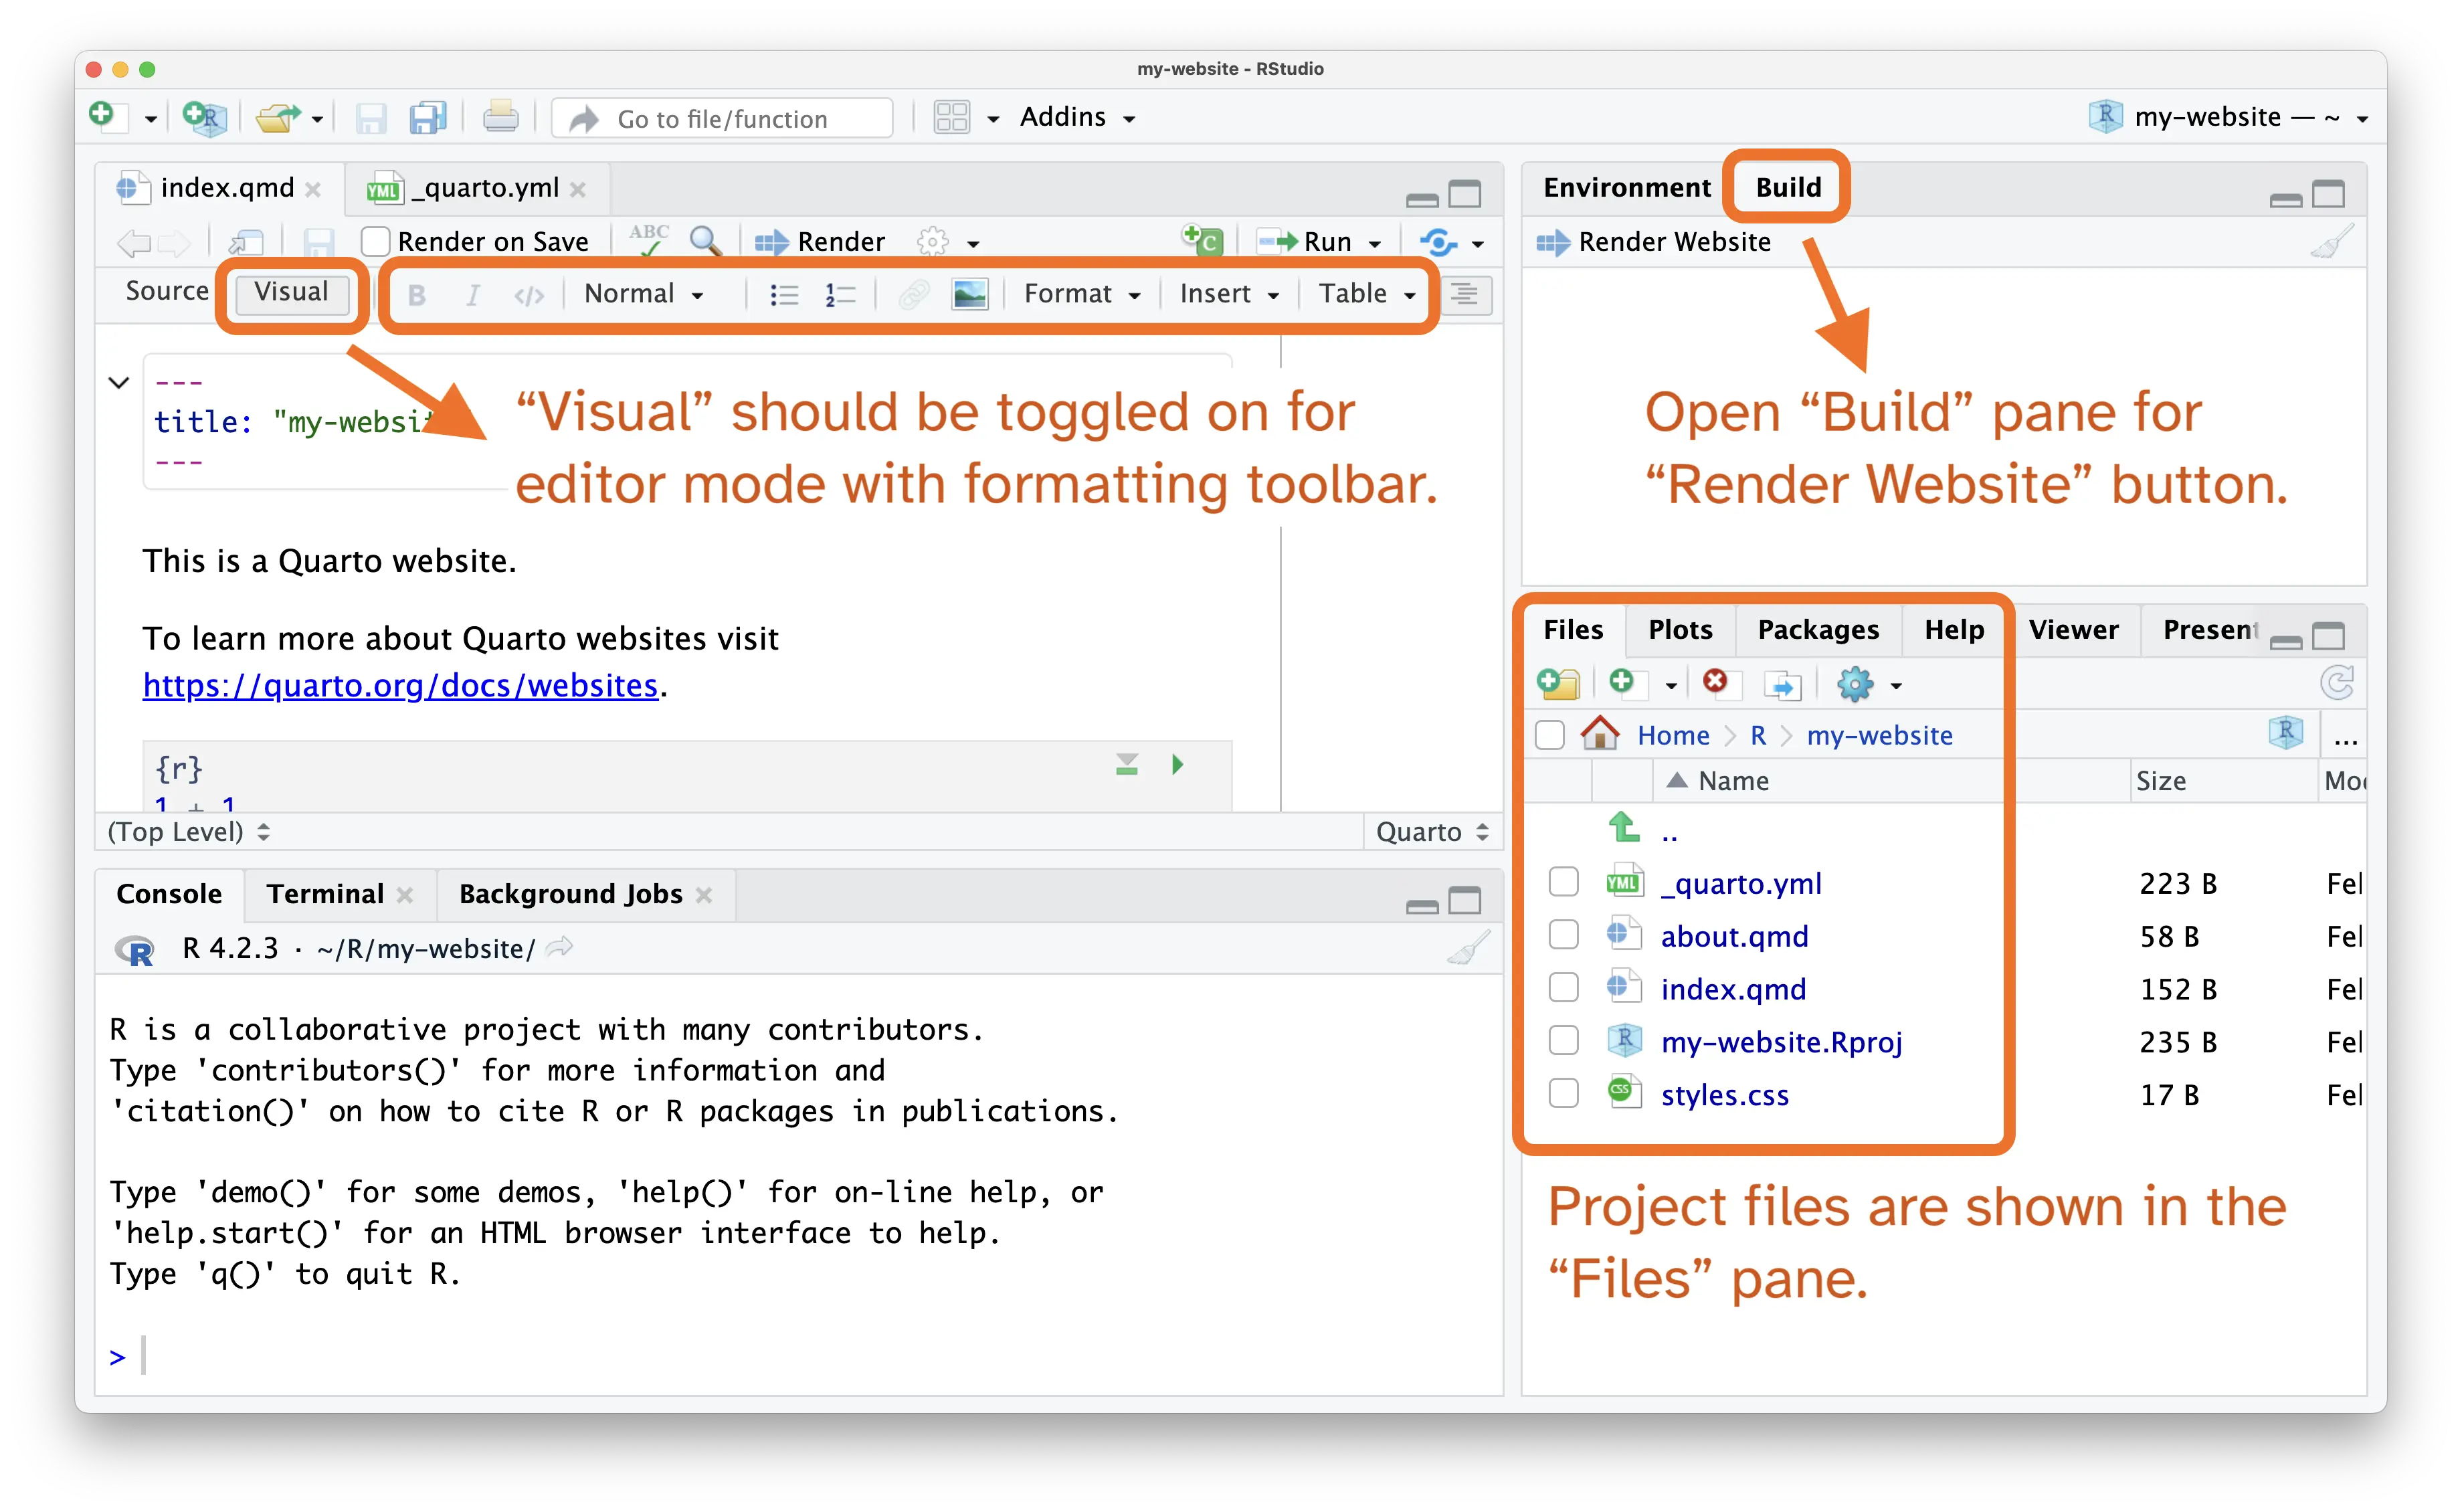
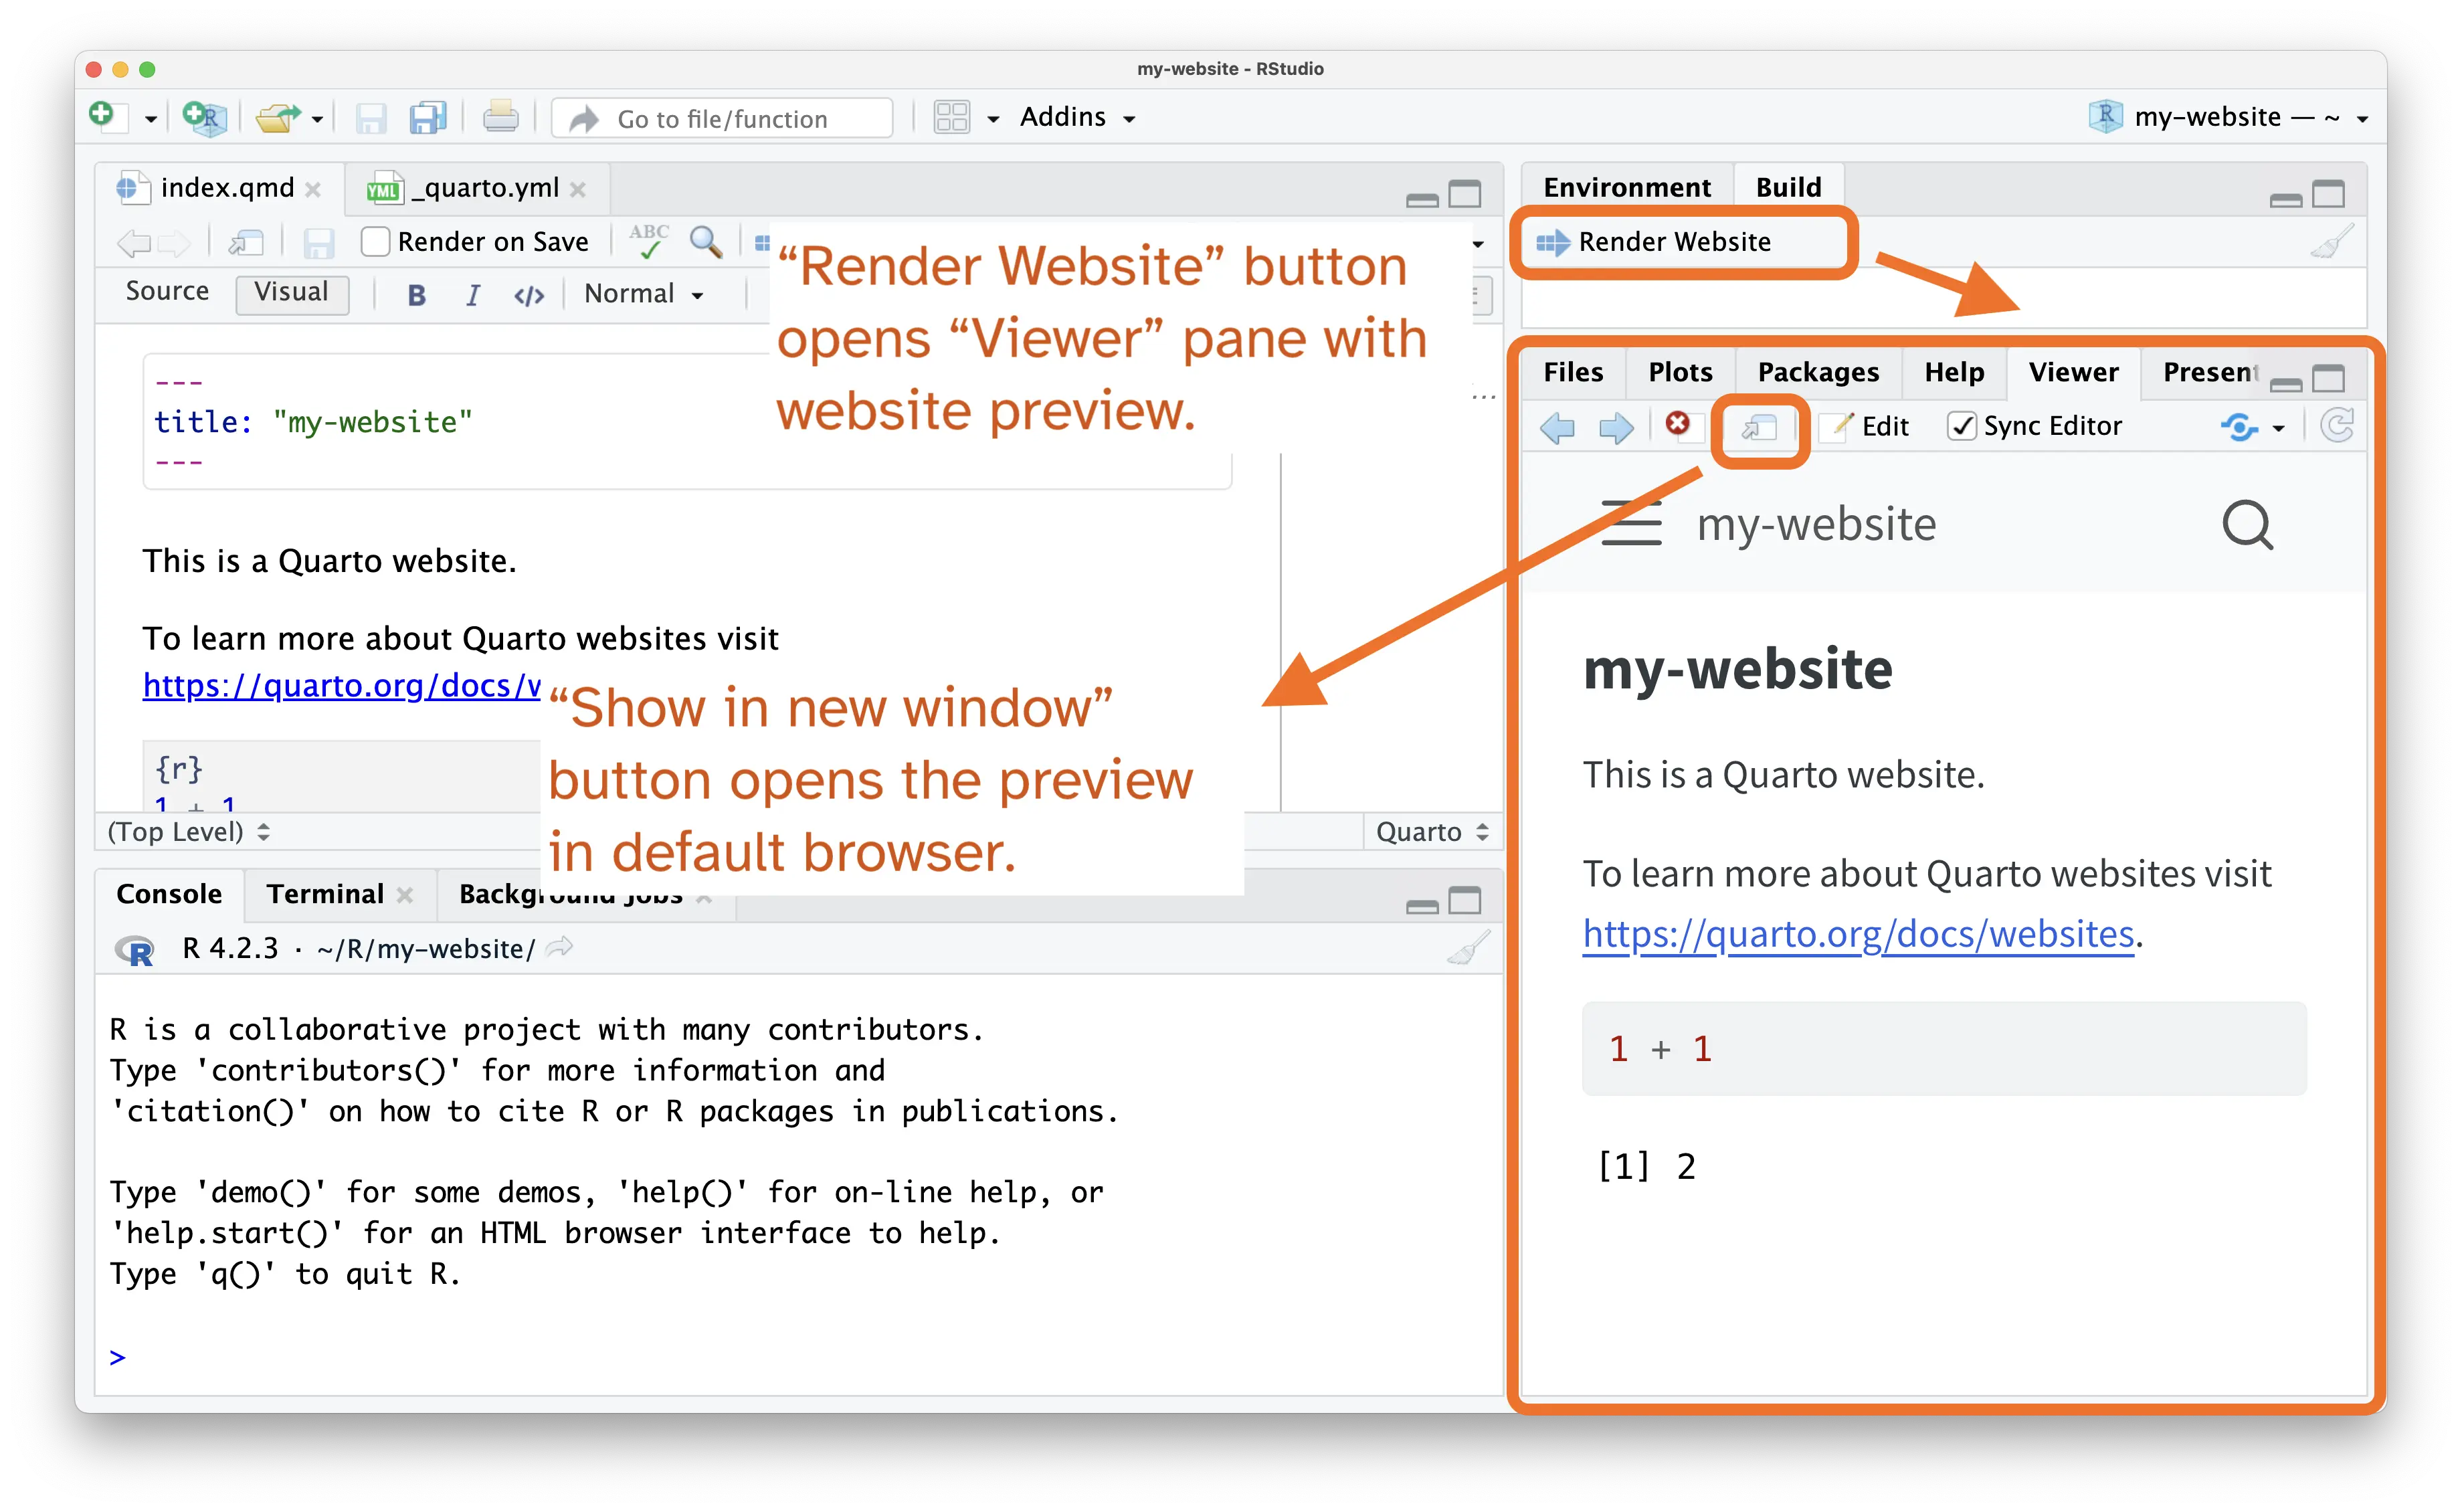
Once the website renders, the bottom right pane will switch from Files to Viewer and display the website preview. Click the Show in new window button to open this preview in your default browser.
2.1 What just happened?
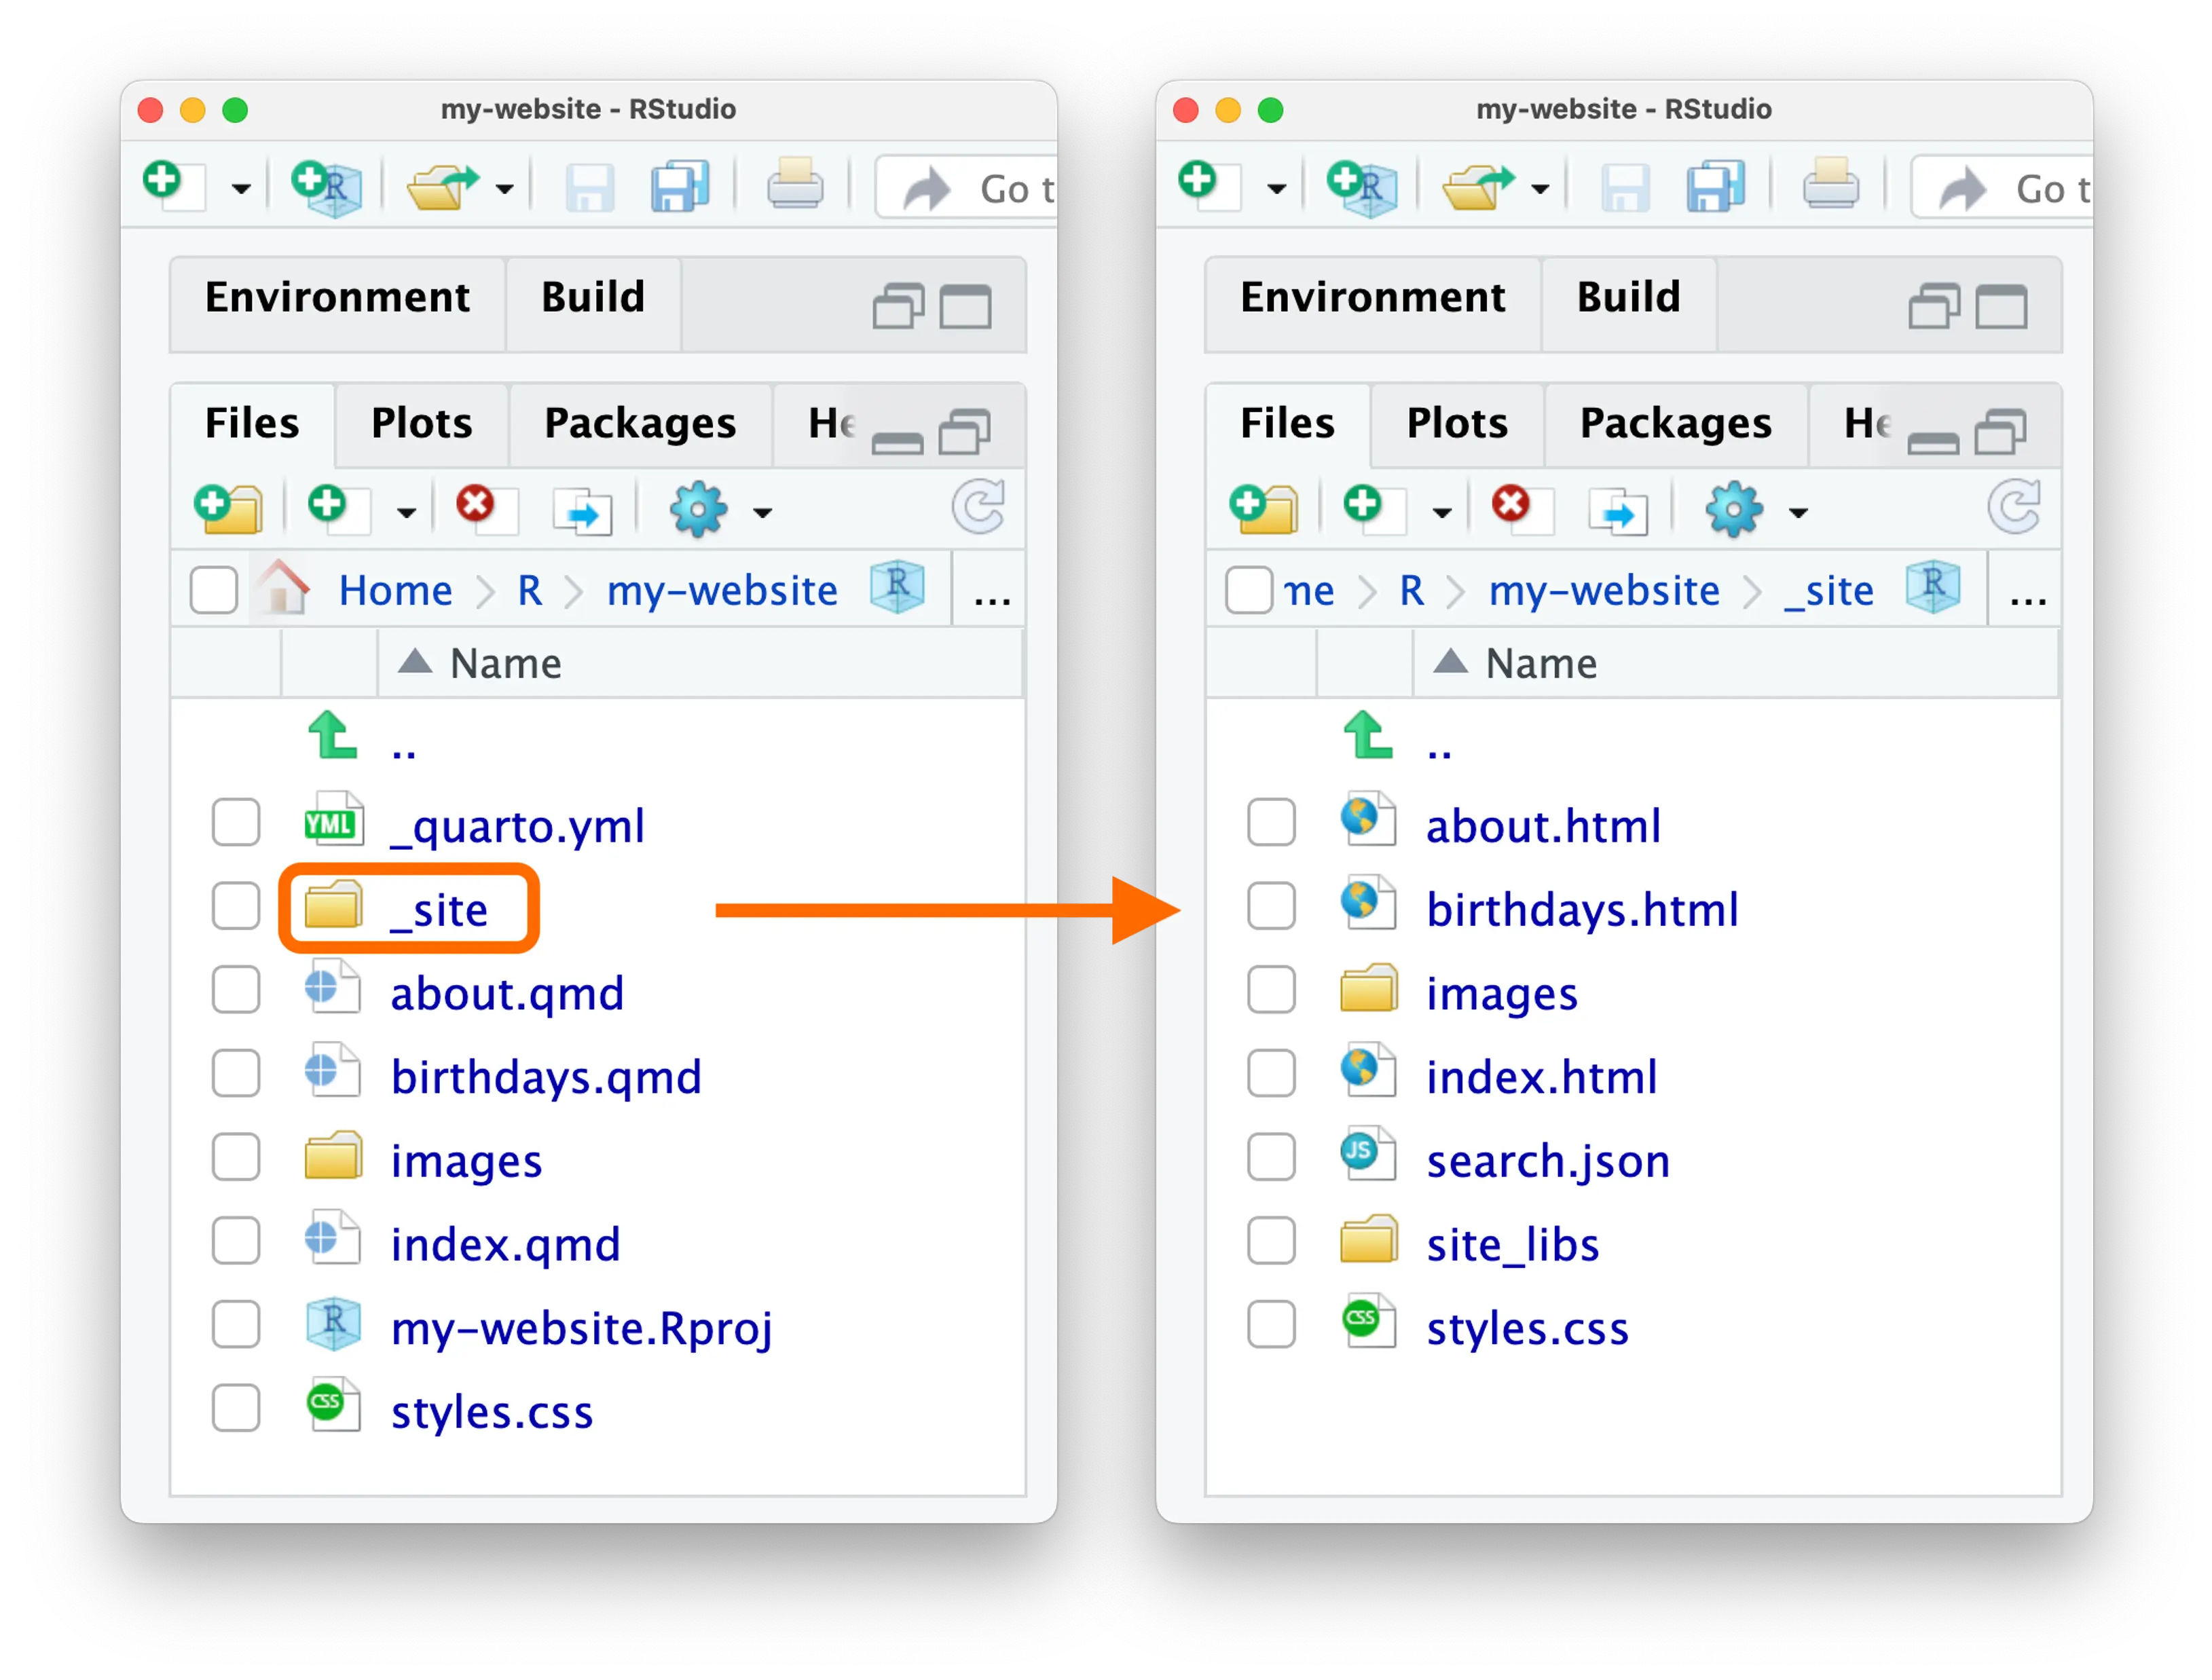
When we clicked Render Website, Quarto turns all of the .qmd files and styling sheets into HTML (HyperText Markup Language) source files that serve as the website. The website was rendered into the new folder _site. You can even click on any of the .html files and view it in your web browser to see how it looks. Every time we render the website, this _site folder gets updated.
3 Understand the files
Cool, now you know RStudio and Quarto are correctly installed and you can render a simple website! Before we start customizing your website, let’s take a look at what files came pre-loaded with this default website.
Our Files pane should include:
├── _quarto.yml         # Website configuration file
├── about.qmd           # About page
├── index.qmd           # Landing page
├── my-website.Rproj    # RStudio project config file
└── styles.css # CSS style sheet_quarto.ymlis a special file that configures the website options like the title, which.qmdfiles to include, navigation, styling, etc. Do not rename this file. Quarto needs this file to render your website..qmdfiles are Quarto documents where you’ll write your webpage content.index.qmdis the landing/home page of the website. Do not rename this file. Netlify needs this file to publish your website.about.qmdis another page on the website. It can be renamed or removed.
Ignore the
.Rprojfile, which is a RStudio project configuration file.styles.cssis a where you can customize the style of specific elements of your website using CSS. Ignore this until you’re ready for more advanced customization. We’ll get to styling our simple website in the Style your website section.
3.1 What are Quarto documents?
Each .qmd has a YAML (YAML Ain’t Markup Language) header for document-specific options and Markdown content. Quarto documents are authored using Markdown, which is a plain text format designed to be easy to write and easy to read. We’ll use the visual editor in this tutorial, but you’ll likely eventually need Markdown if you want more customization options. Reference the text formatting markdown syntax and output in this Markdown Basics article. You can also toggle between Source and Visual to see the underlying Markdown as you’re writing your Quarto documents.
4 Edit the home page
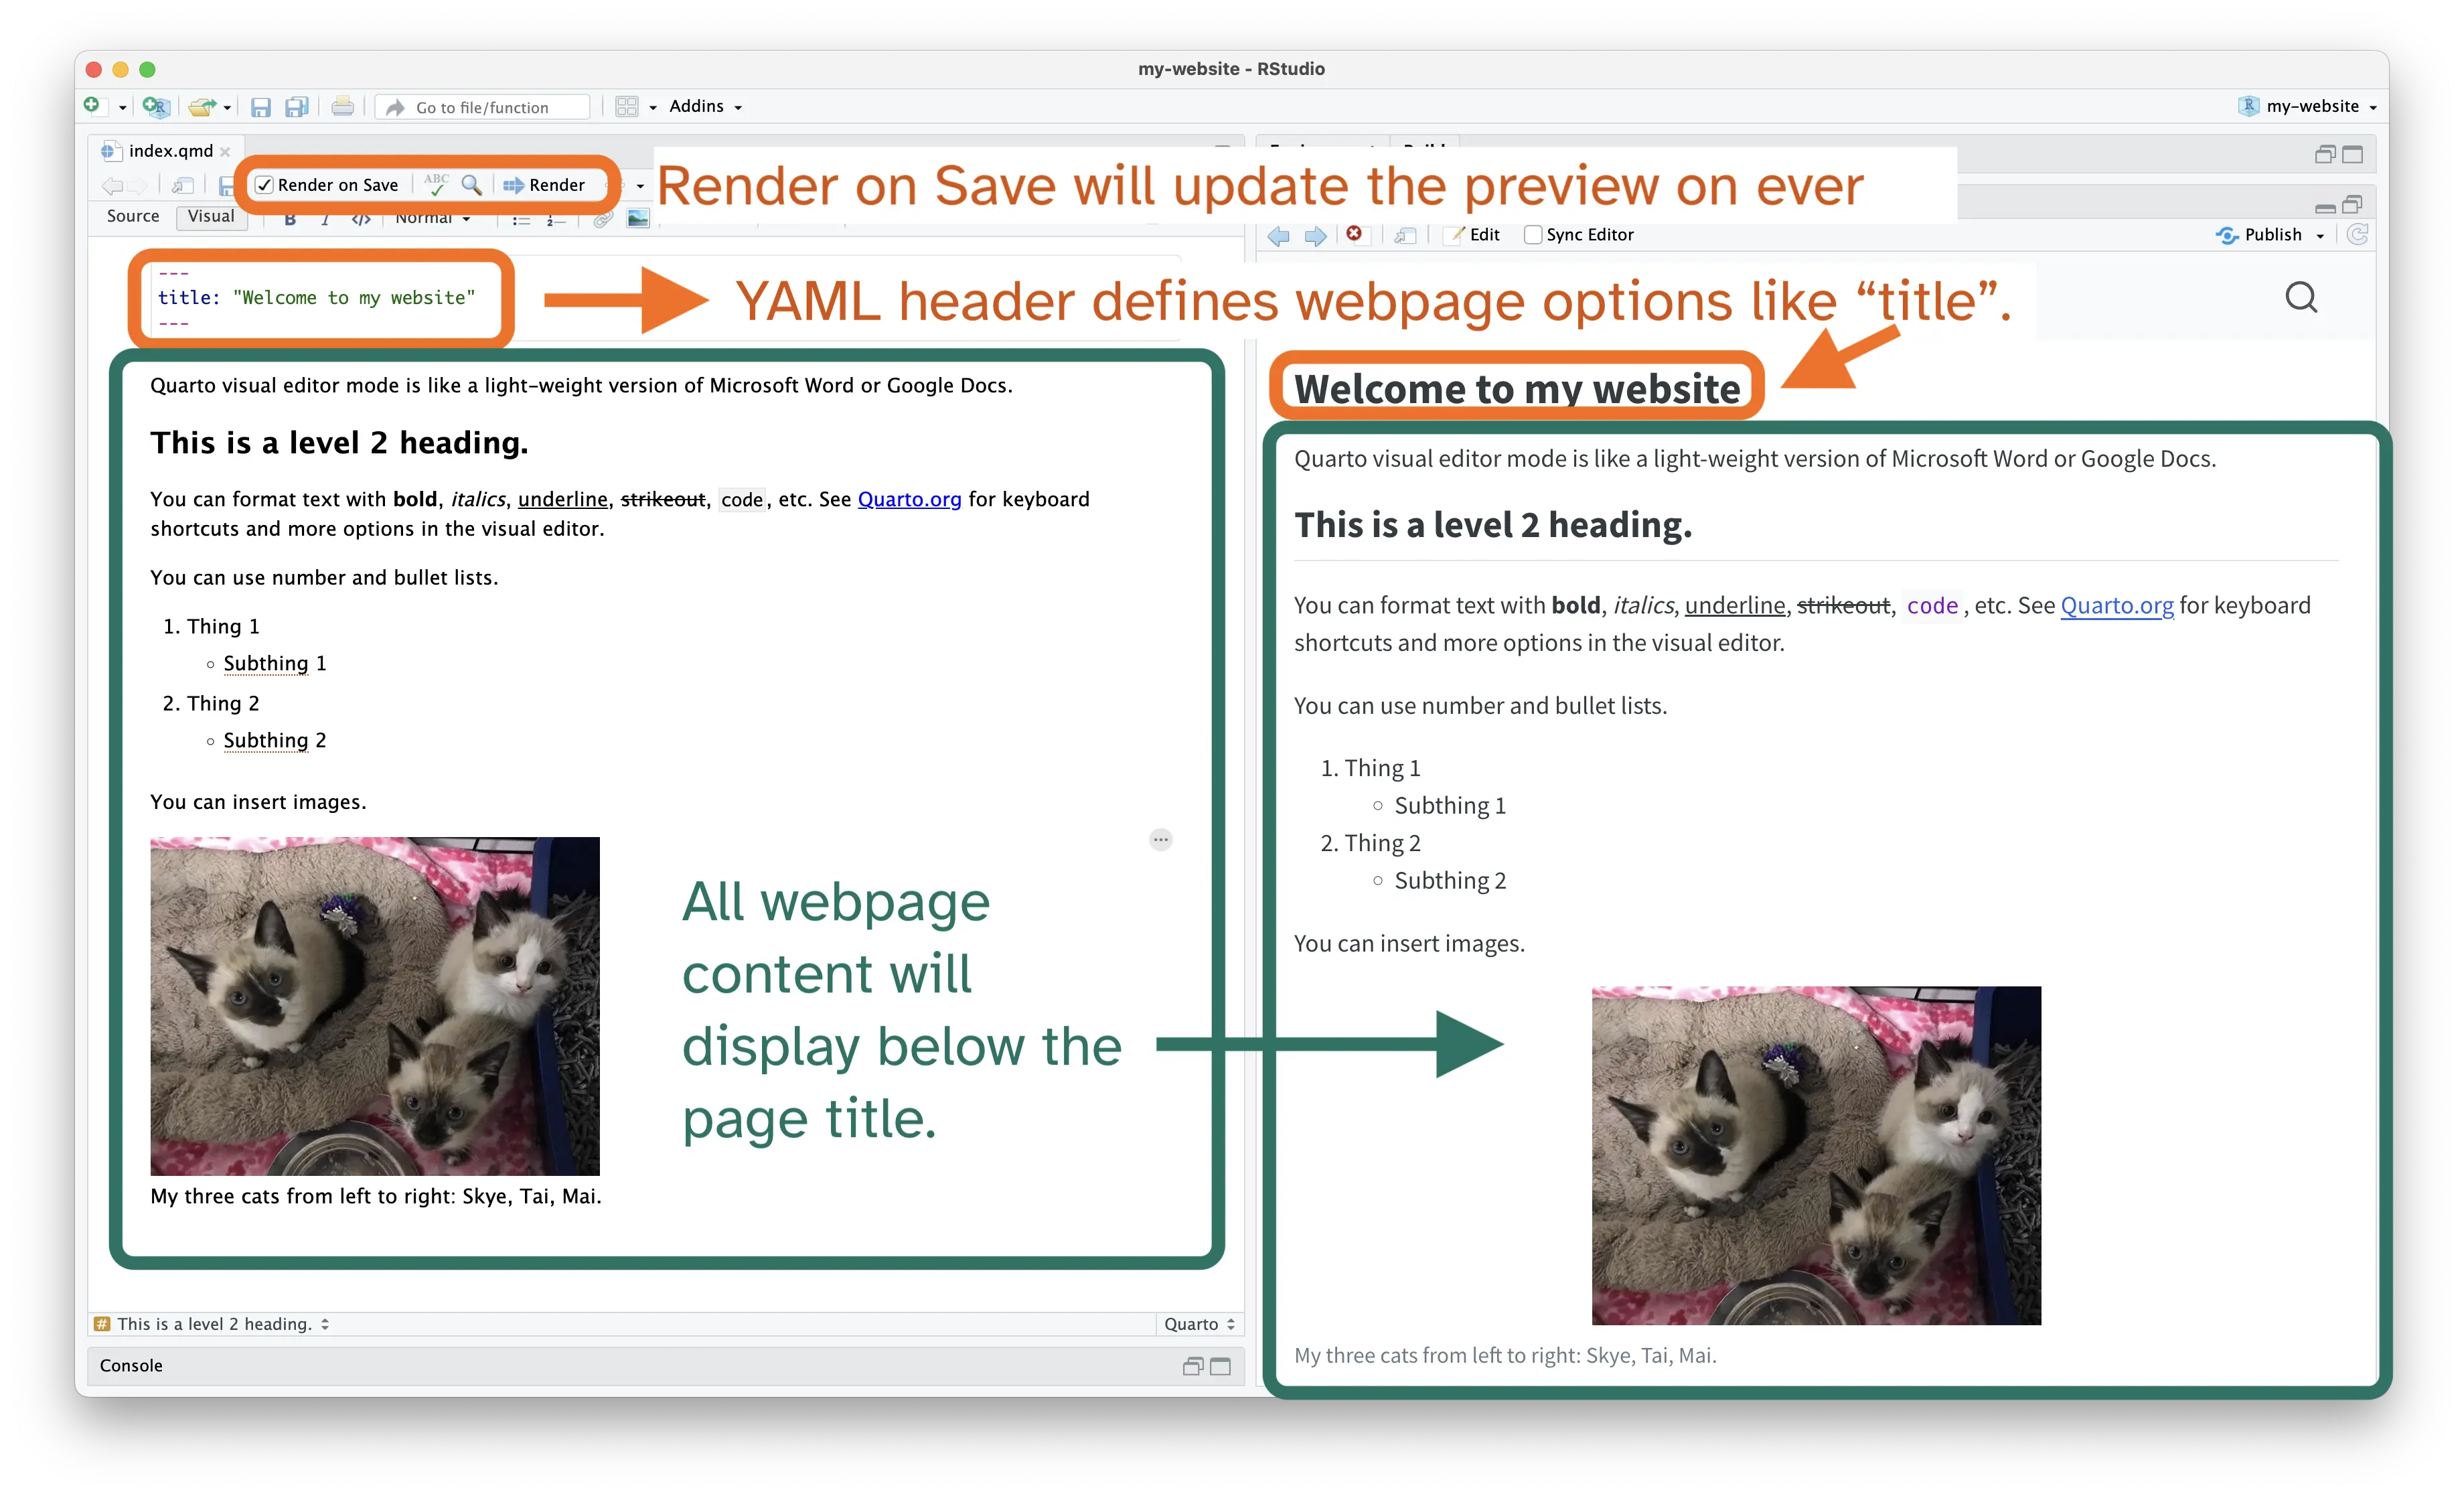
Open index.qmd and notice the box at the top of the document that has title: "my-website" sandwiched between two sets of three dashes ---. This is called the YAML header, which contains the metadata for the document. The only metadata we currently have is the webpage title. Each YAML entry consists of key: value pairs. The colon and space are required. Be careful with indentation, it can be quite fussy.
Write all content for the webpage below this YAML. Use the formatting toolbar at the top of the document to format text, create headings, or insert images, lists, and tables.
When working on a single page, I like to check the Render on Save option so that the website preview updates every time I save the .qmd file. Alternatively, click the Render button, which saves the file and updates the preview.
4.1 My turn
4.2 Your turn
- Open
index.qmd. - Check
Render on Save. - Change the webpage title.
- Save the file (
Cmd/Ctrl+S). - Delete the example text and write some of your own.
- Save again.
5 Edit the about page
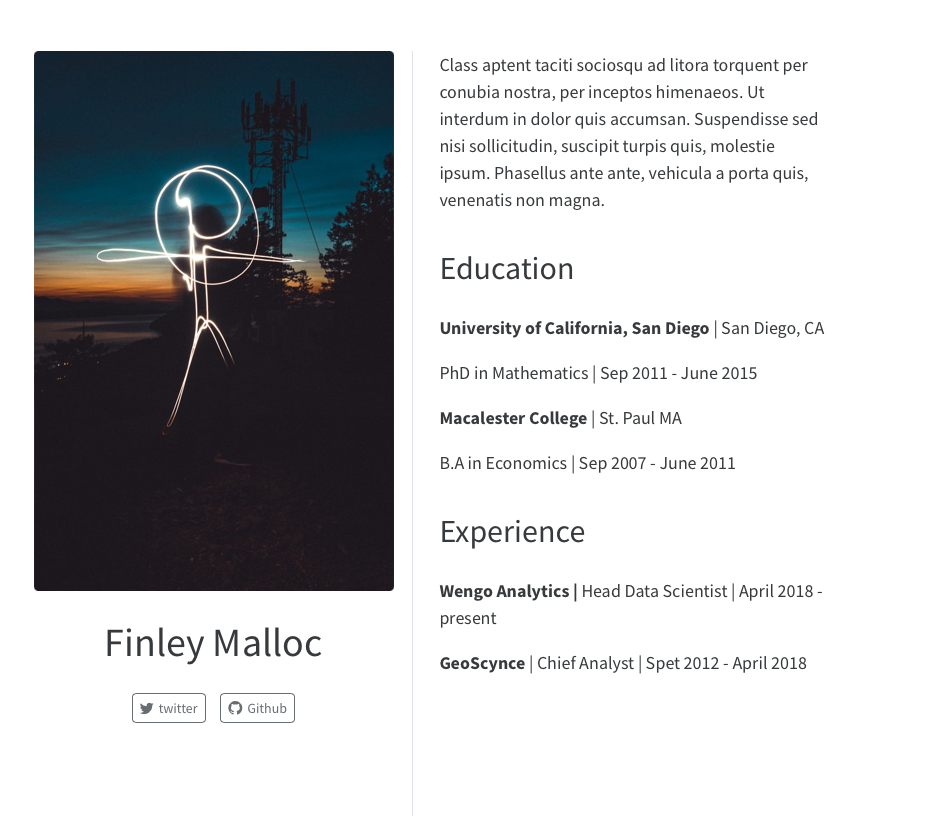
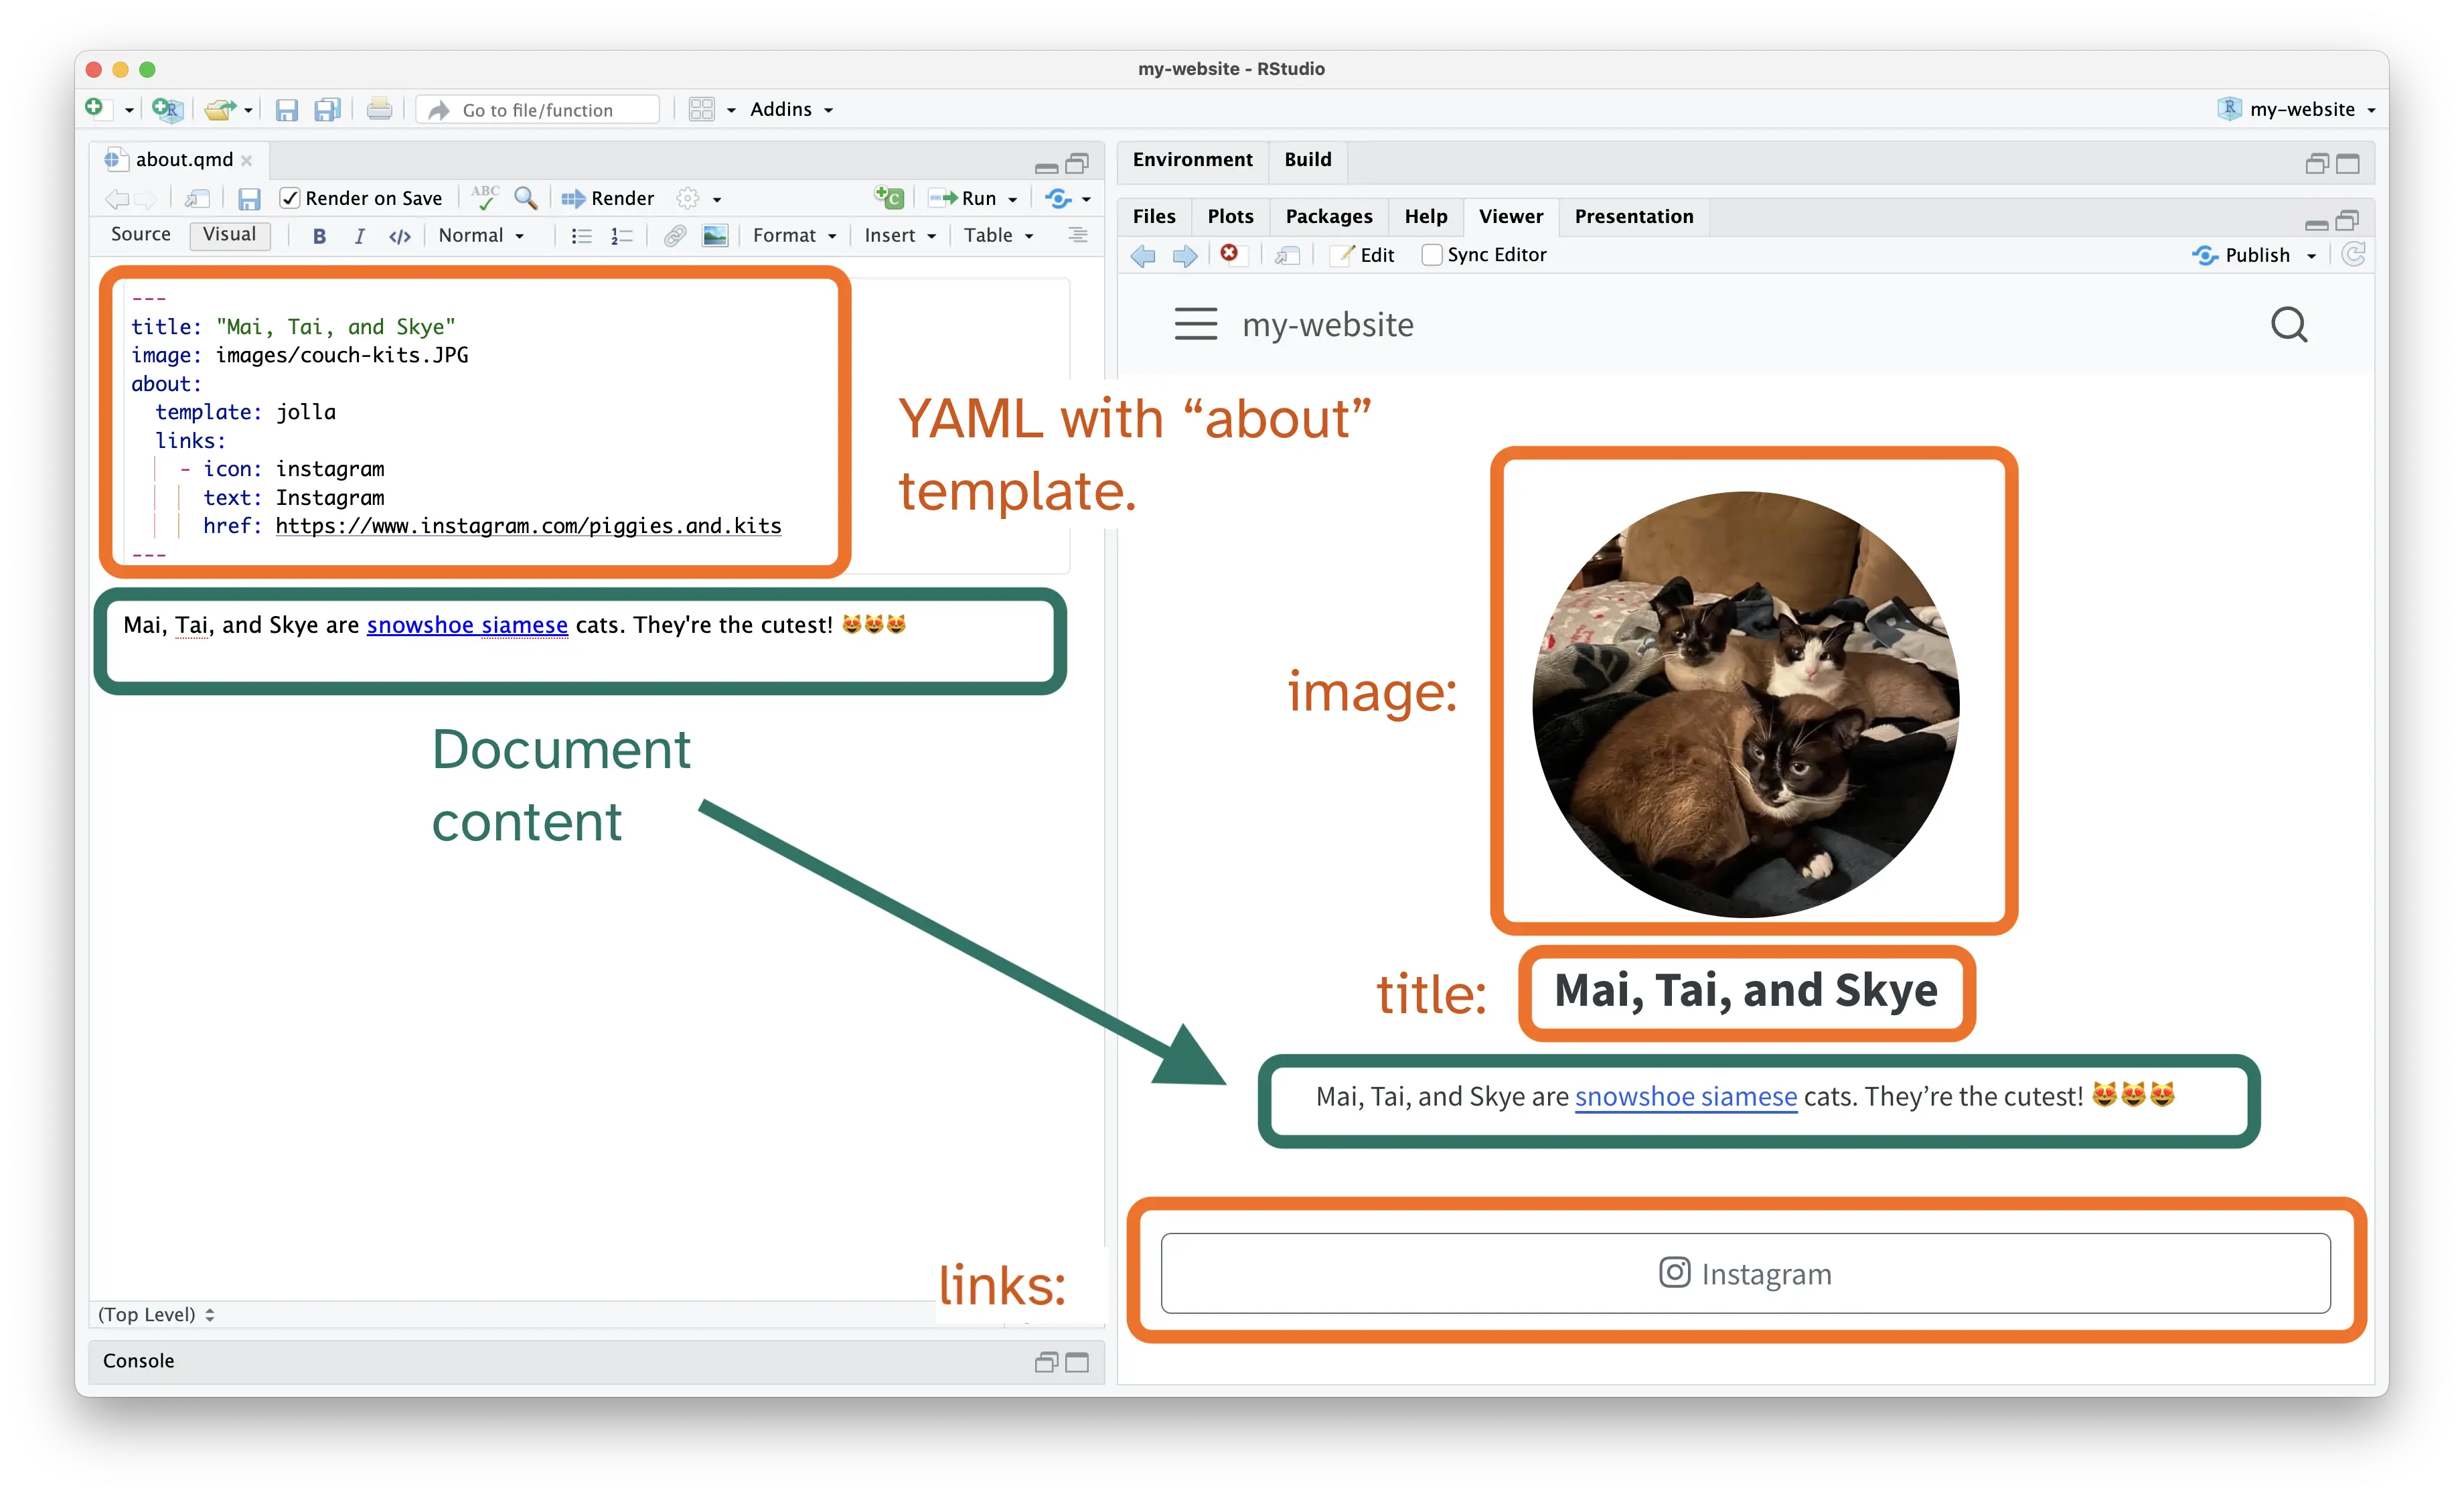
Quarto makes it easy to create a simple, professional about page for a person, organization, or pets 😏. Add the about: option in the YAML to use one of the five special templates previewed below (examples from Quarto docs).

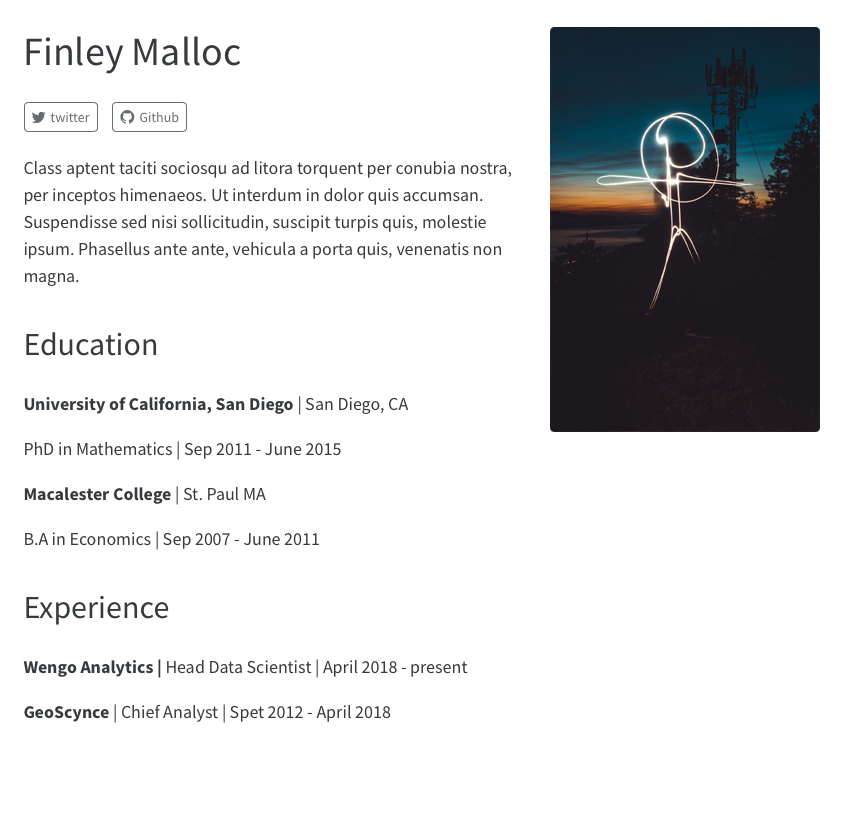
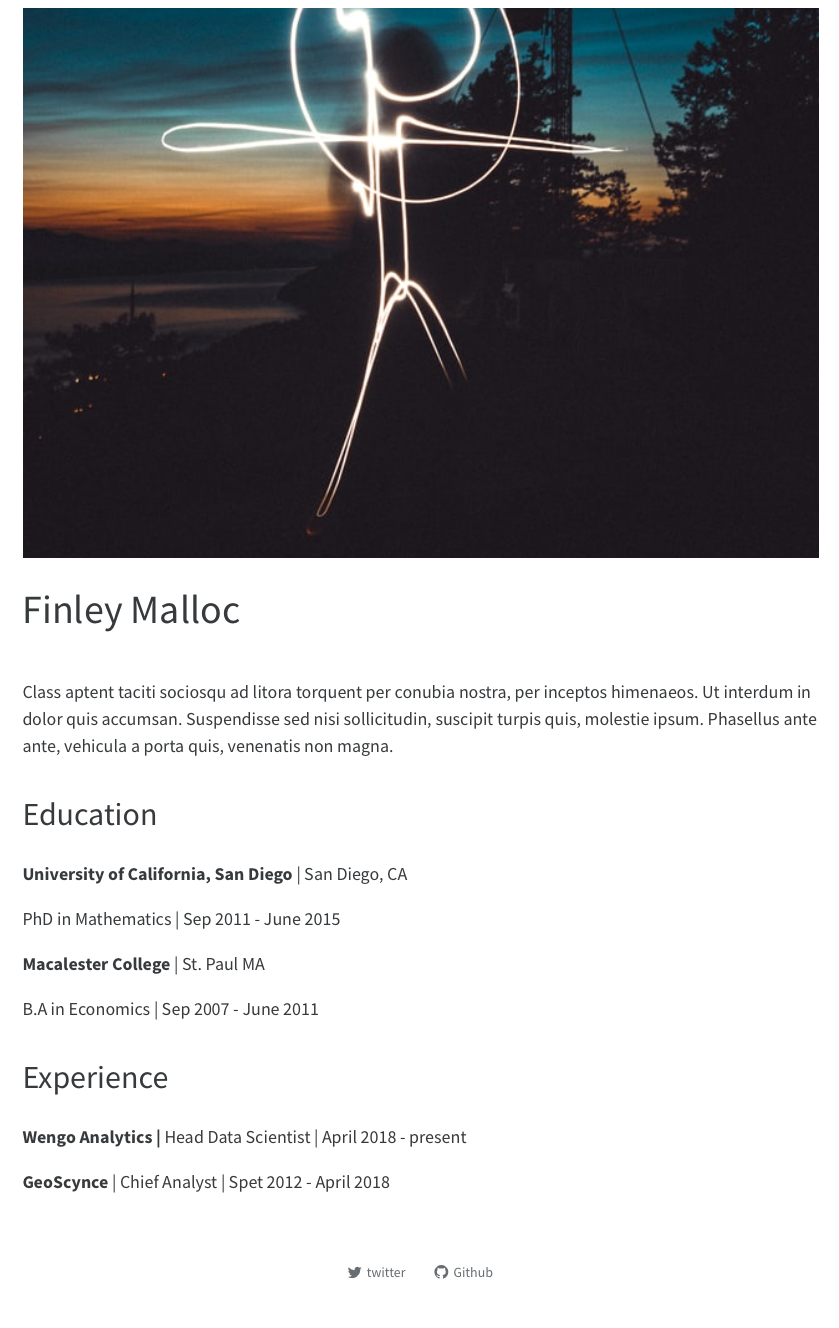
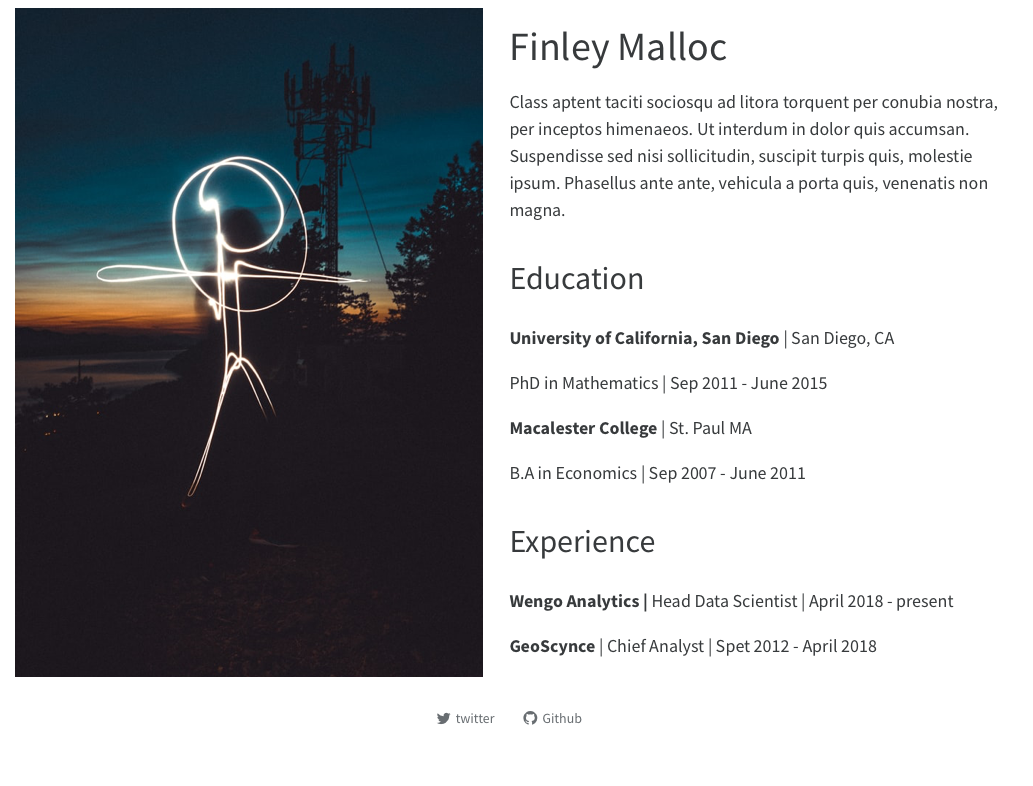
5.1 My turn
I like the jolla template. In my my-website project folder, I added a new folder called images for my pictures. This is optional - just be sure to match the file path.
---
title: "Mai, Tai, and Skye"
image: images/couch-kits.JPG
about:
  template: jolla
  links:
    - icon: instagram
      text: Instagram
      href: https://www.instagram.com/piggies.and.kits
---
5.2 Your turn
- Open
about.qmd. - Check
Render on Save, and save after each below step to update the preview. - Update the title to your name or organization.
- Add the
aboutoption to the YAML. Check out the previews of the templates and choose which one you like best. - Add a photo to your project folder or to a subfolder, and then add the file path to that photo to the
image:option. - Add any social media or other websites you like to the
links:option. Optionally, you can use Bootstrap icons.
If you want to use the special about template as your home page, you can add the about YAML option to index.qmd. In fact, the about: option can be used for any .qmd document for your website!
6 Add a new page
Now that you’ve updated the two pages that came with the default Quarto website project, it’s time to add another page!
Click the New file button and select Quarto document. This will open a dialog box to name your file. After clicking OK, a blank .qmd file with your chosen name will open.
6.1 My turn
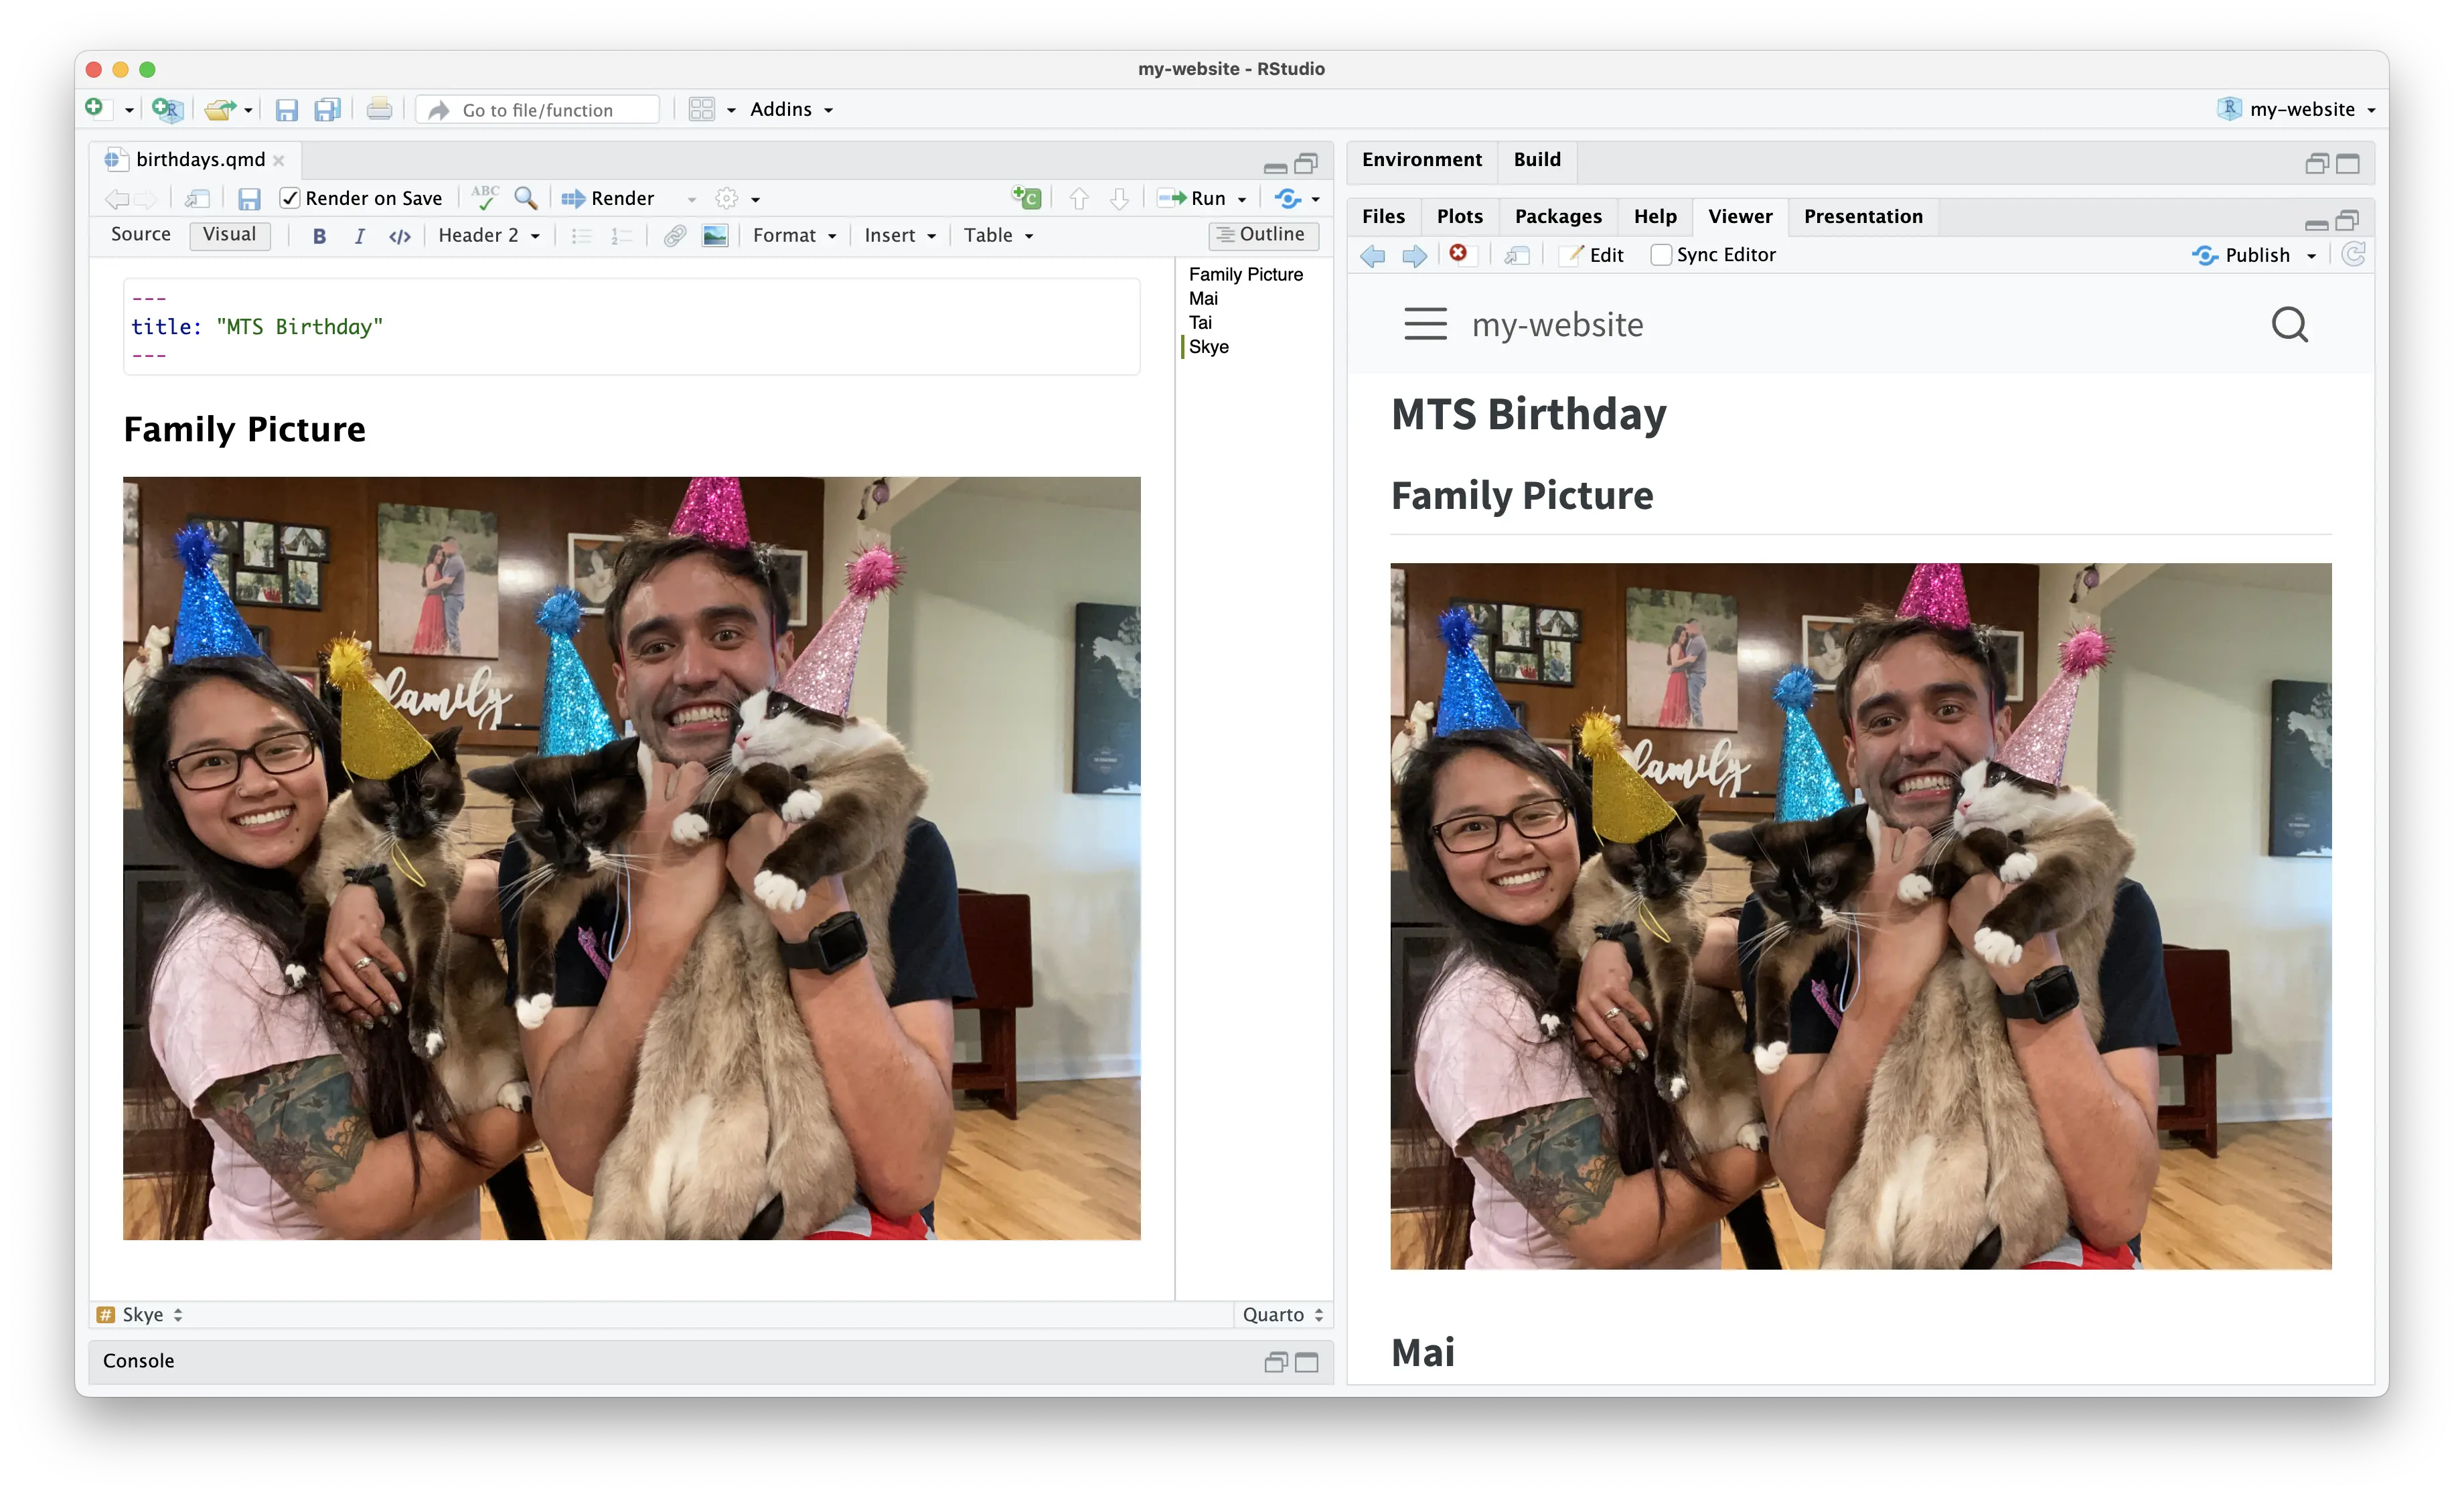
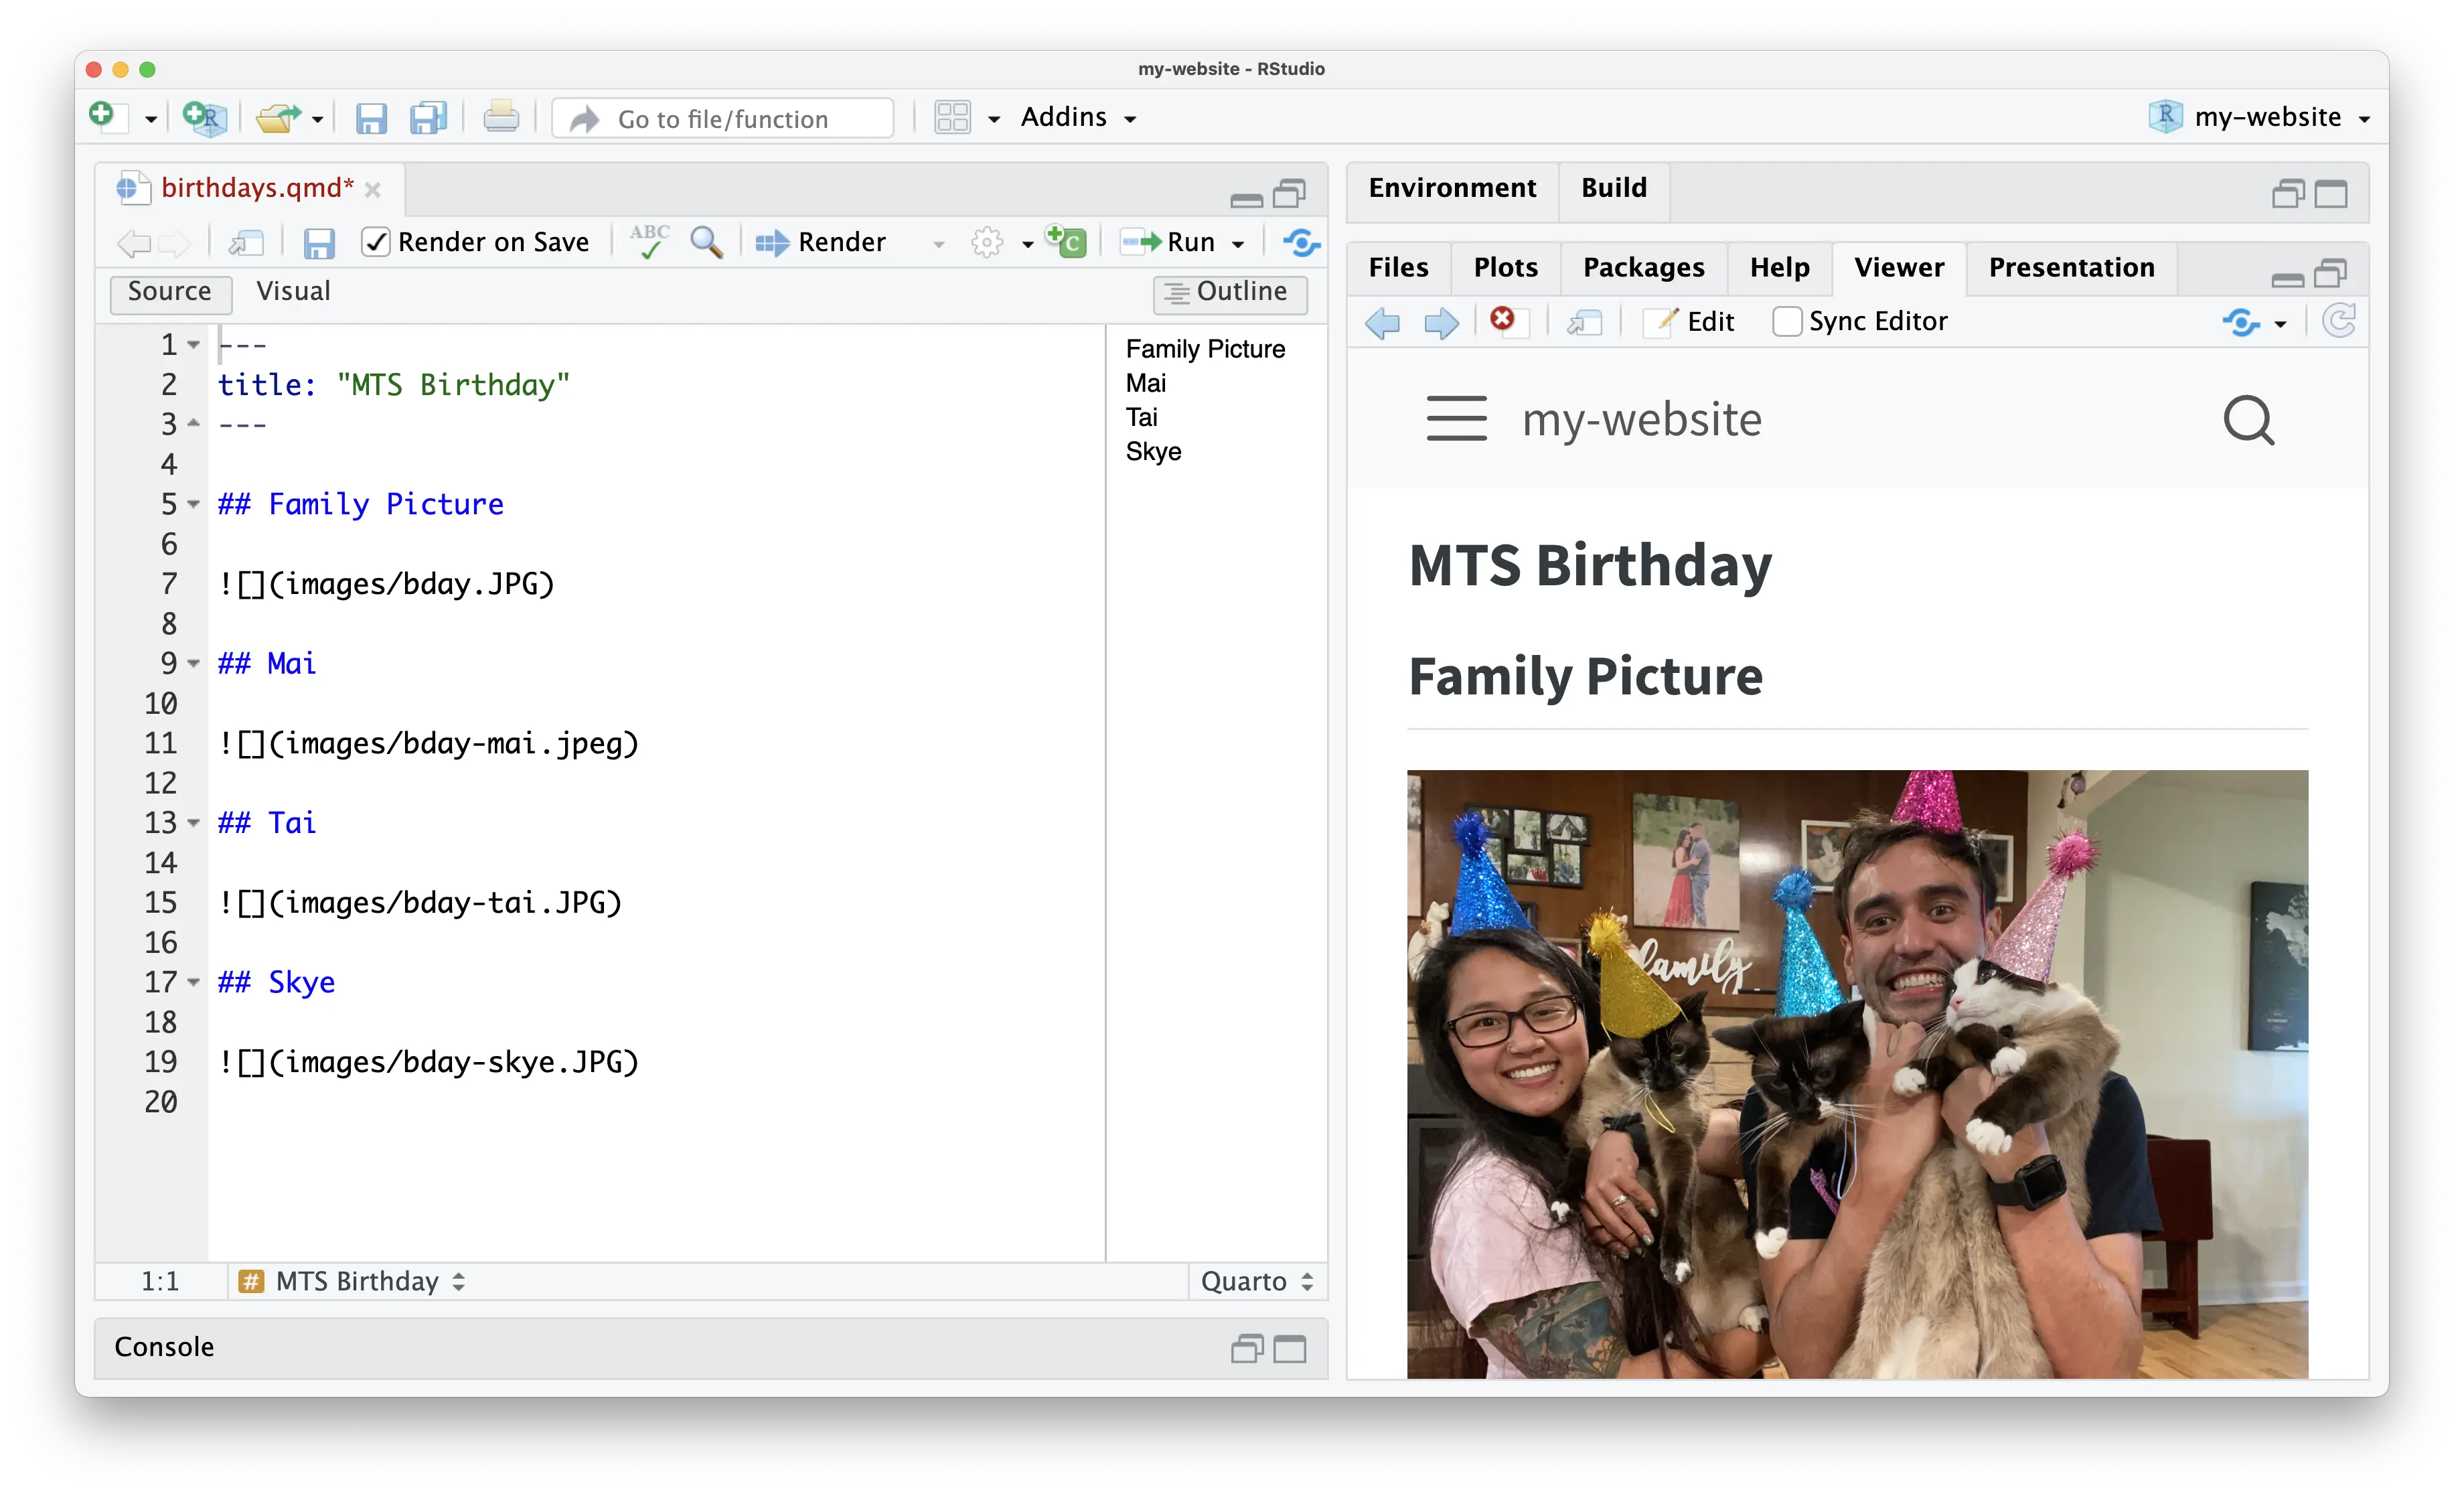
I named my new page birthdays because I’m adding pictures from Mai’s, Tai’s, and Skye’s birthday party 🥳.

This new page opened completely blank. From the Insert menu of the editor toolbar, I selected YAML Block, to which I added the page title.
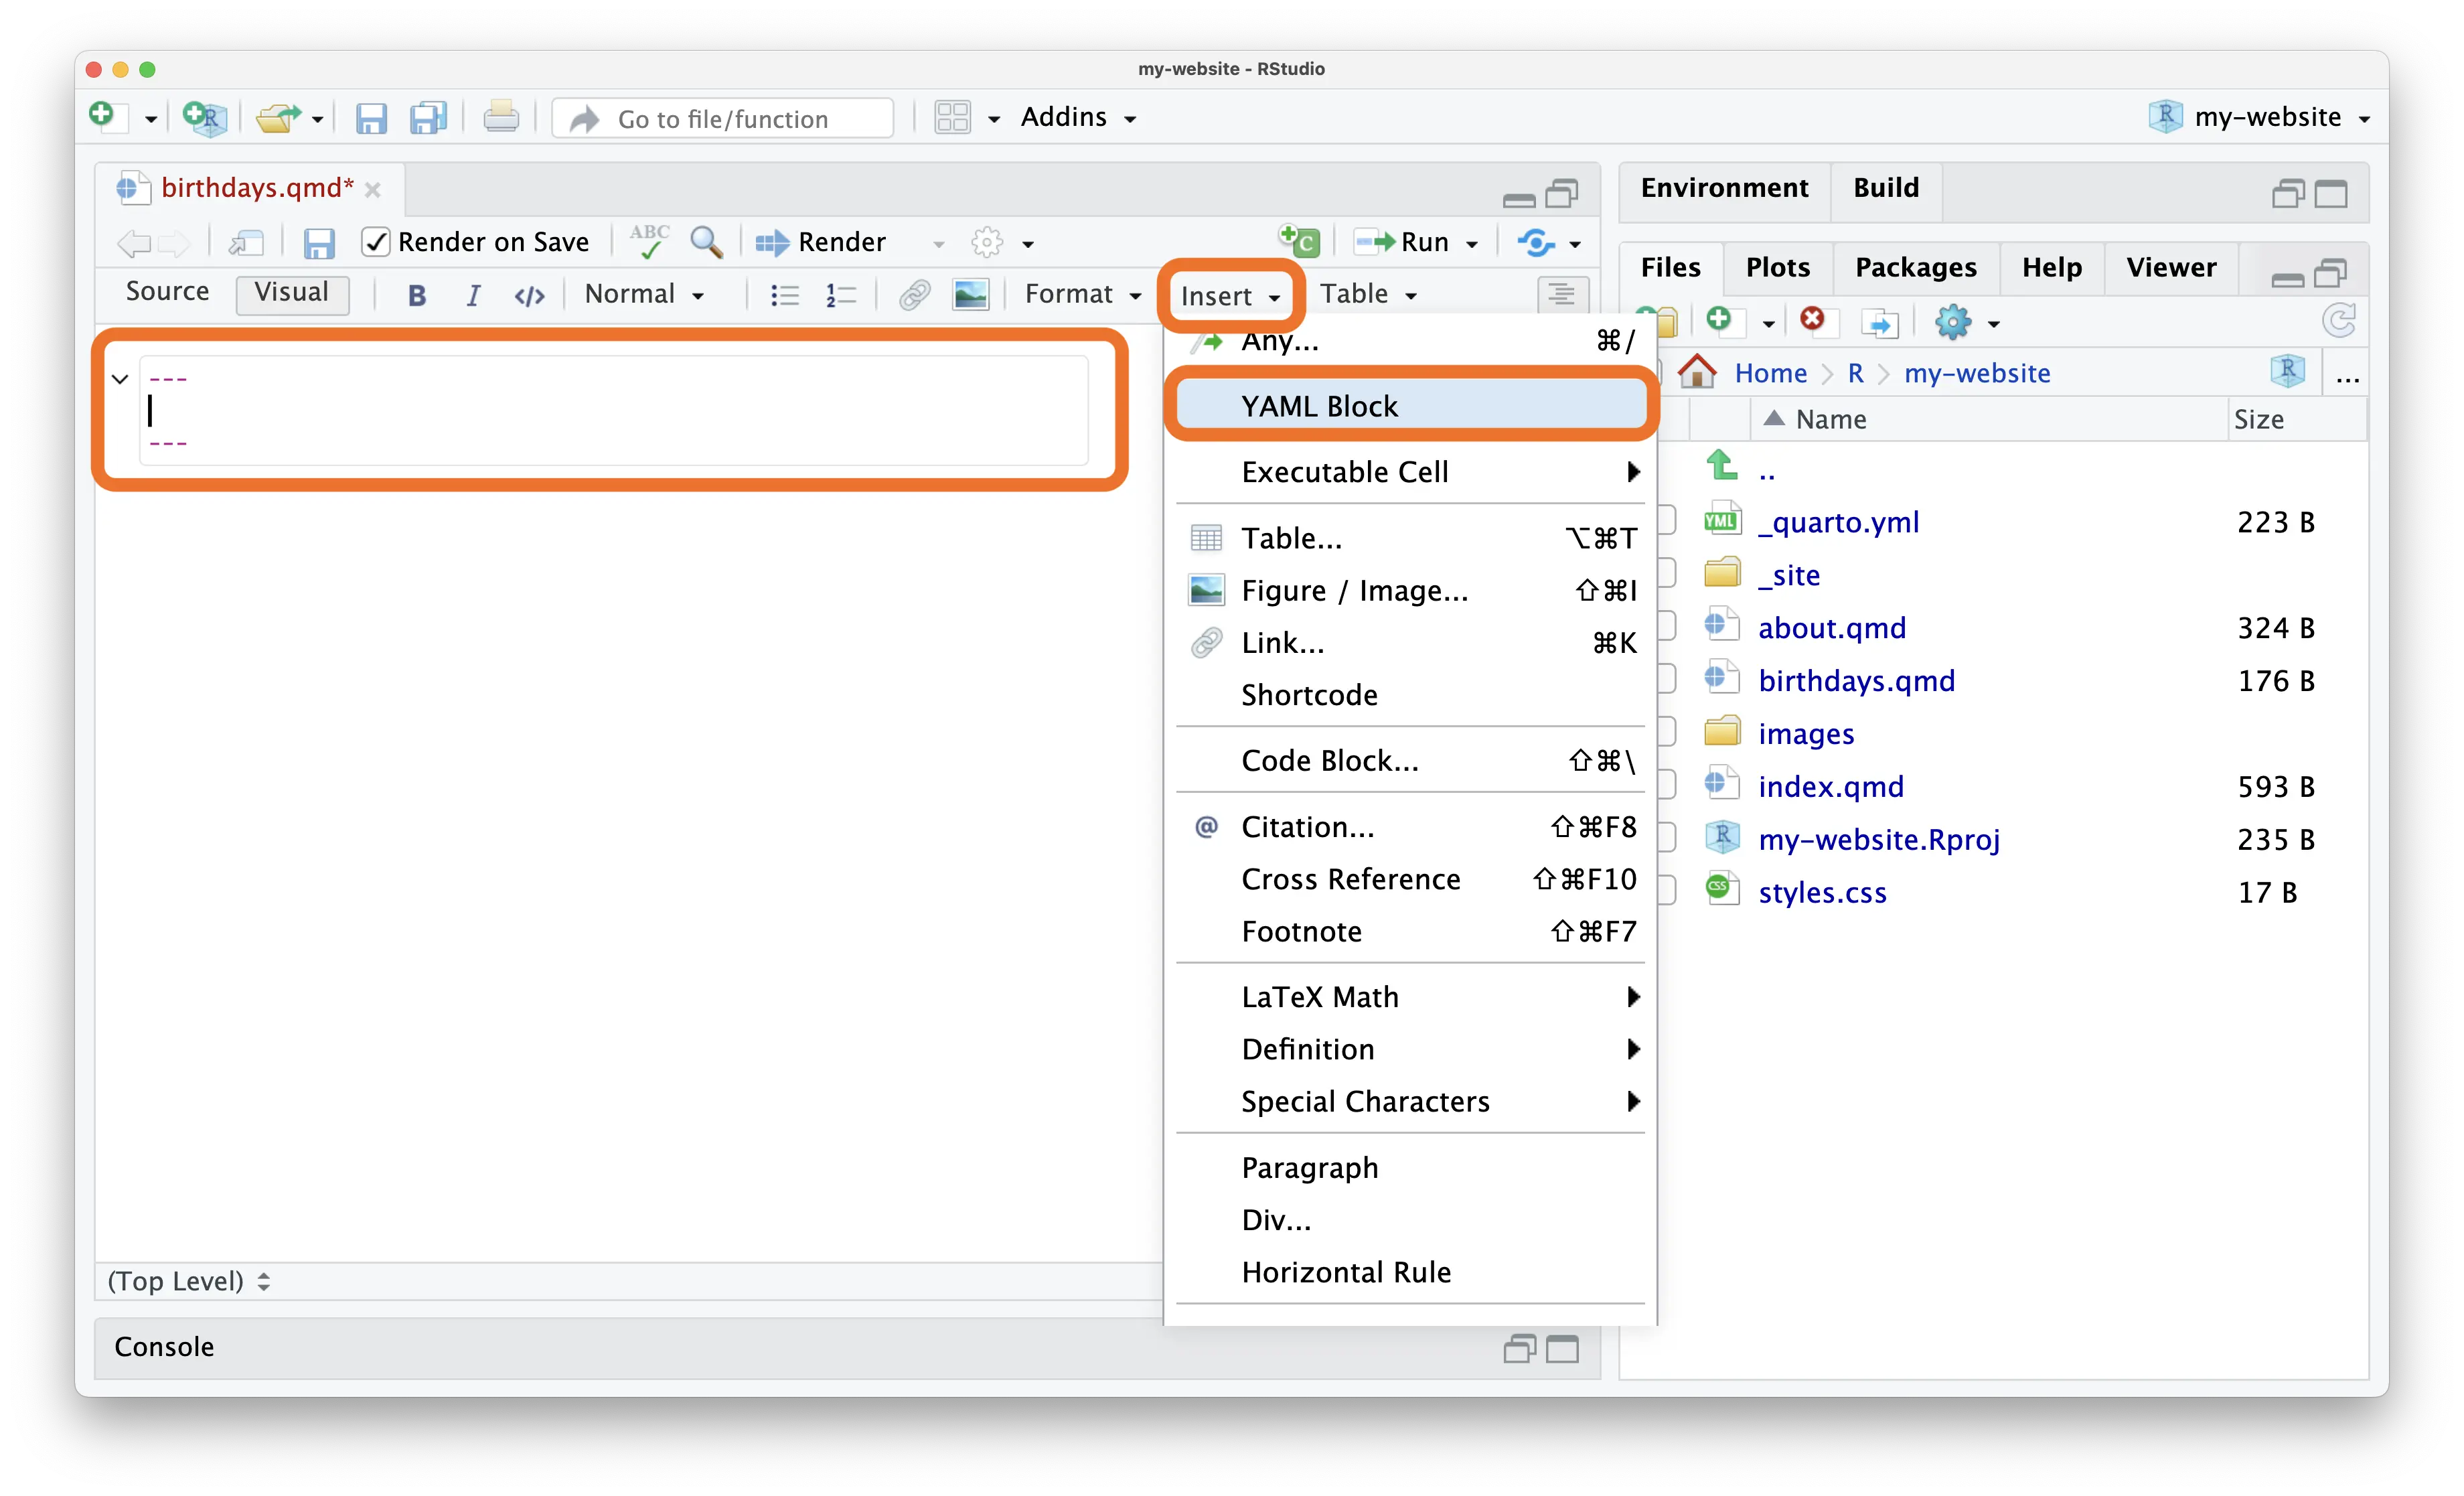
I added headings and images for our family picture and each of our three cats. For more advanced figure layouts, see this Quarto article.
6.2 Your turn
- Create a new Quarto document.
- Add the
YAML Block. - Add a page title.
- Add some content to your page.
- Render the page.
- Build and look at the website.
Notice that your new page isn’t included on the website! Fix this by adding it to _quarto.yml.
7 Update _quarto.yml
To make sure the new page is included on your website, you must add it to your _quarto.yml file.
This is also the place to change how the website title and page links are displayed in the navigation bar.
- Under
navbar:left:means these links will appear on the left side of the navbar. You can also use theright:option to show certain links on the right side.href:must be the filename of the.qmdtext:is the link to that page.
7.1 My turn
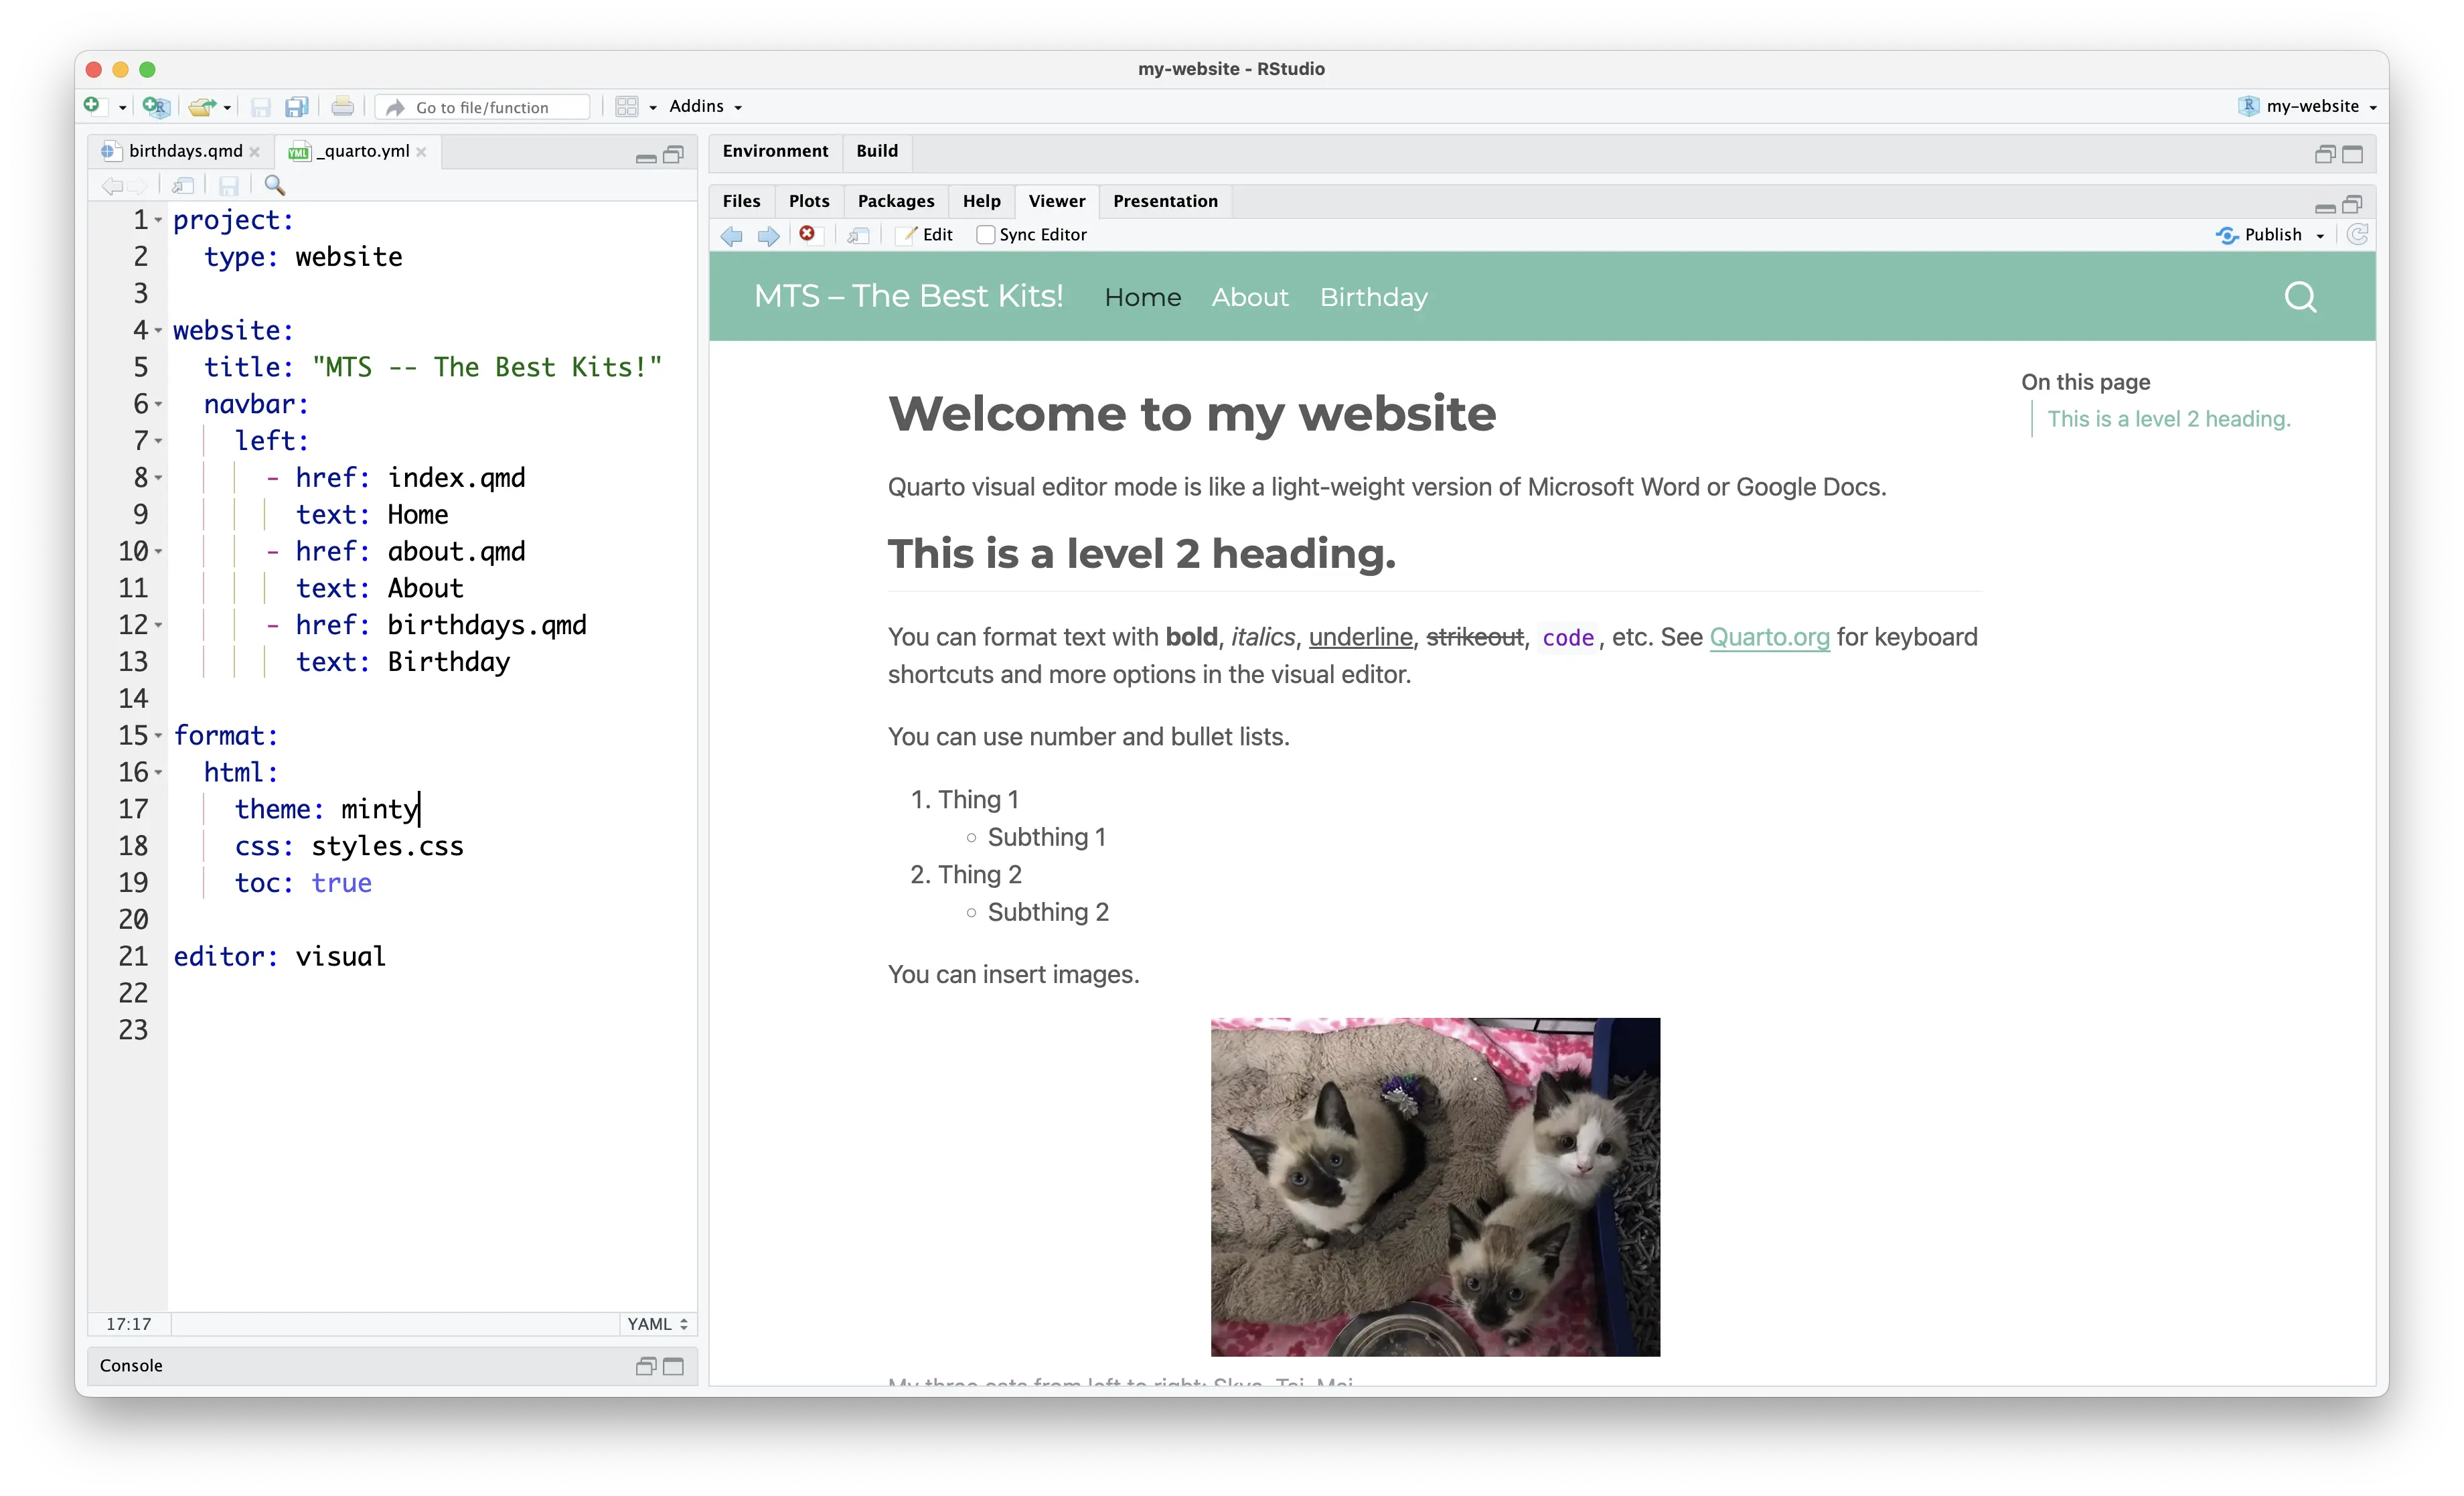
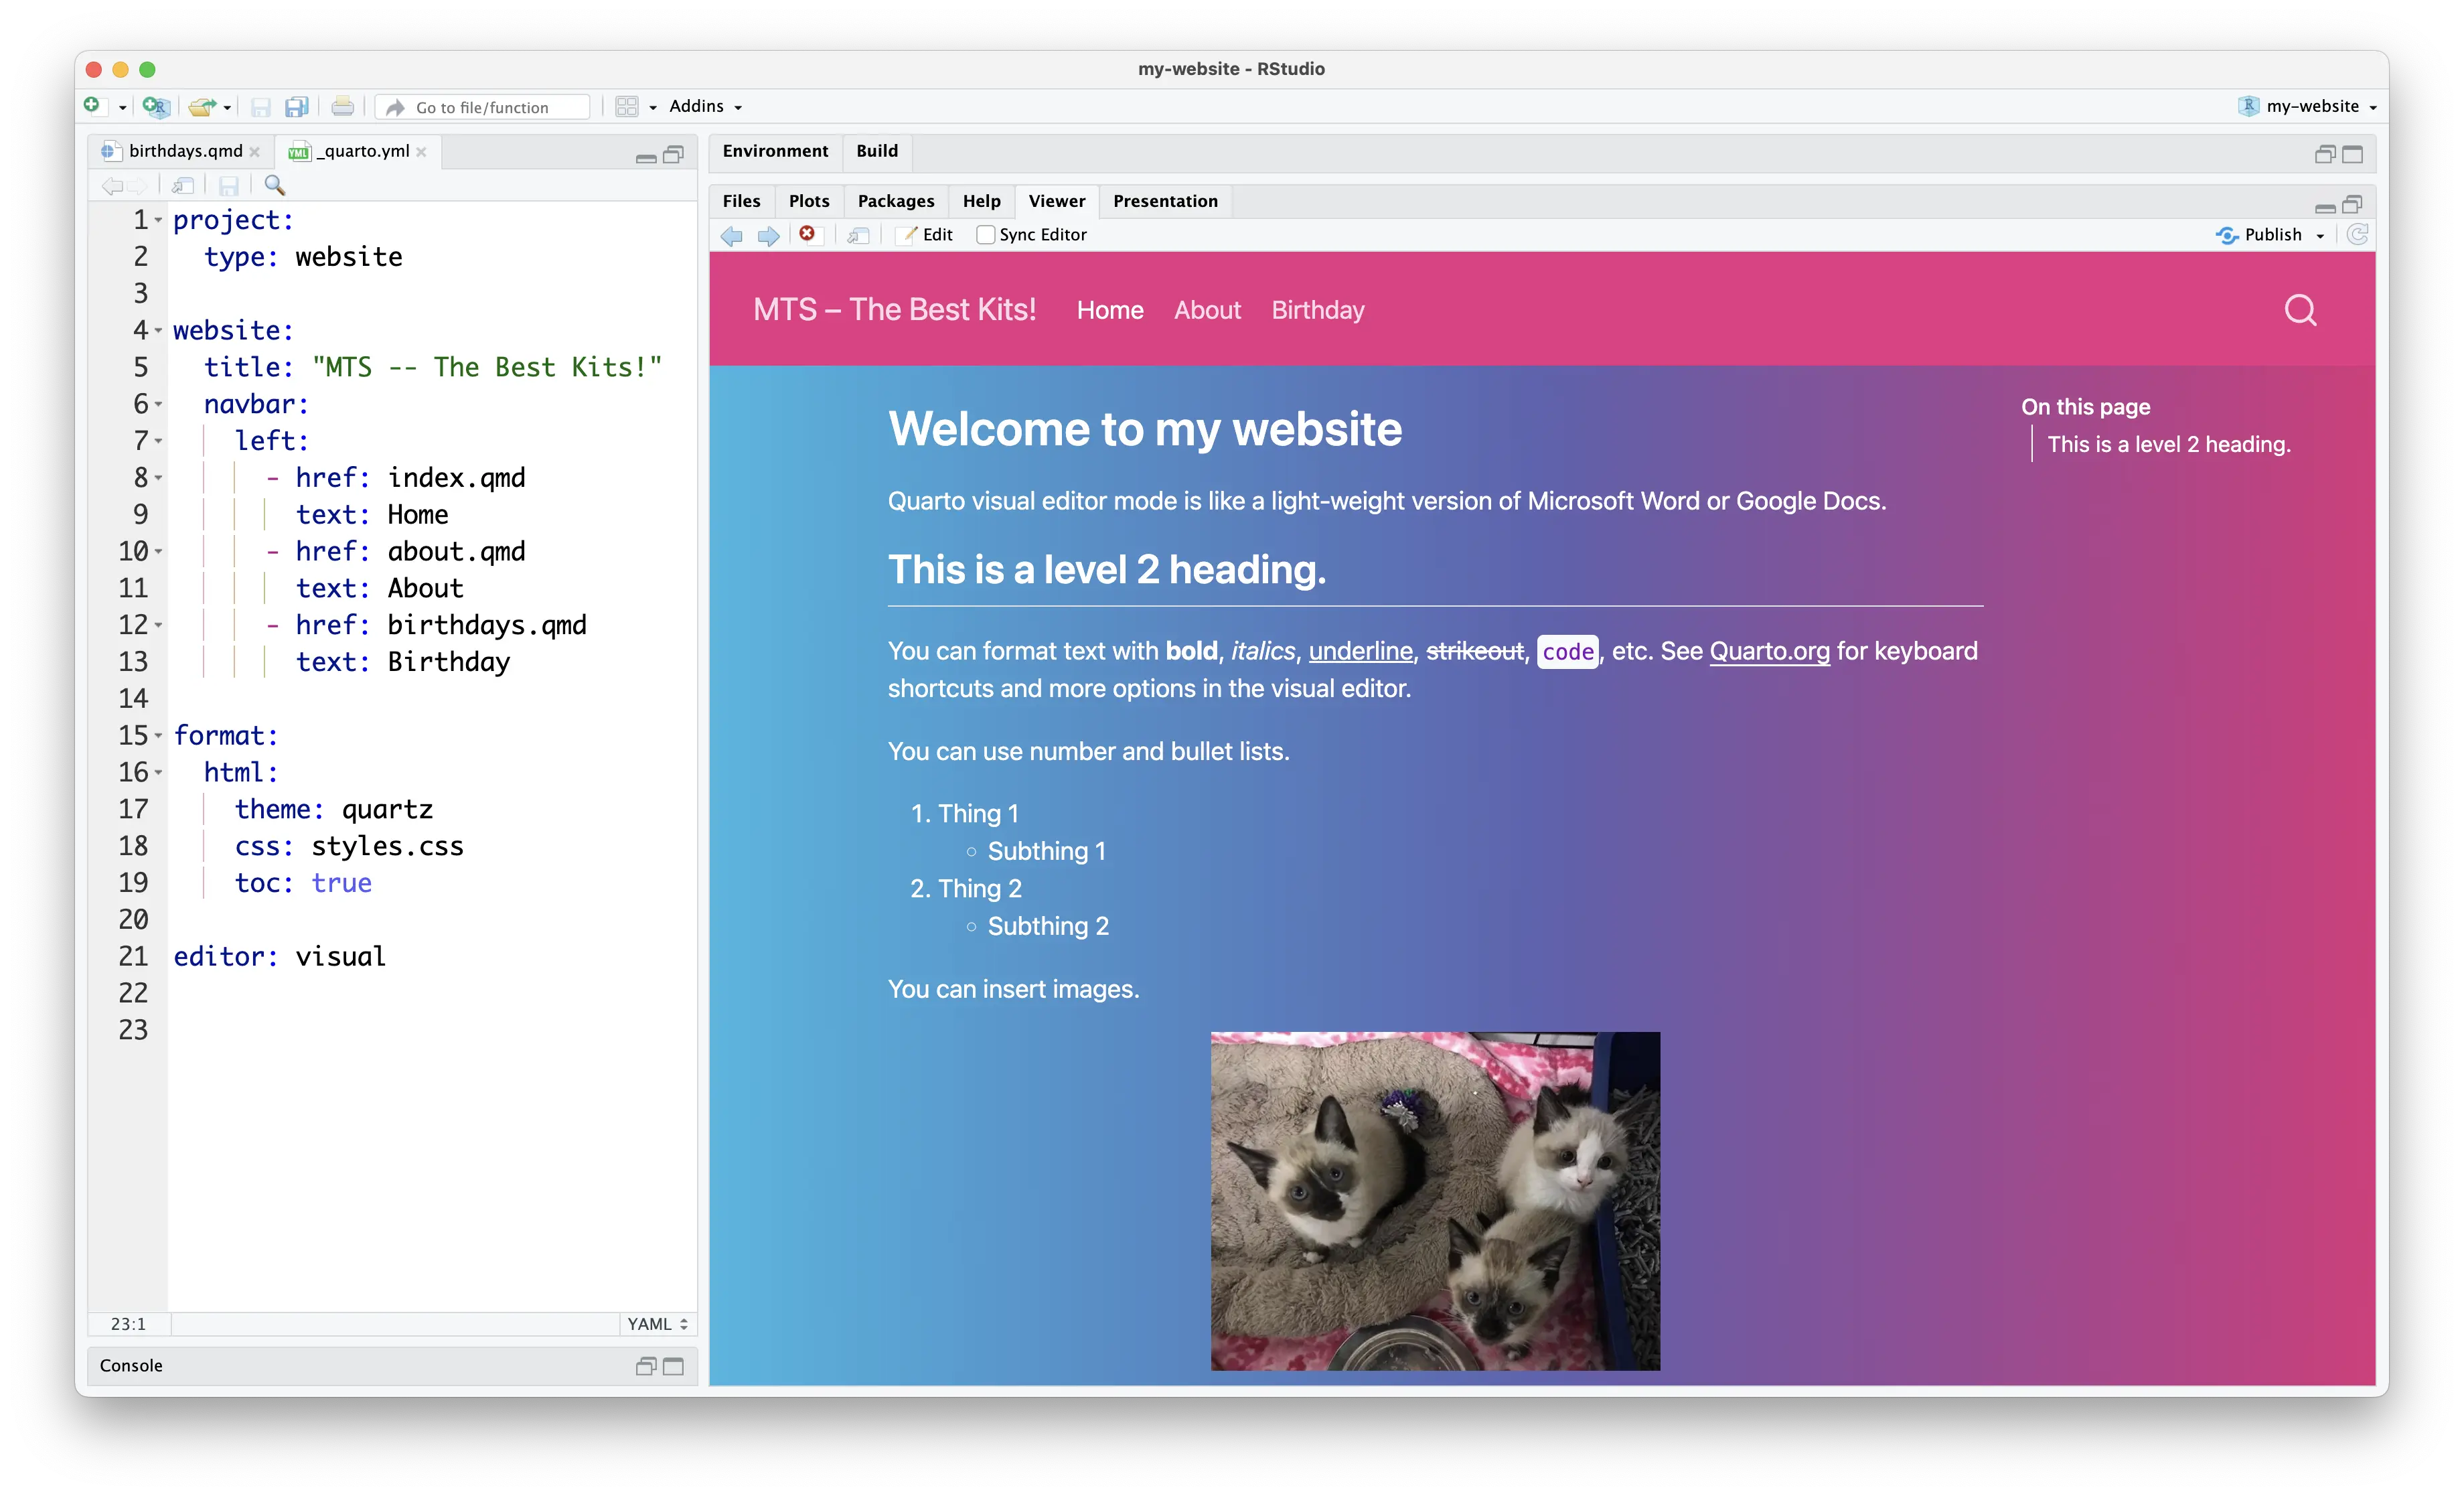
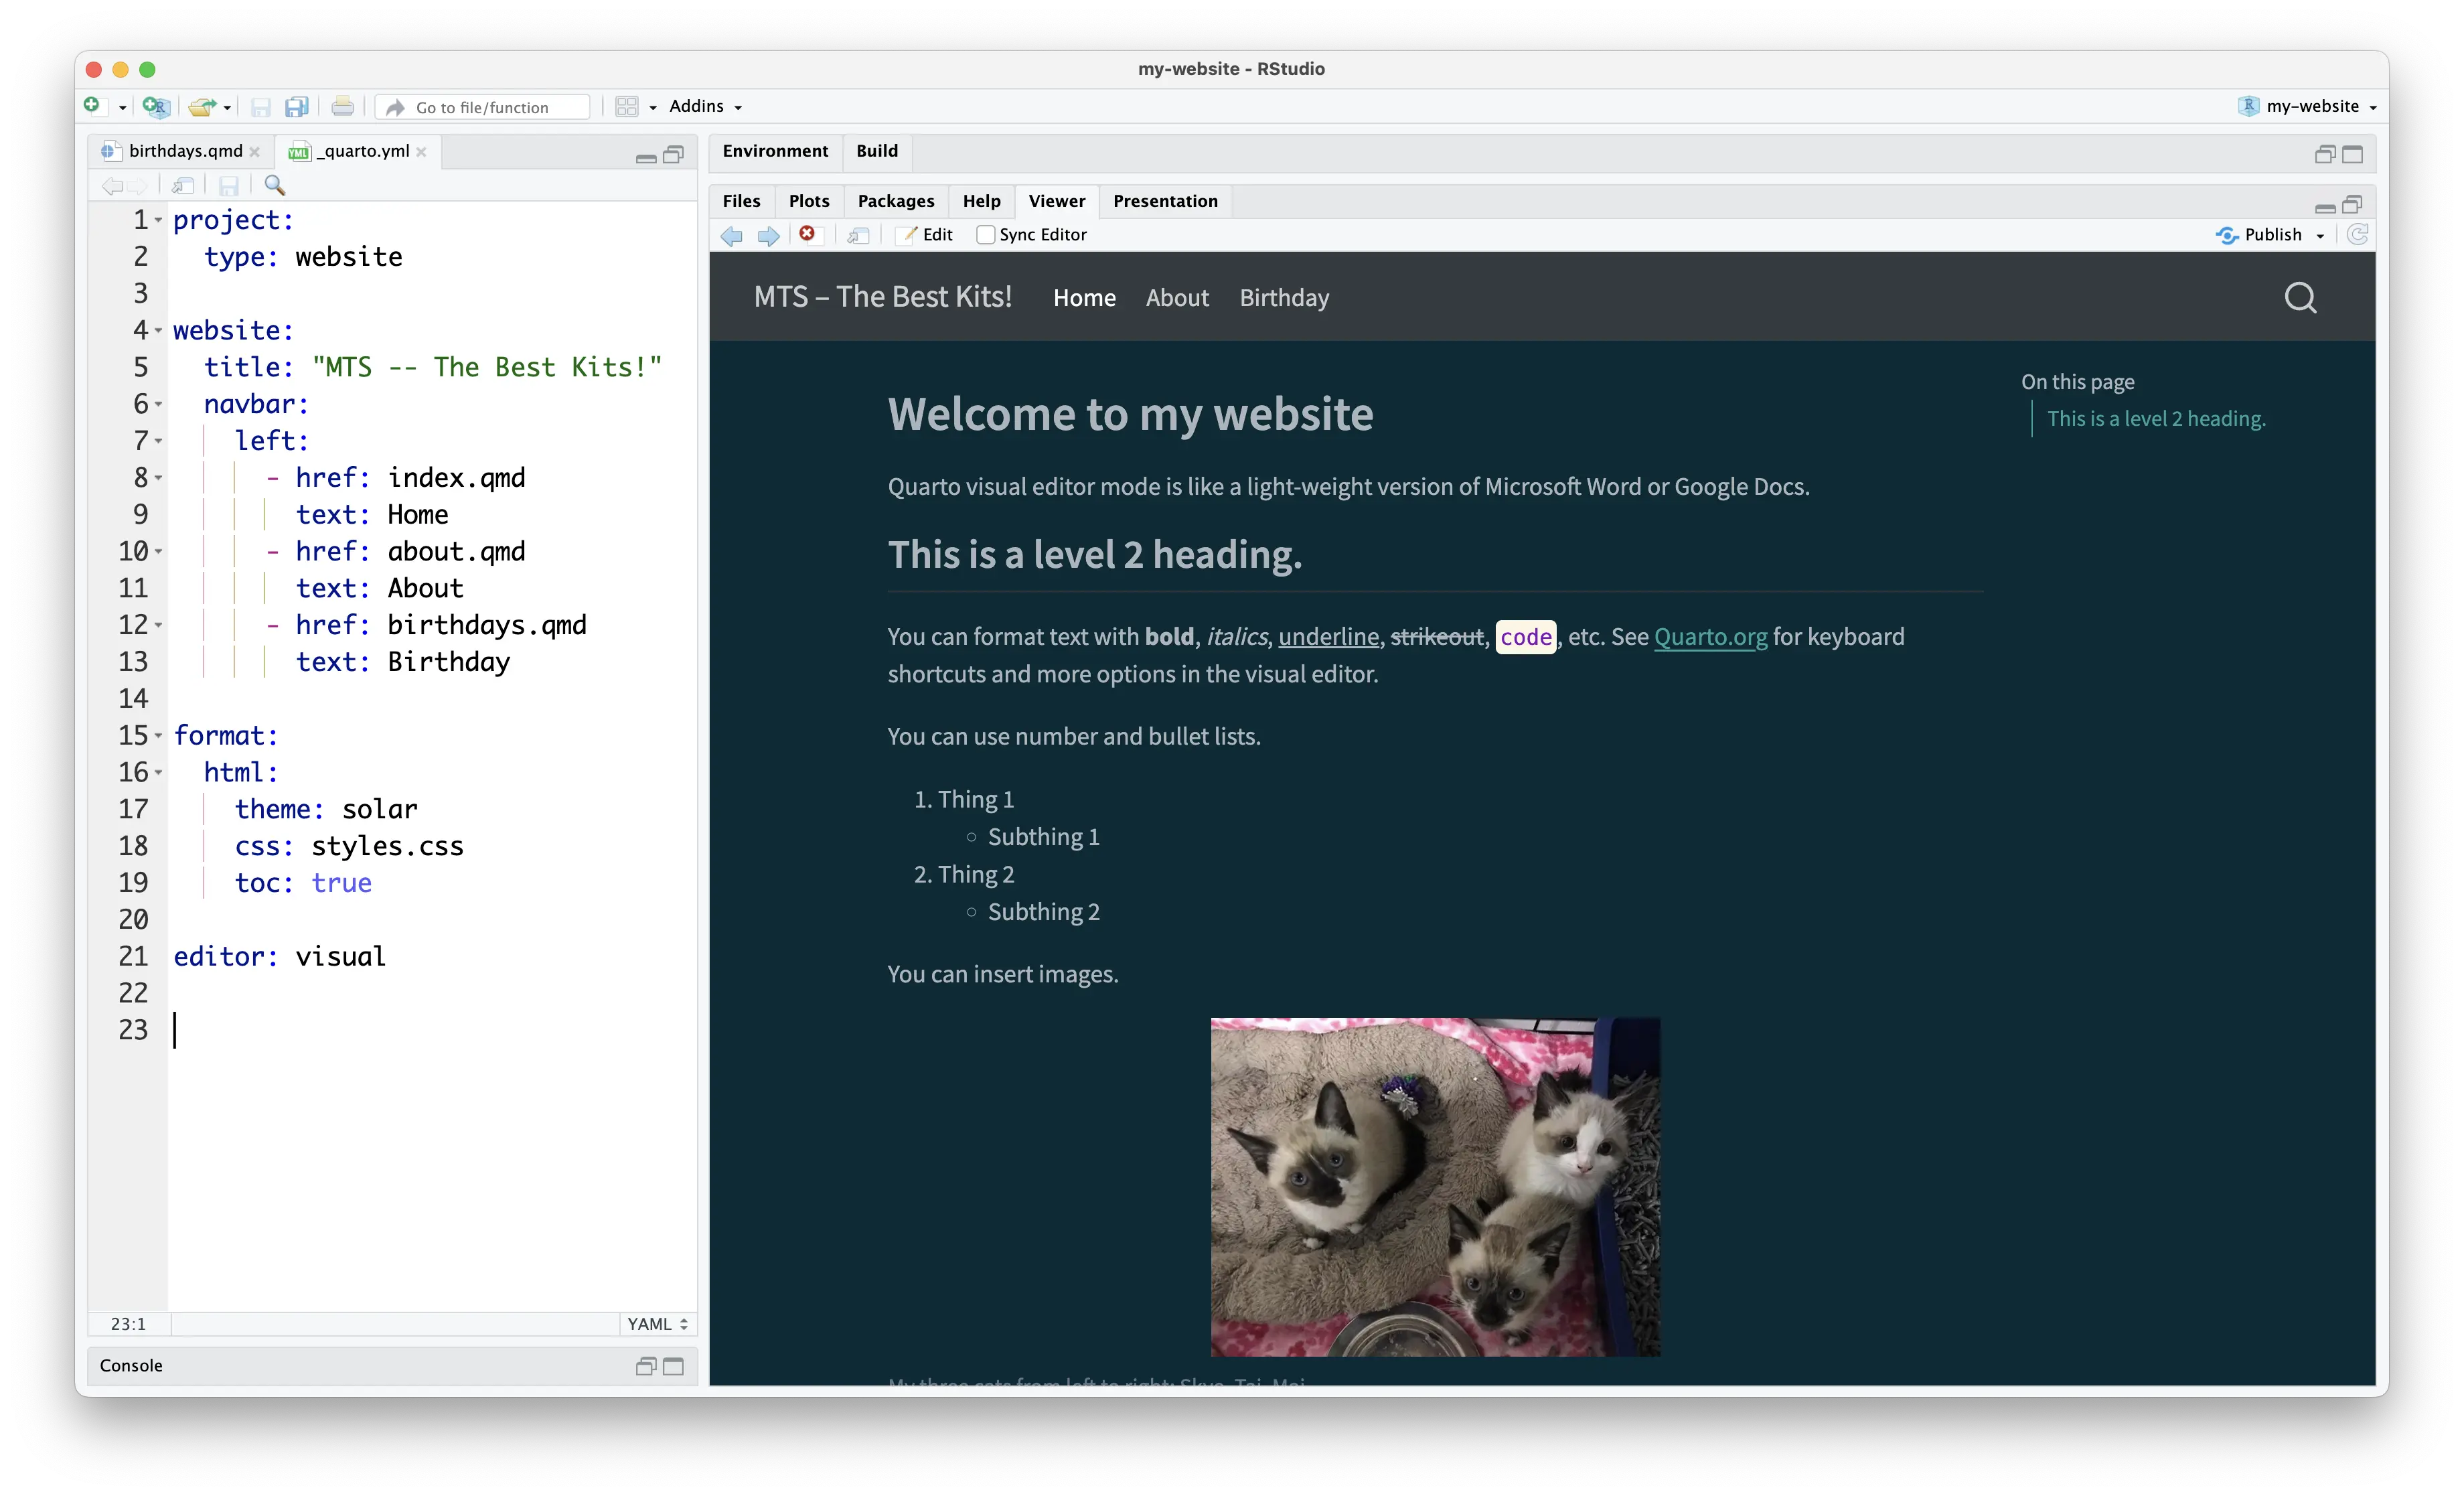
In _quarto.yml, I changed the website title, changed the text for the link to the about page, and added the birthdays page to the navigation bar.
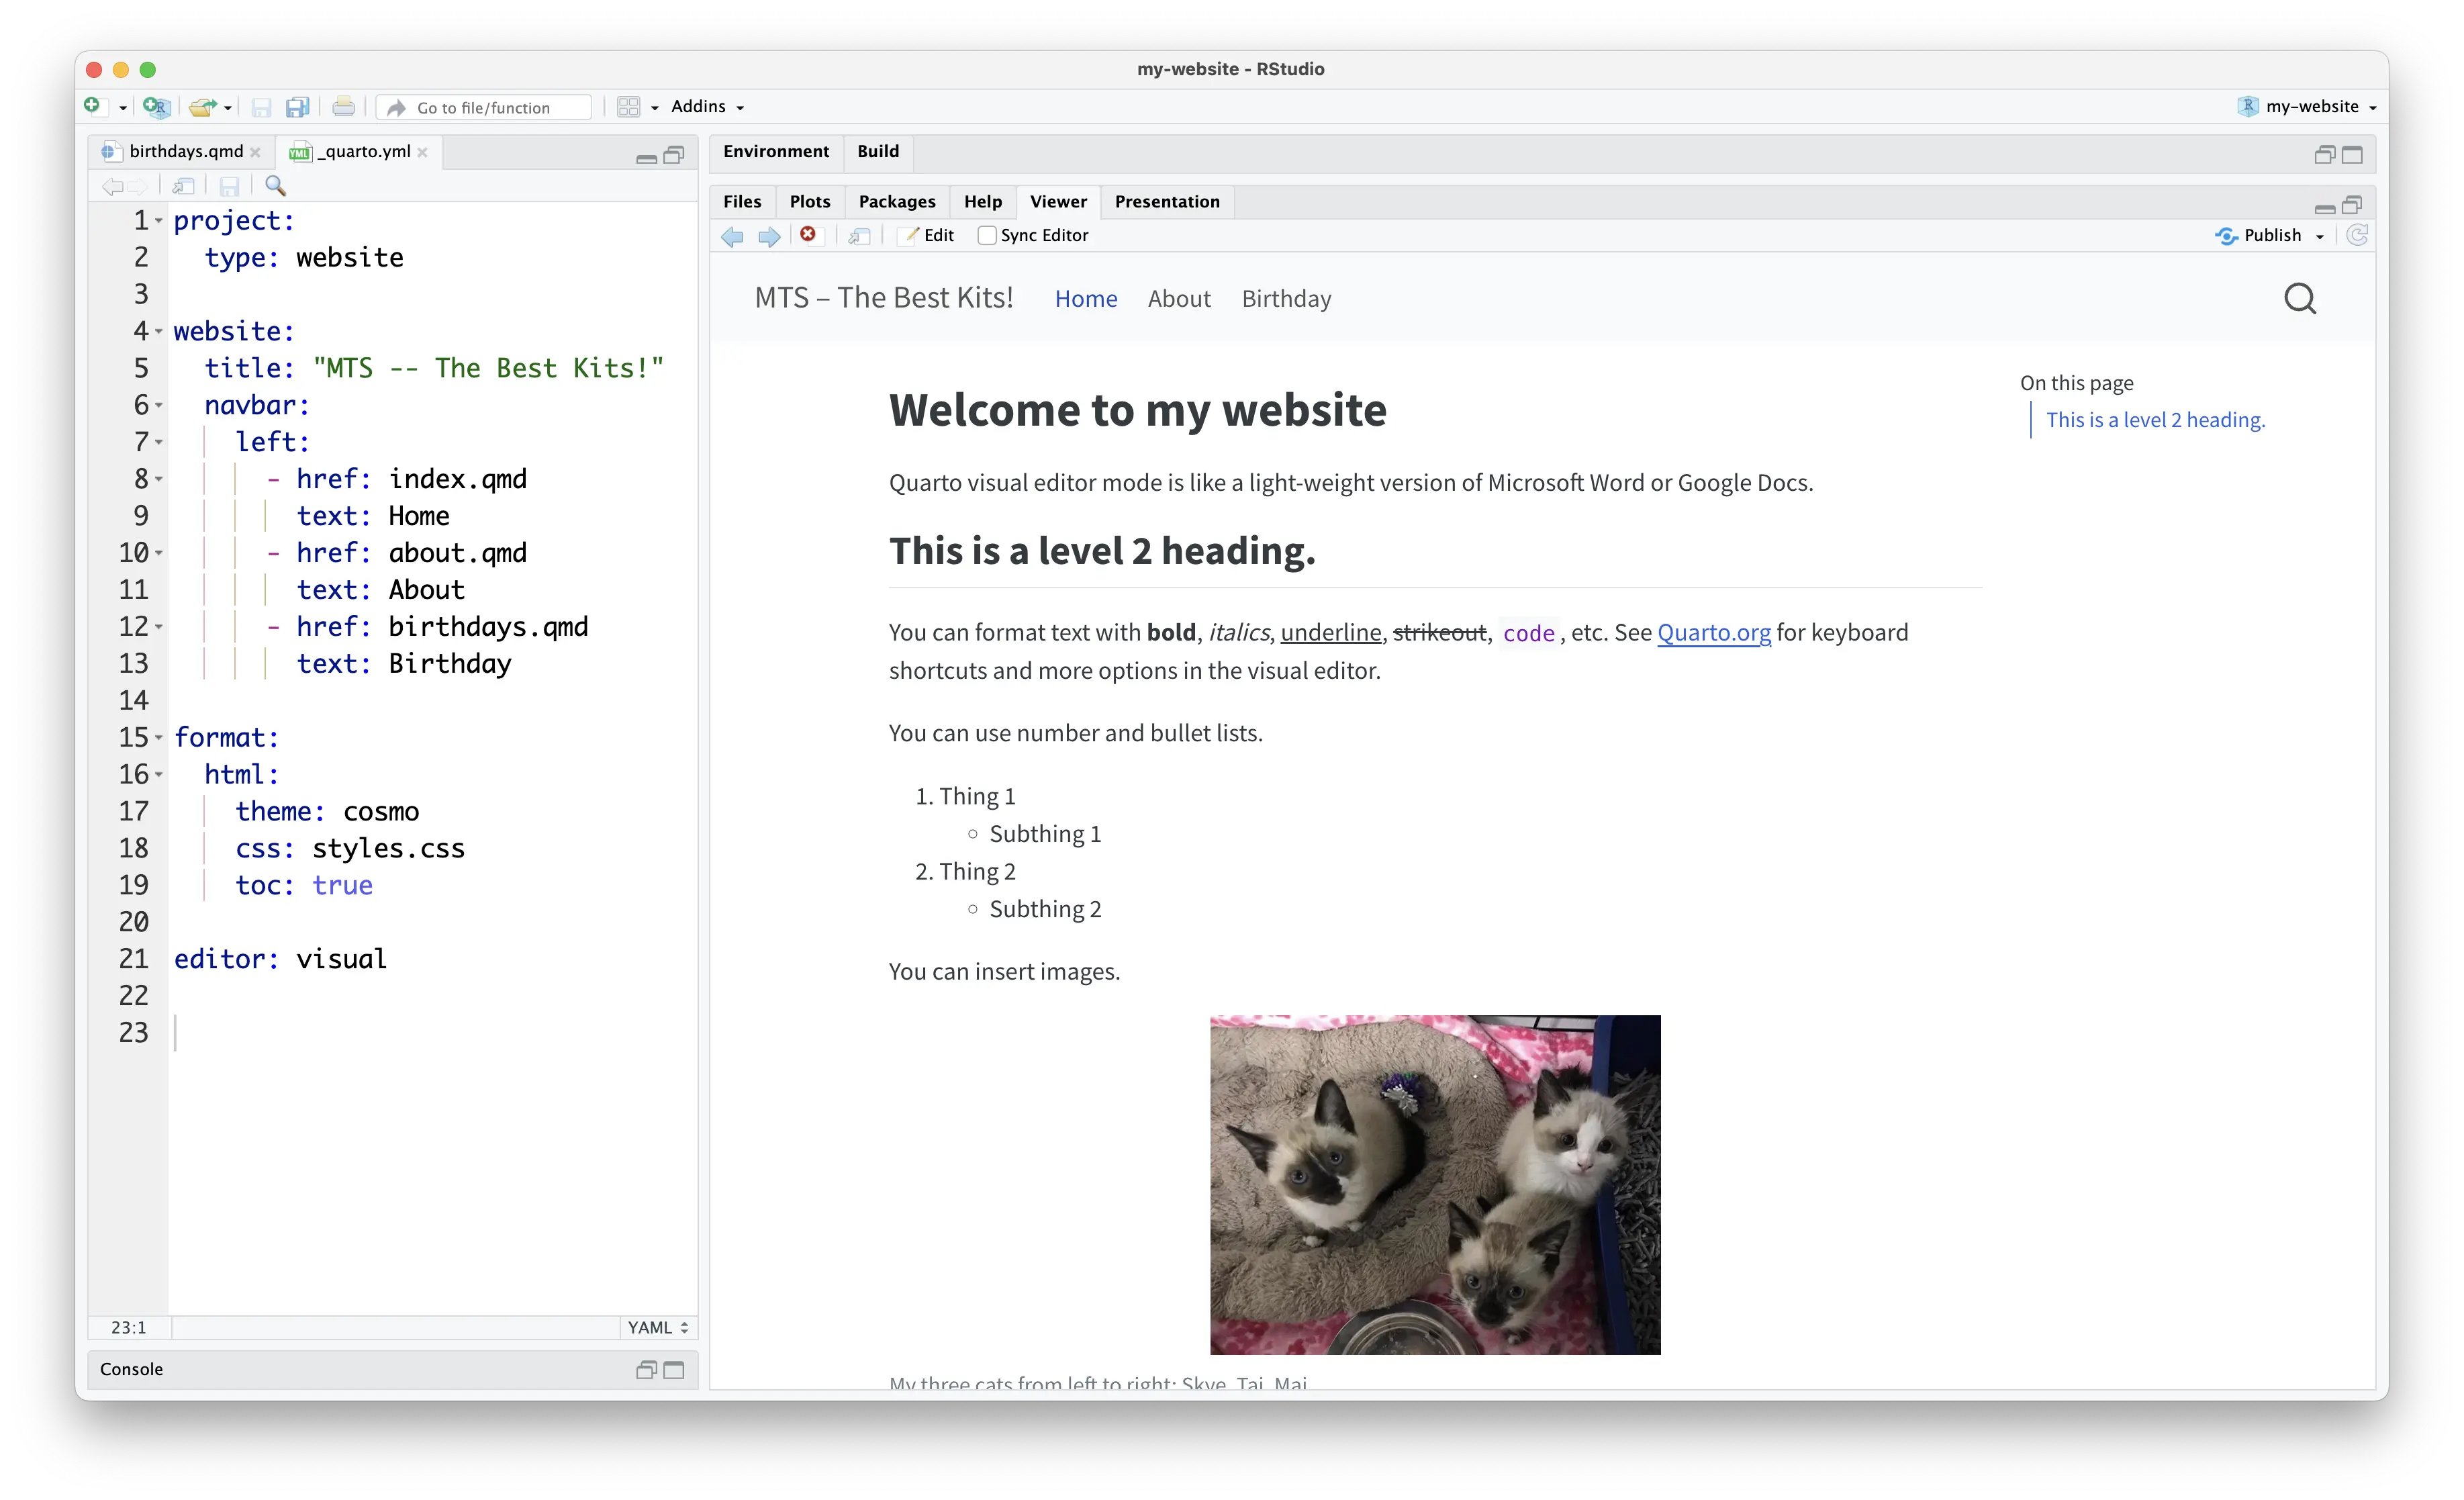
website:
  title: "MTS -- The Best Kits!"
  navbar:
    left:
      - href: index.qmd
        text: Home
      - href: about.qmd
        text: About
      - href: birthdays.qmd
        text: Birthday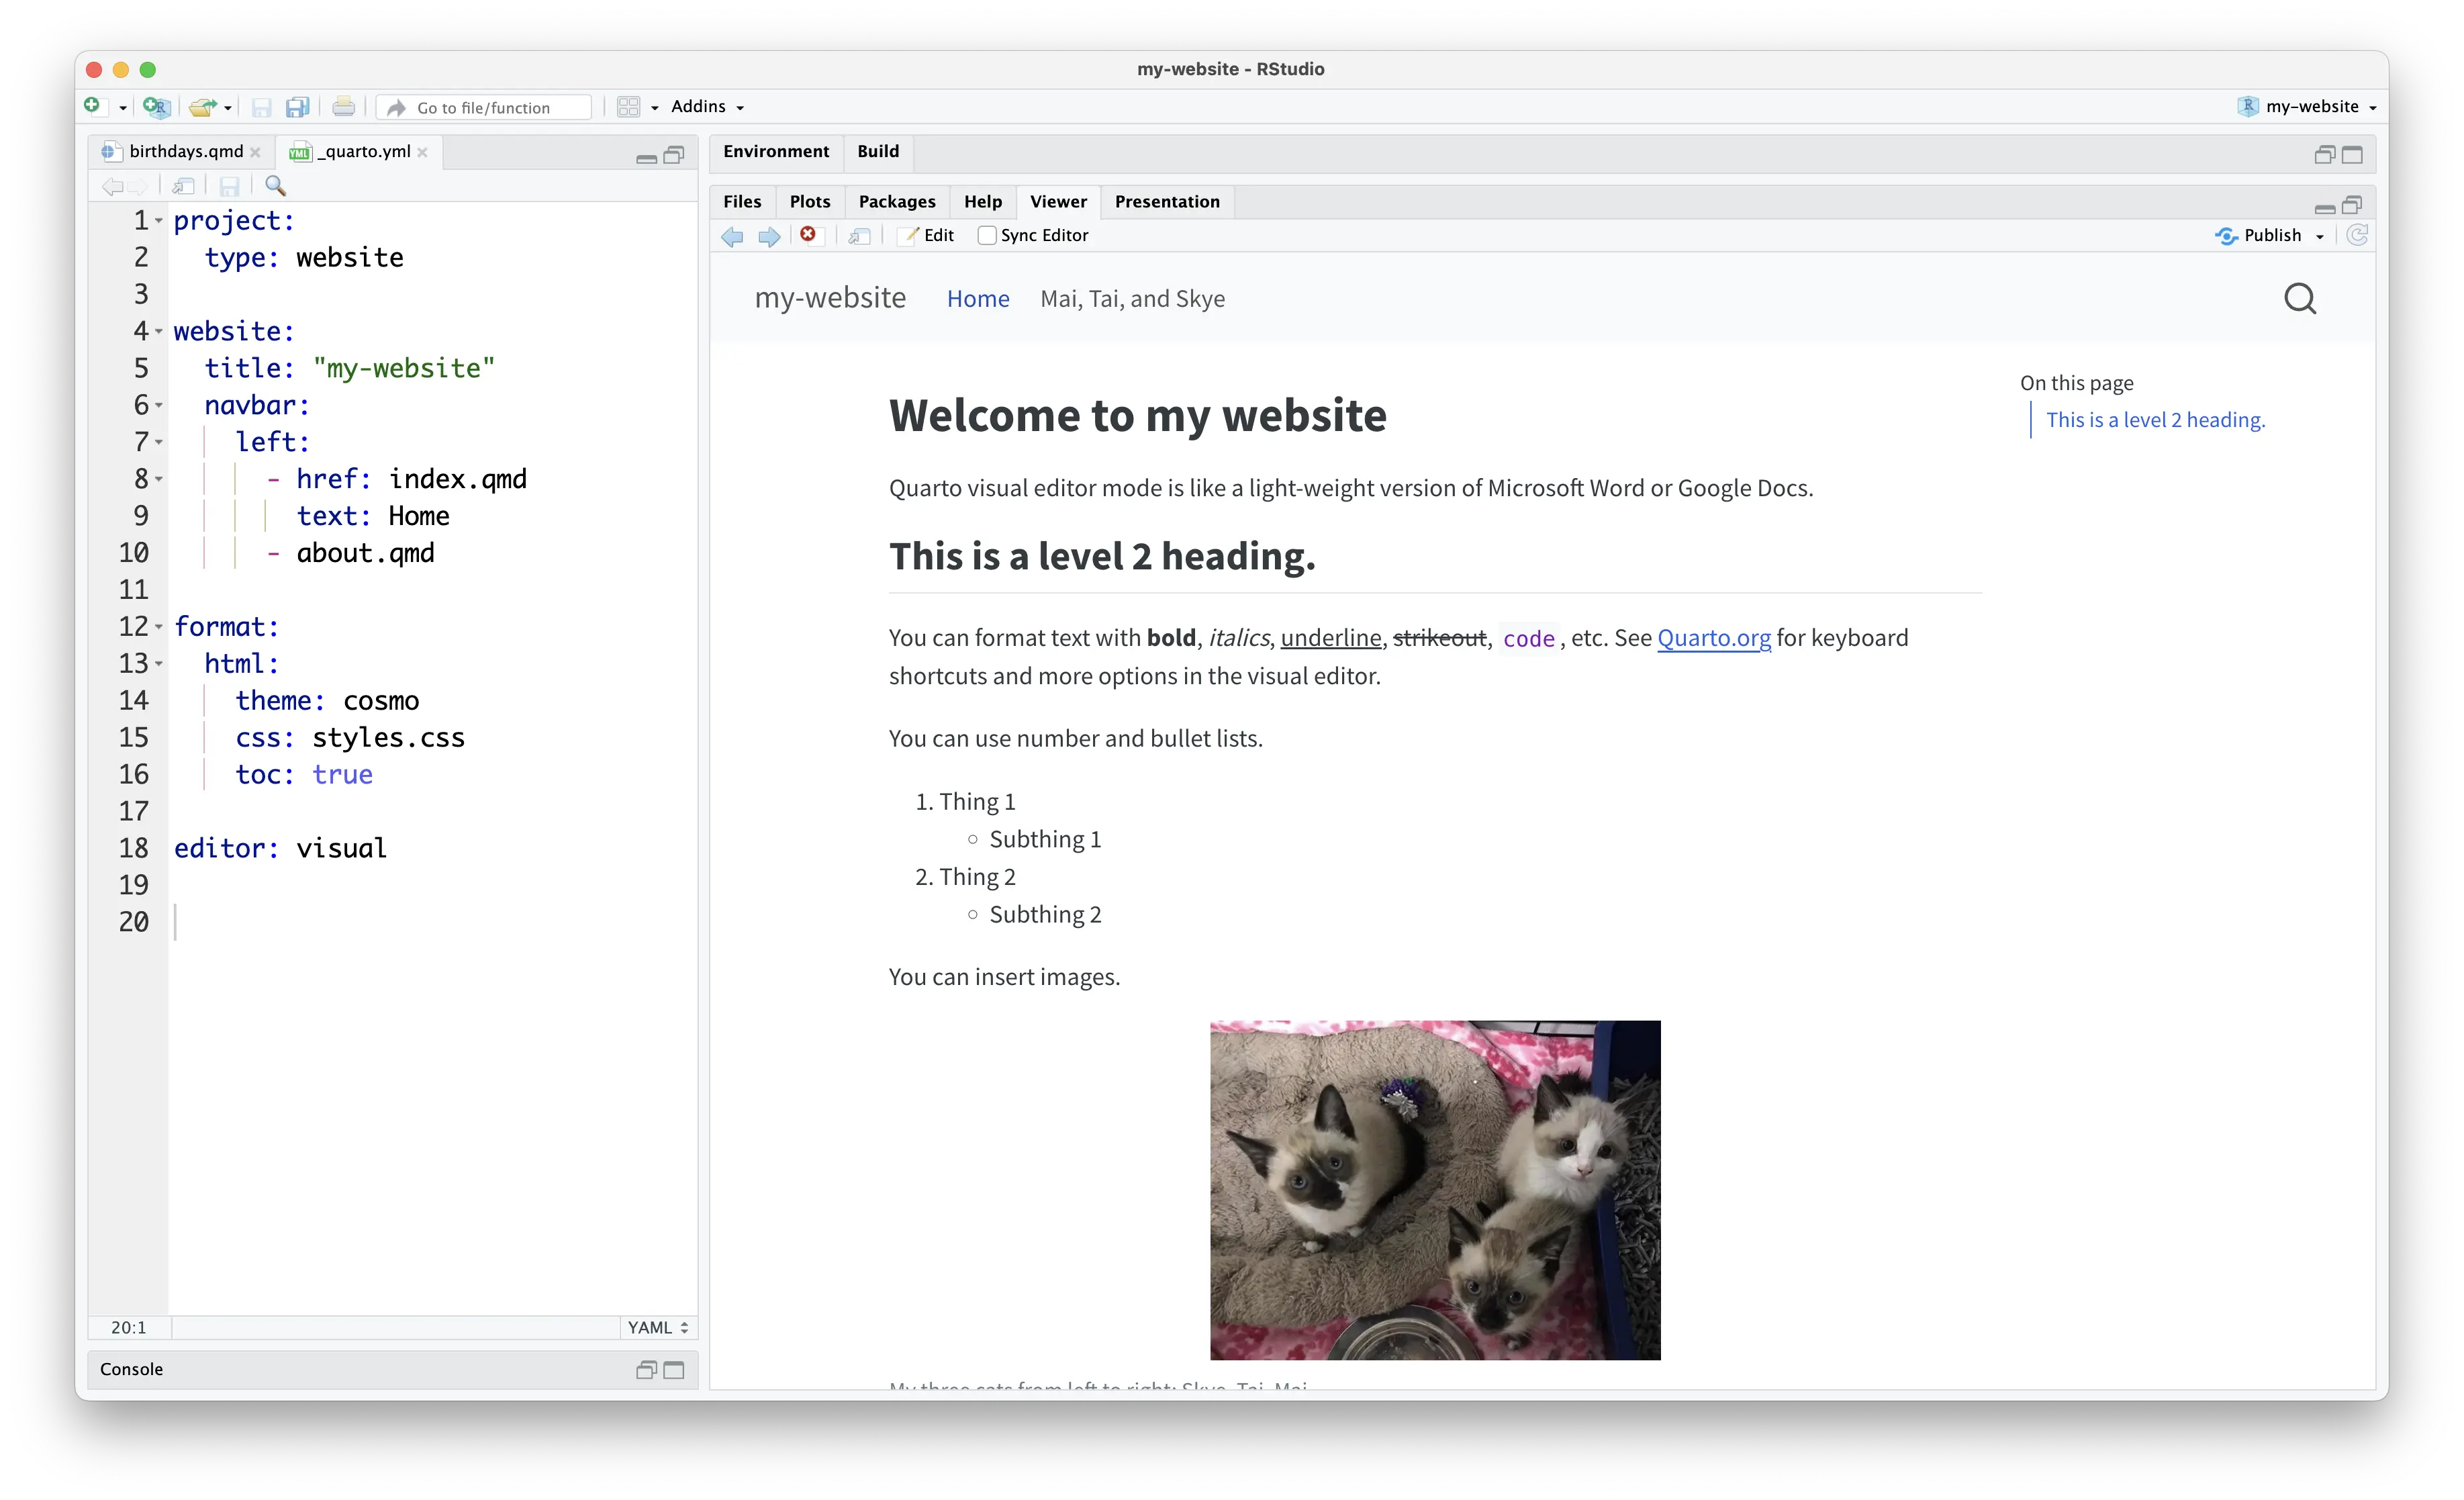
website:
  title: "my-website"
  navbar:
    left:
      - href: index.qmd
        text: Home
      - about.qmd
7.2 Your turn
- Open
_quarto.yml. - Change the website title.
- Optionally, update the text for the link to the about page.
- Add a new entry for the new page you added.
- Render.
8 Style your website
Now that you’ve got a few pages set up, it’s time to customize the look and feel of your site! Quarto websites can use any of the 25 themes from the Bootswatch project.
In _quarto.yml, under the html: theme: option, replace the default cosmos with your theme of choice. Make sure the theme value is all lowercase.
format:
  html:
    theme: minty
    css: styles.css
If you’re ready to do more advanced customization, you can open and edit styles.css. See the Quarto docs on theming.
8.1 My turn
I previewed the minty, quartz, and solar themes.
8.2 Your turn
- Go to Bootswatch project and see which themes you like.
- Open
_quarto.yml, and try them out. Make sure to re-render to update the preview.
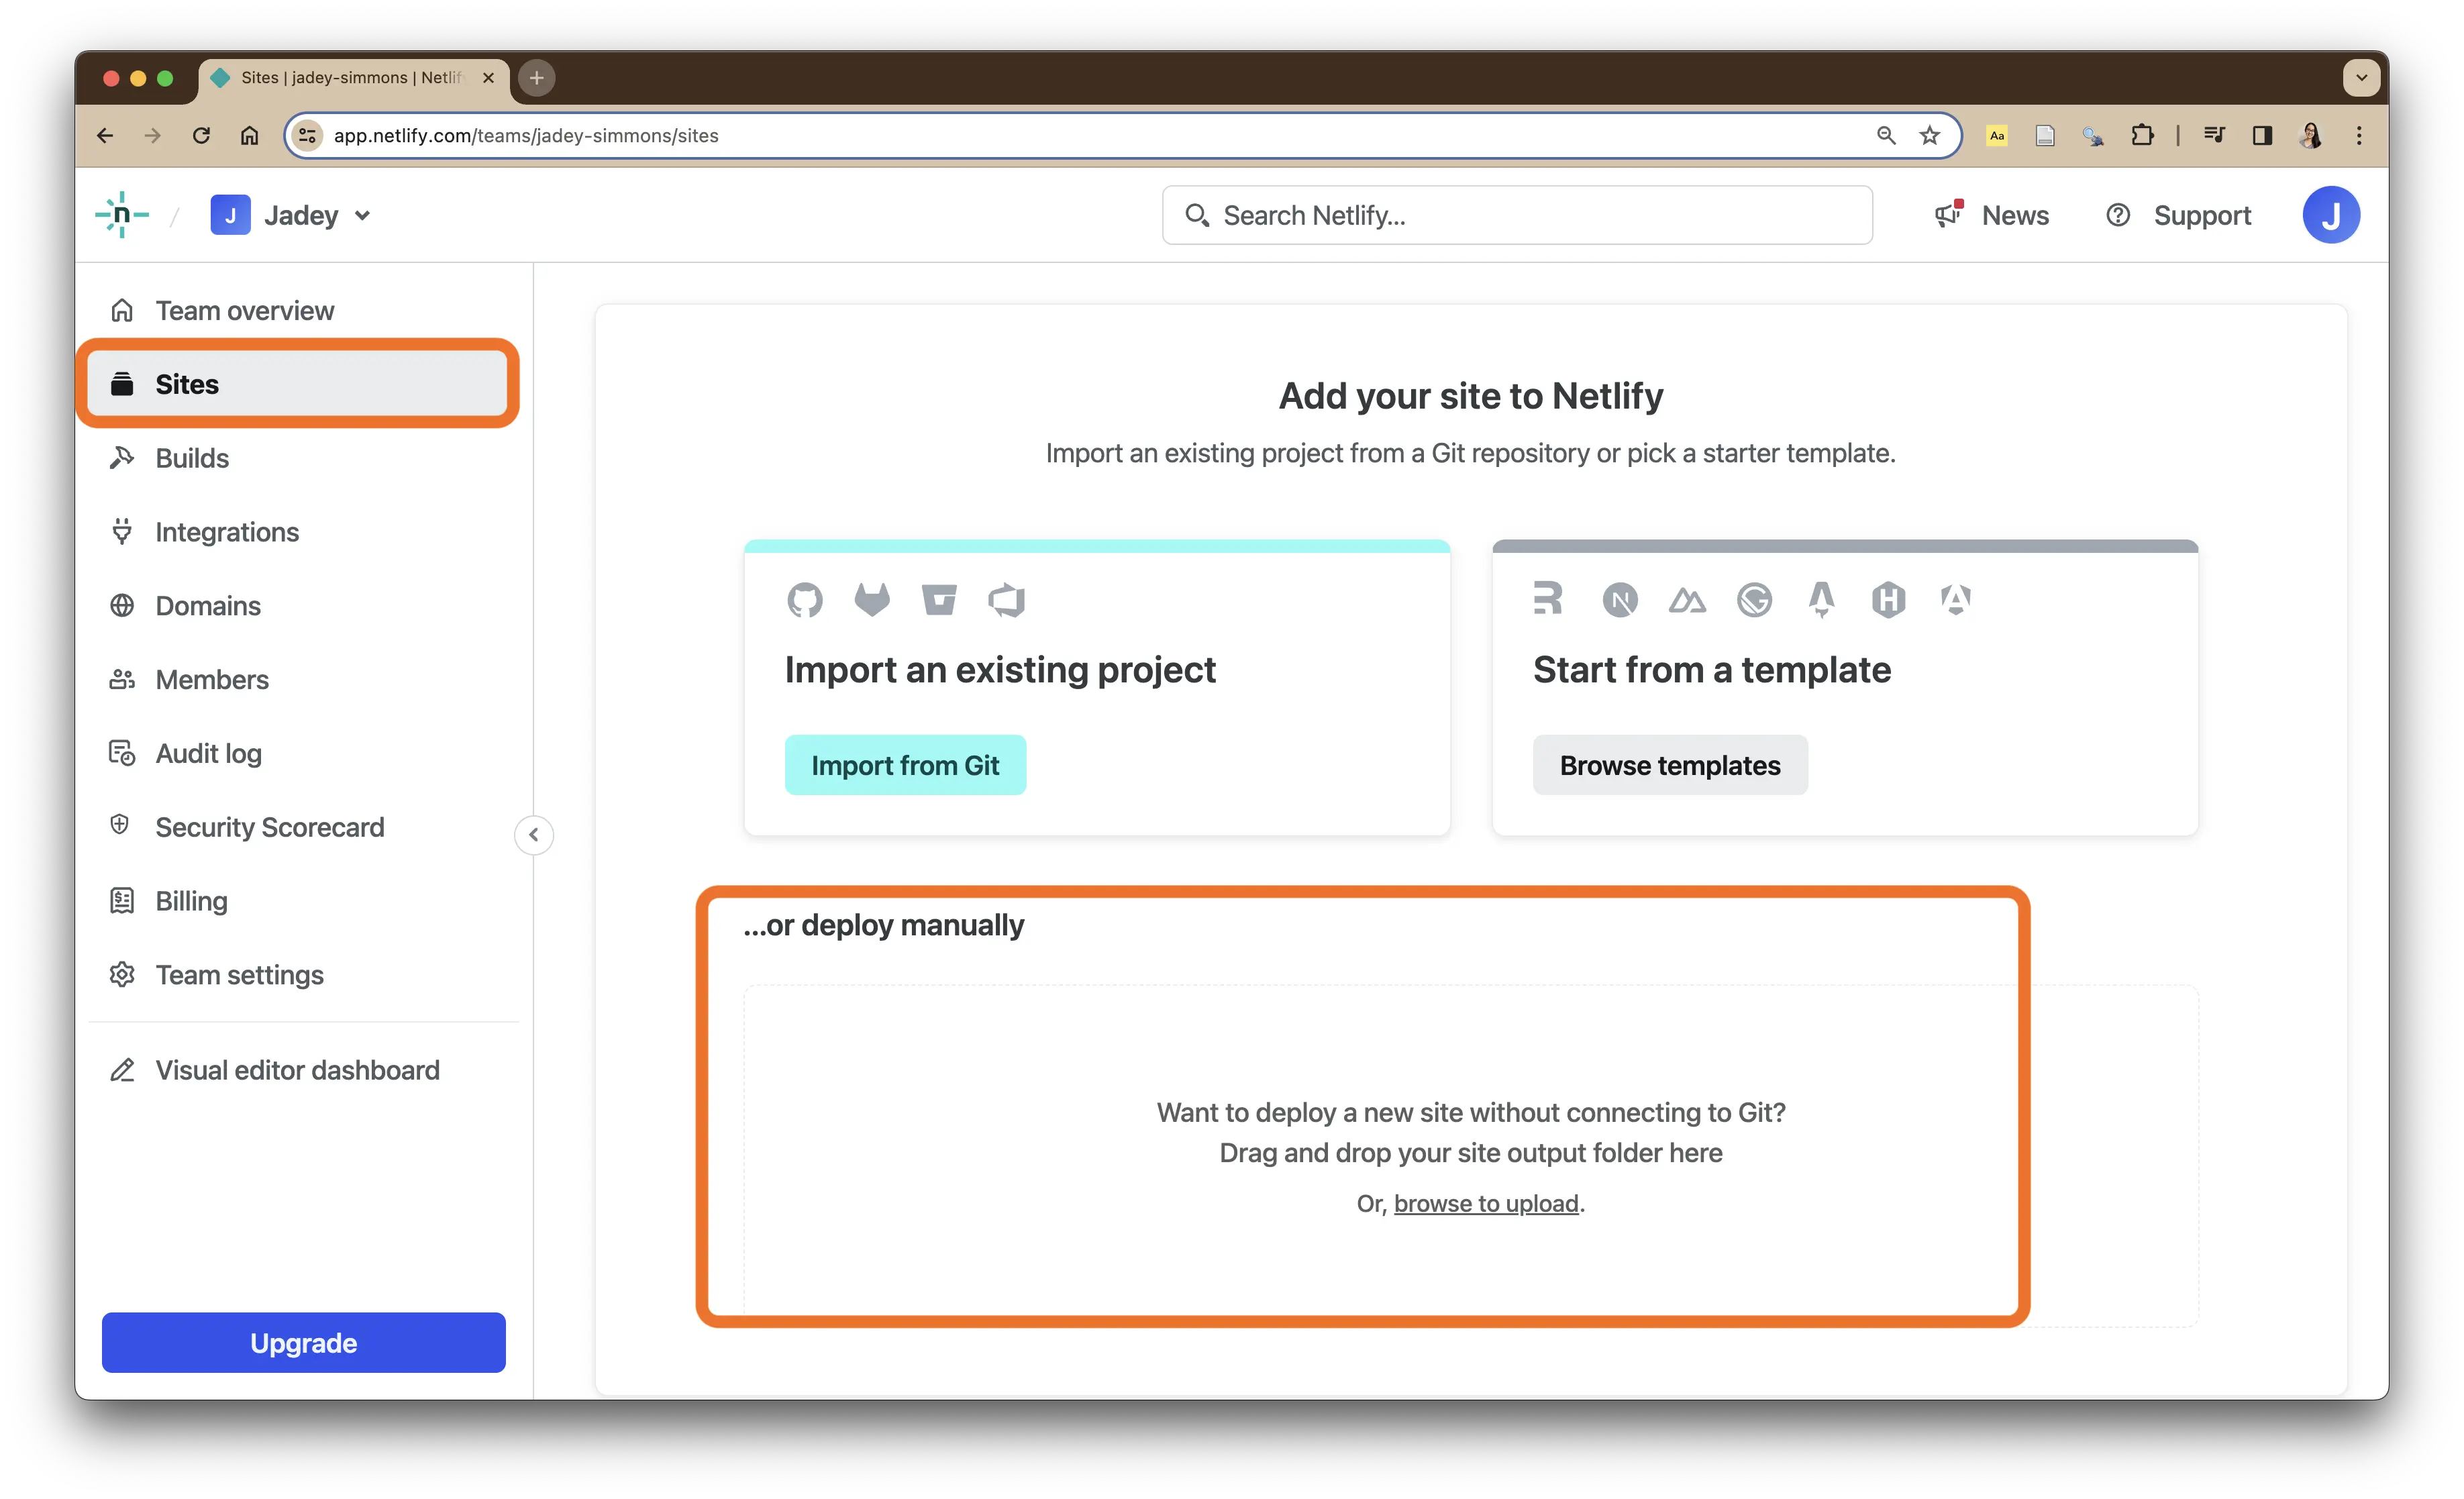
9 Publish to Netlify
Once you’re happy with your website, it’s time to publish it so anyone can view it on the live web! We’re going to use Netlify because it’s free and very simple to use with their drag and drop deployment tool.
Remember back when we first rendered the website, Quarto created the new _site folder? This is what we’ll drop into the Netlify deployment tool. _site contains all the HTML files, style sheets, images, and other resources that make up the website. You must drop the entire _site folder into the Netlify tool. Dropping the contents of the folder will error and Netlify will tell you “Please drop a folder containing an index.html file.”
After it uploads, we’ll look at the live website and change the site name.
9.1 My turn
I already have a Netlify account. So I logged in and opened the Sites tab. Then I dragged & dropped my _site folder into the ... or deploy manually box.
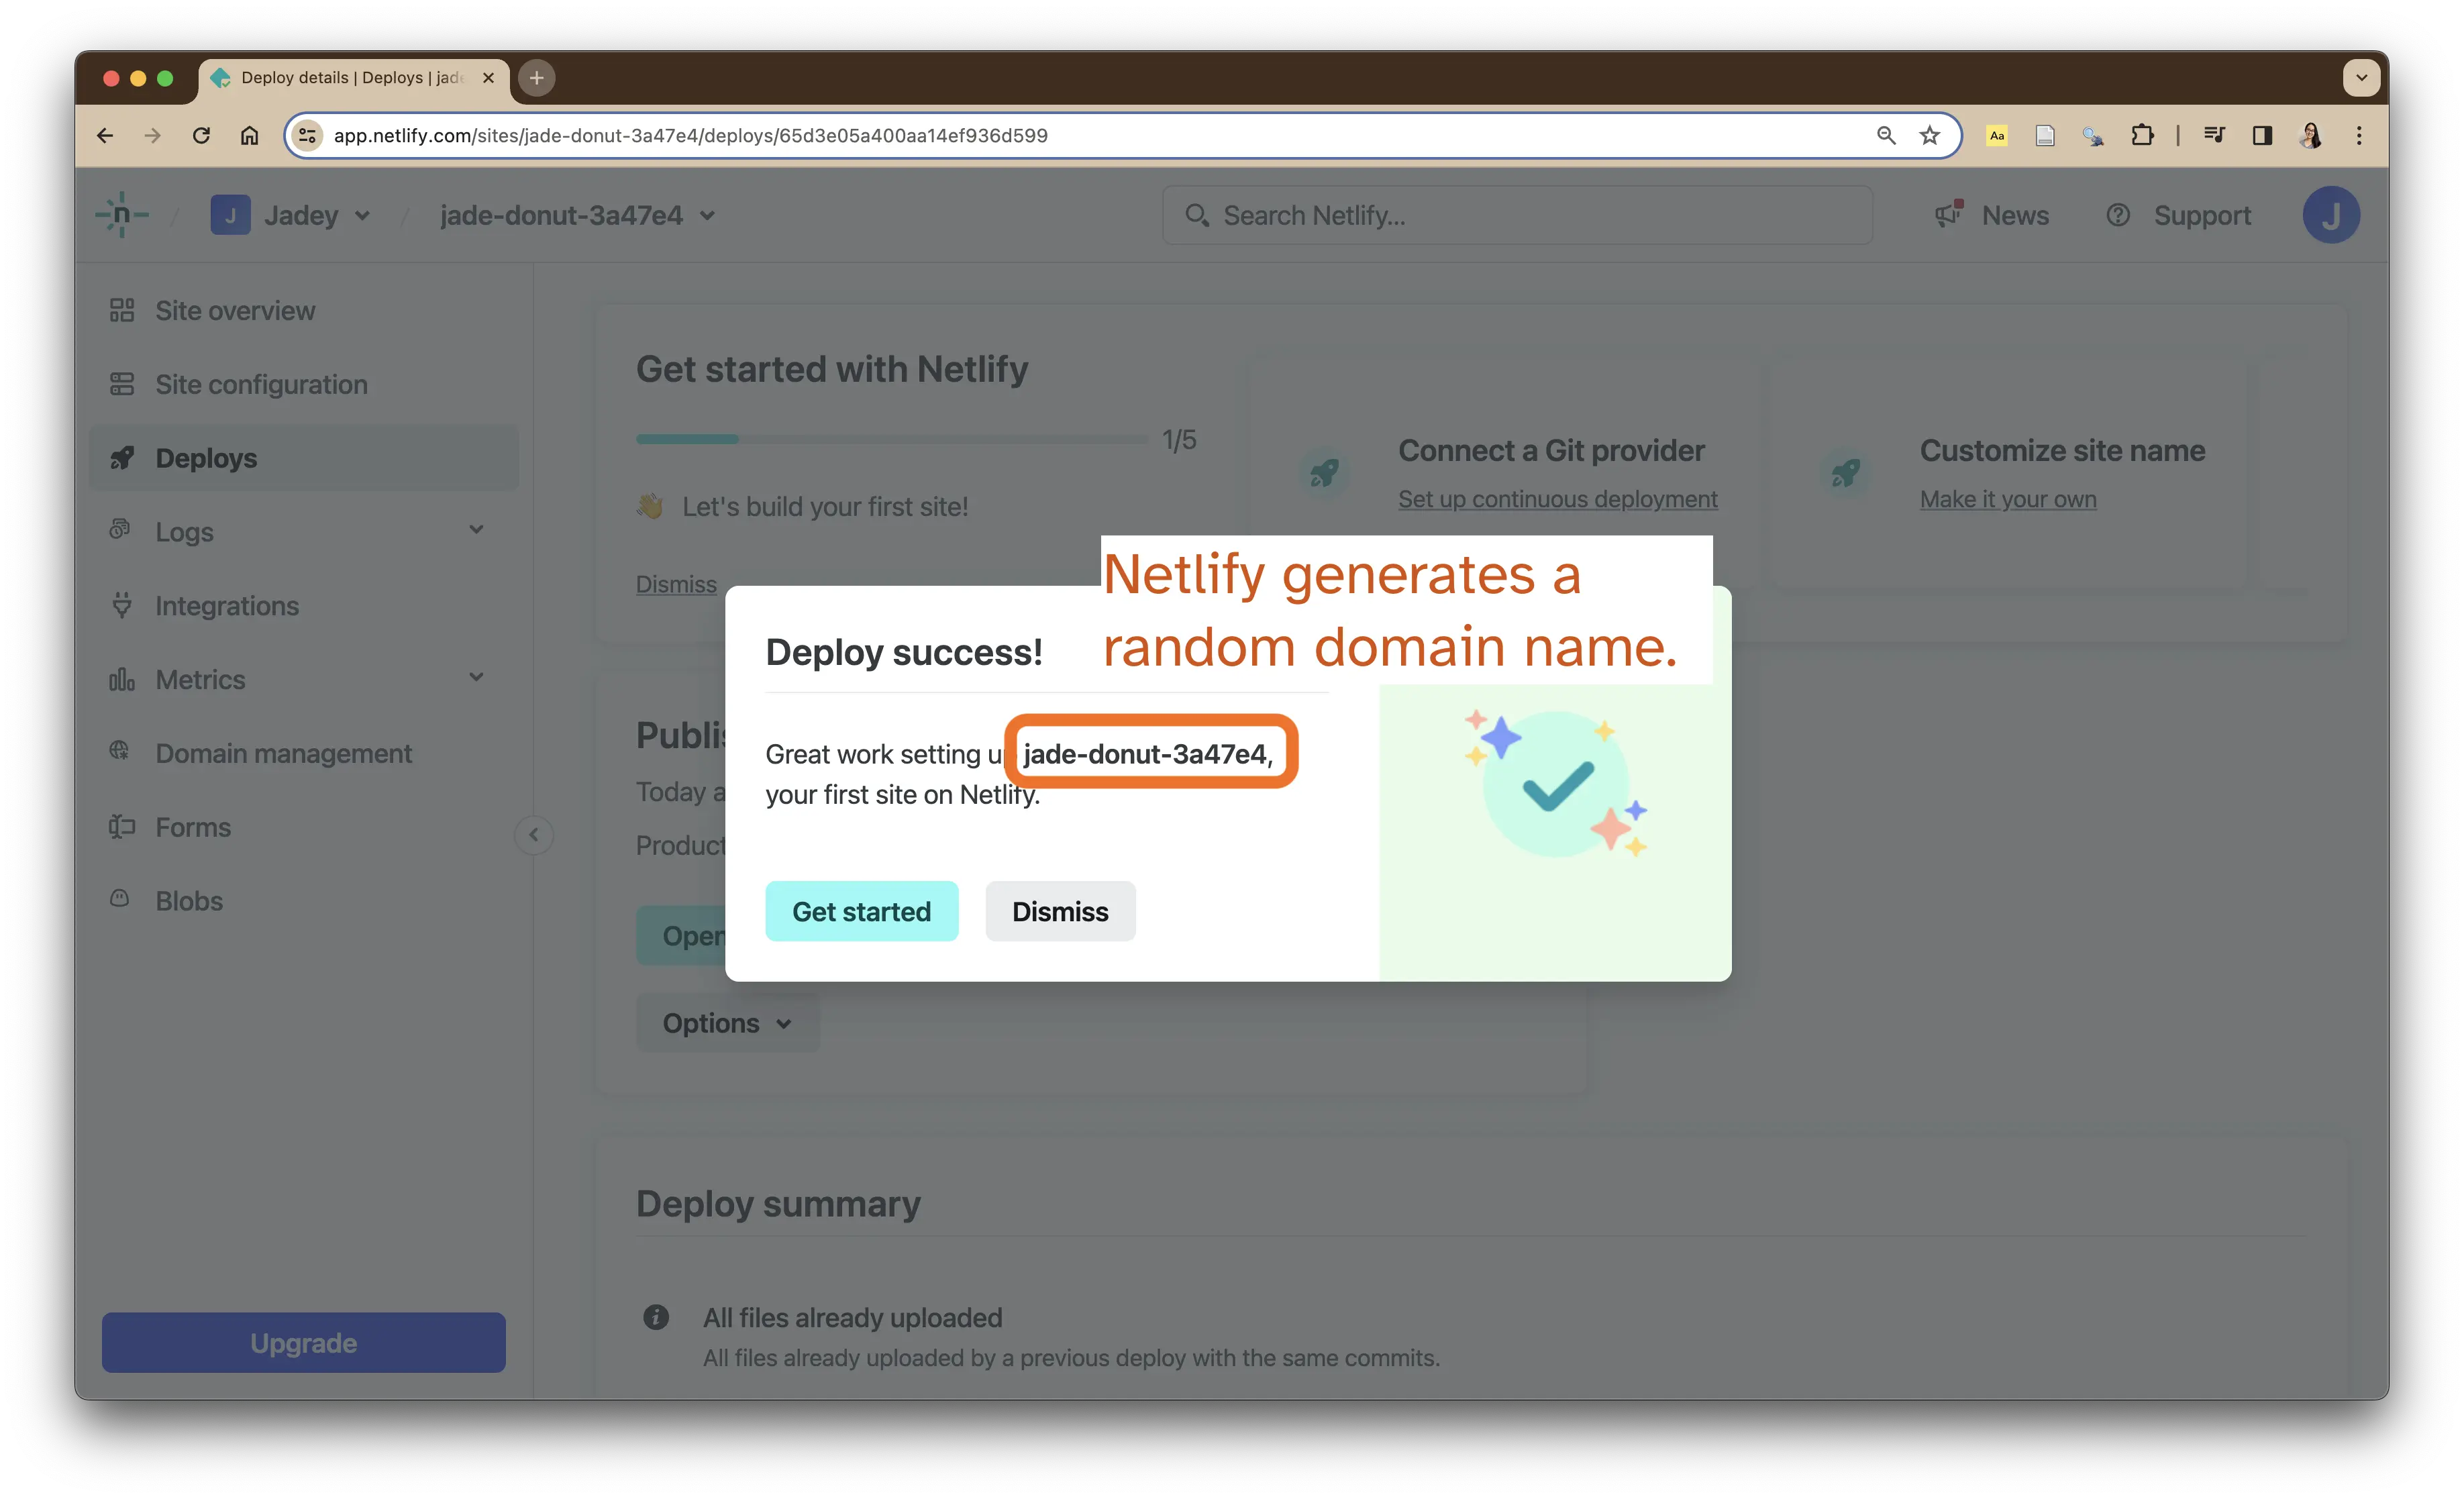
After the _site folder uploaded, a Deploy success! message displayed. Notice Netlify generated a random subdomain name2. I’ll change this in the next step.
I opened the Site Configuration tab, and opened the live website by clicking either the link (https://jade-donut-3a47e4.netlify.app/) or the preview thumbnail.
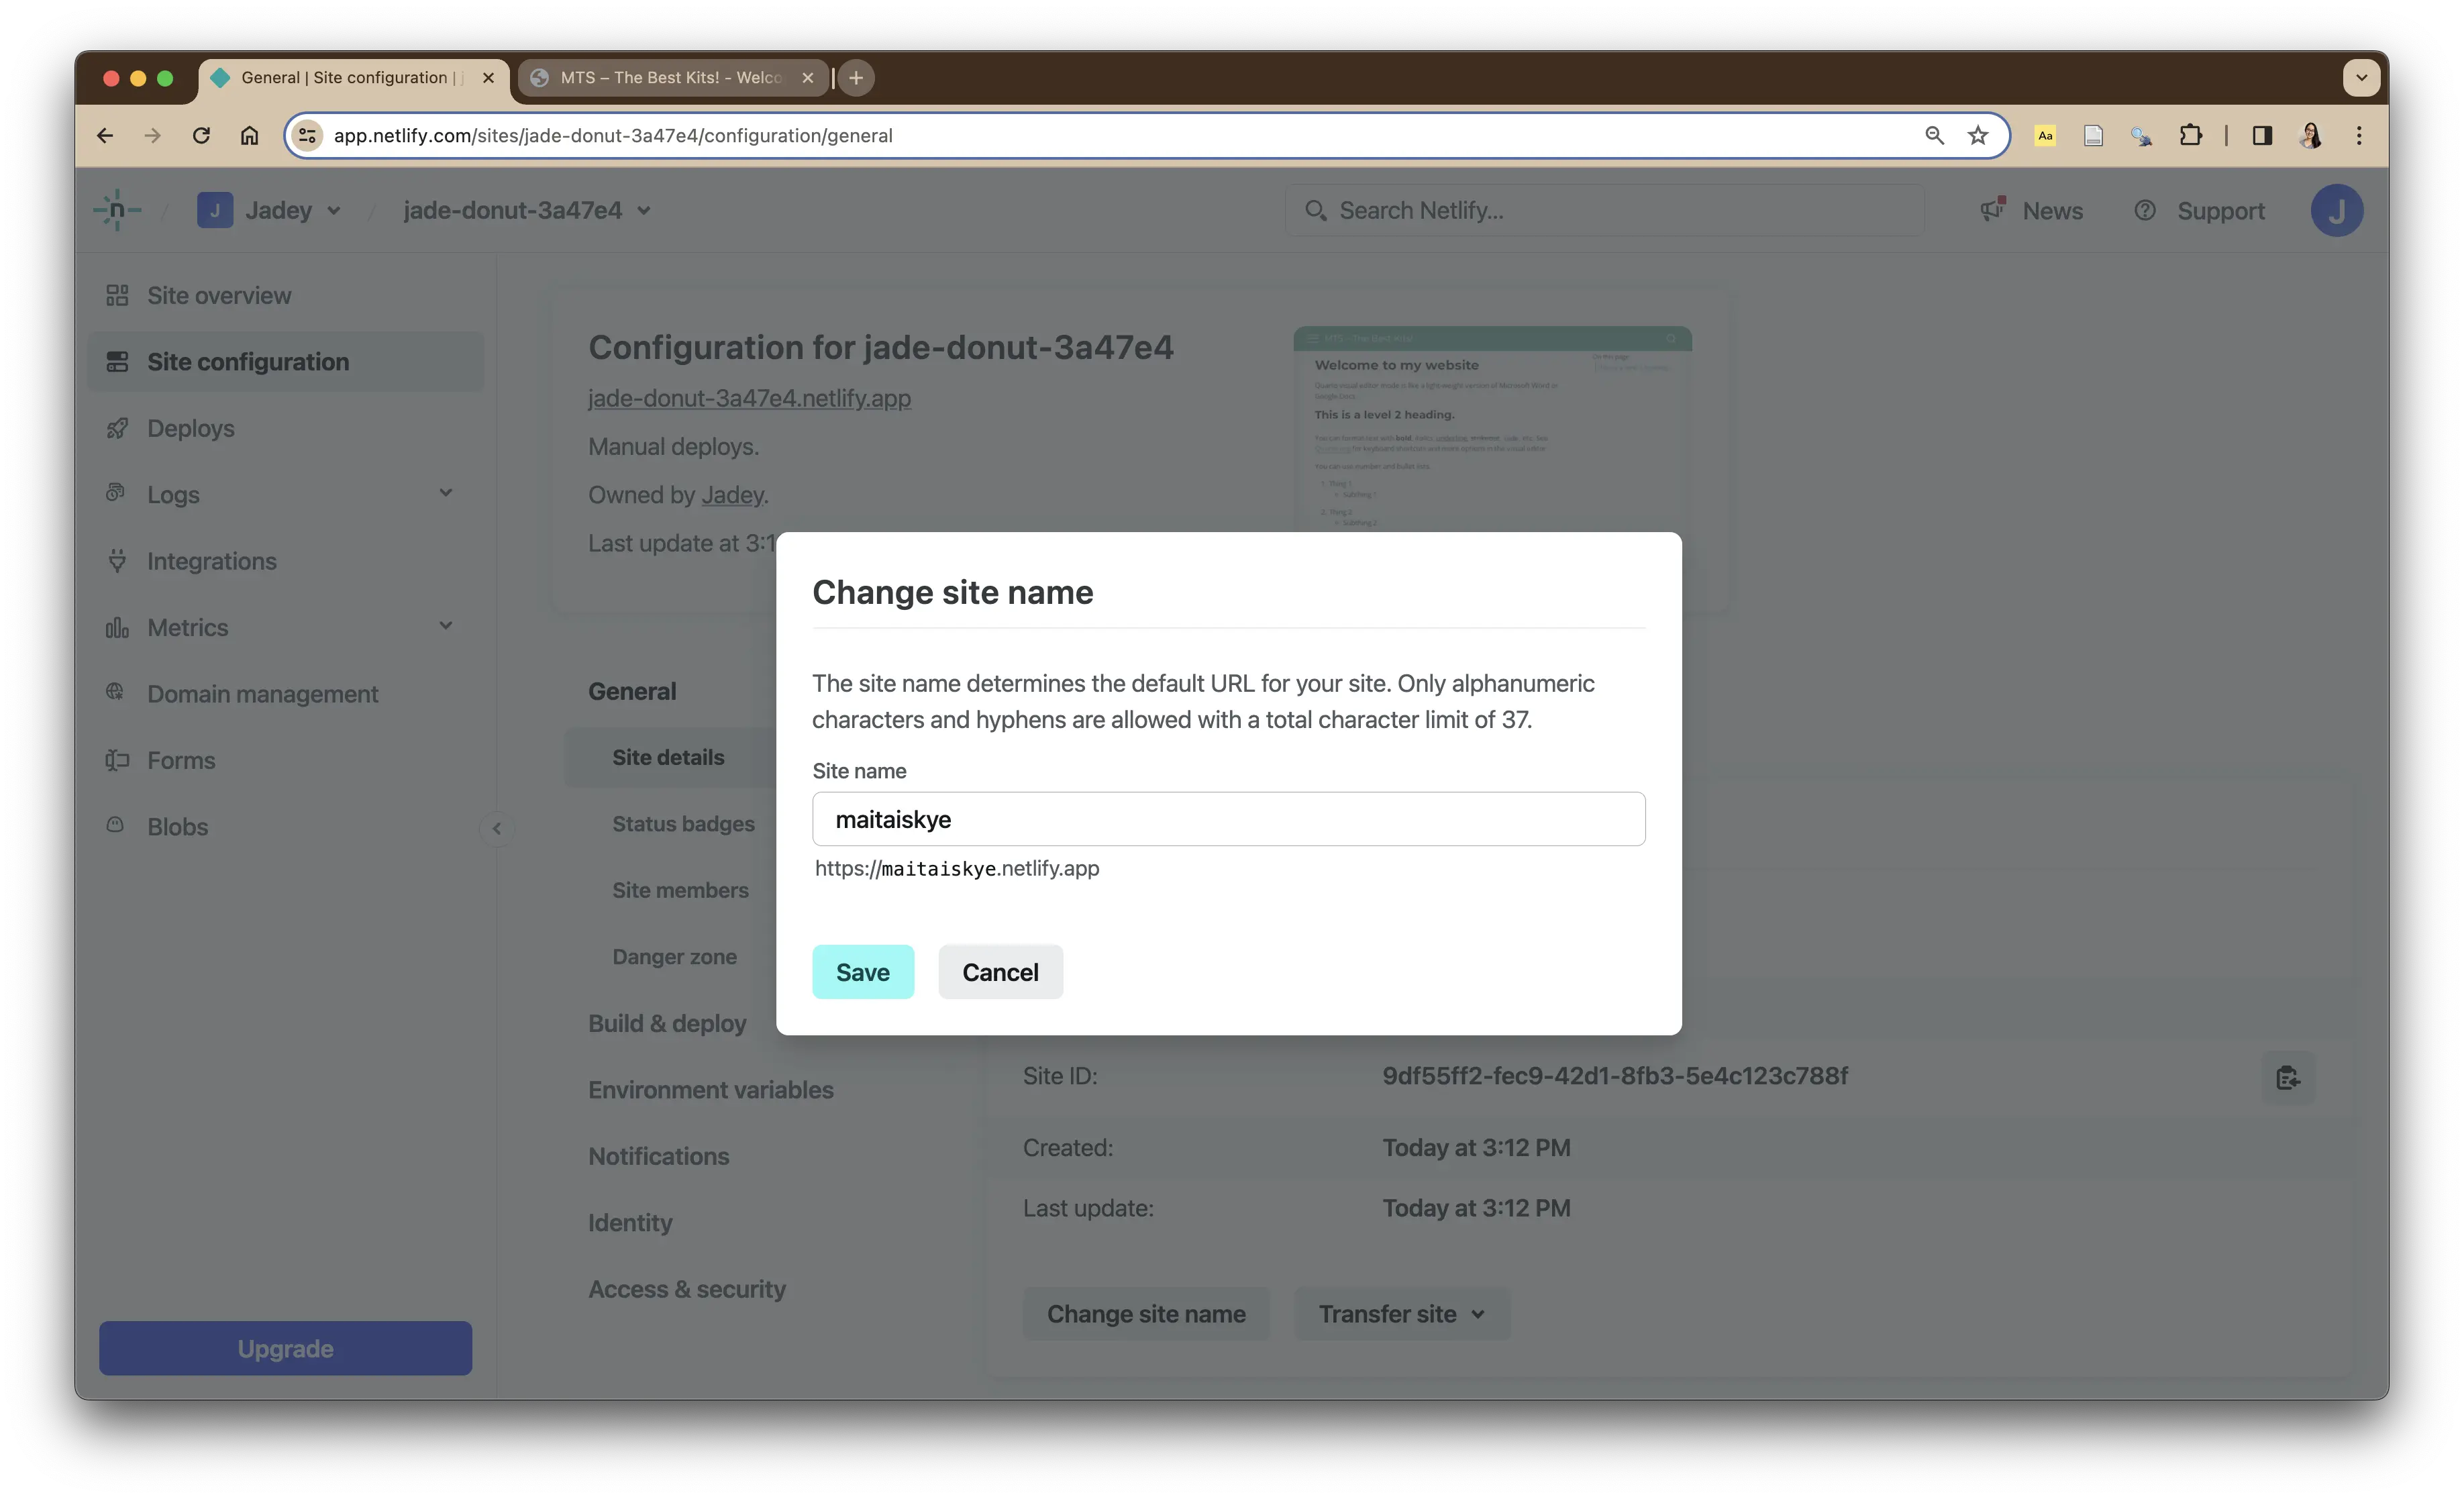
The auto-generated name is way too long and irrelevant to what my website is about. I renamed it by going to Site details and then Change site name.
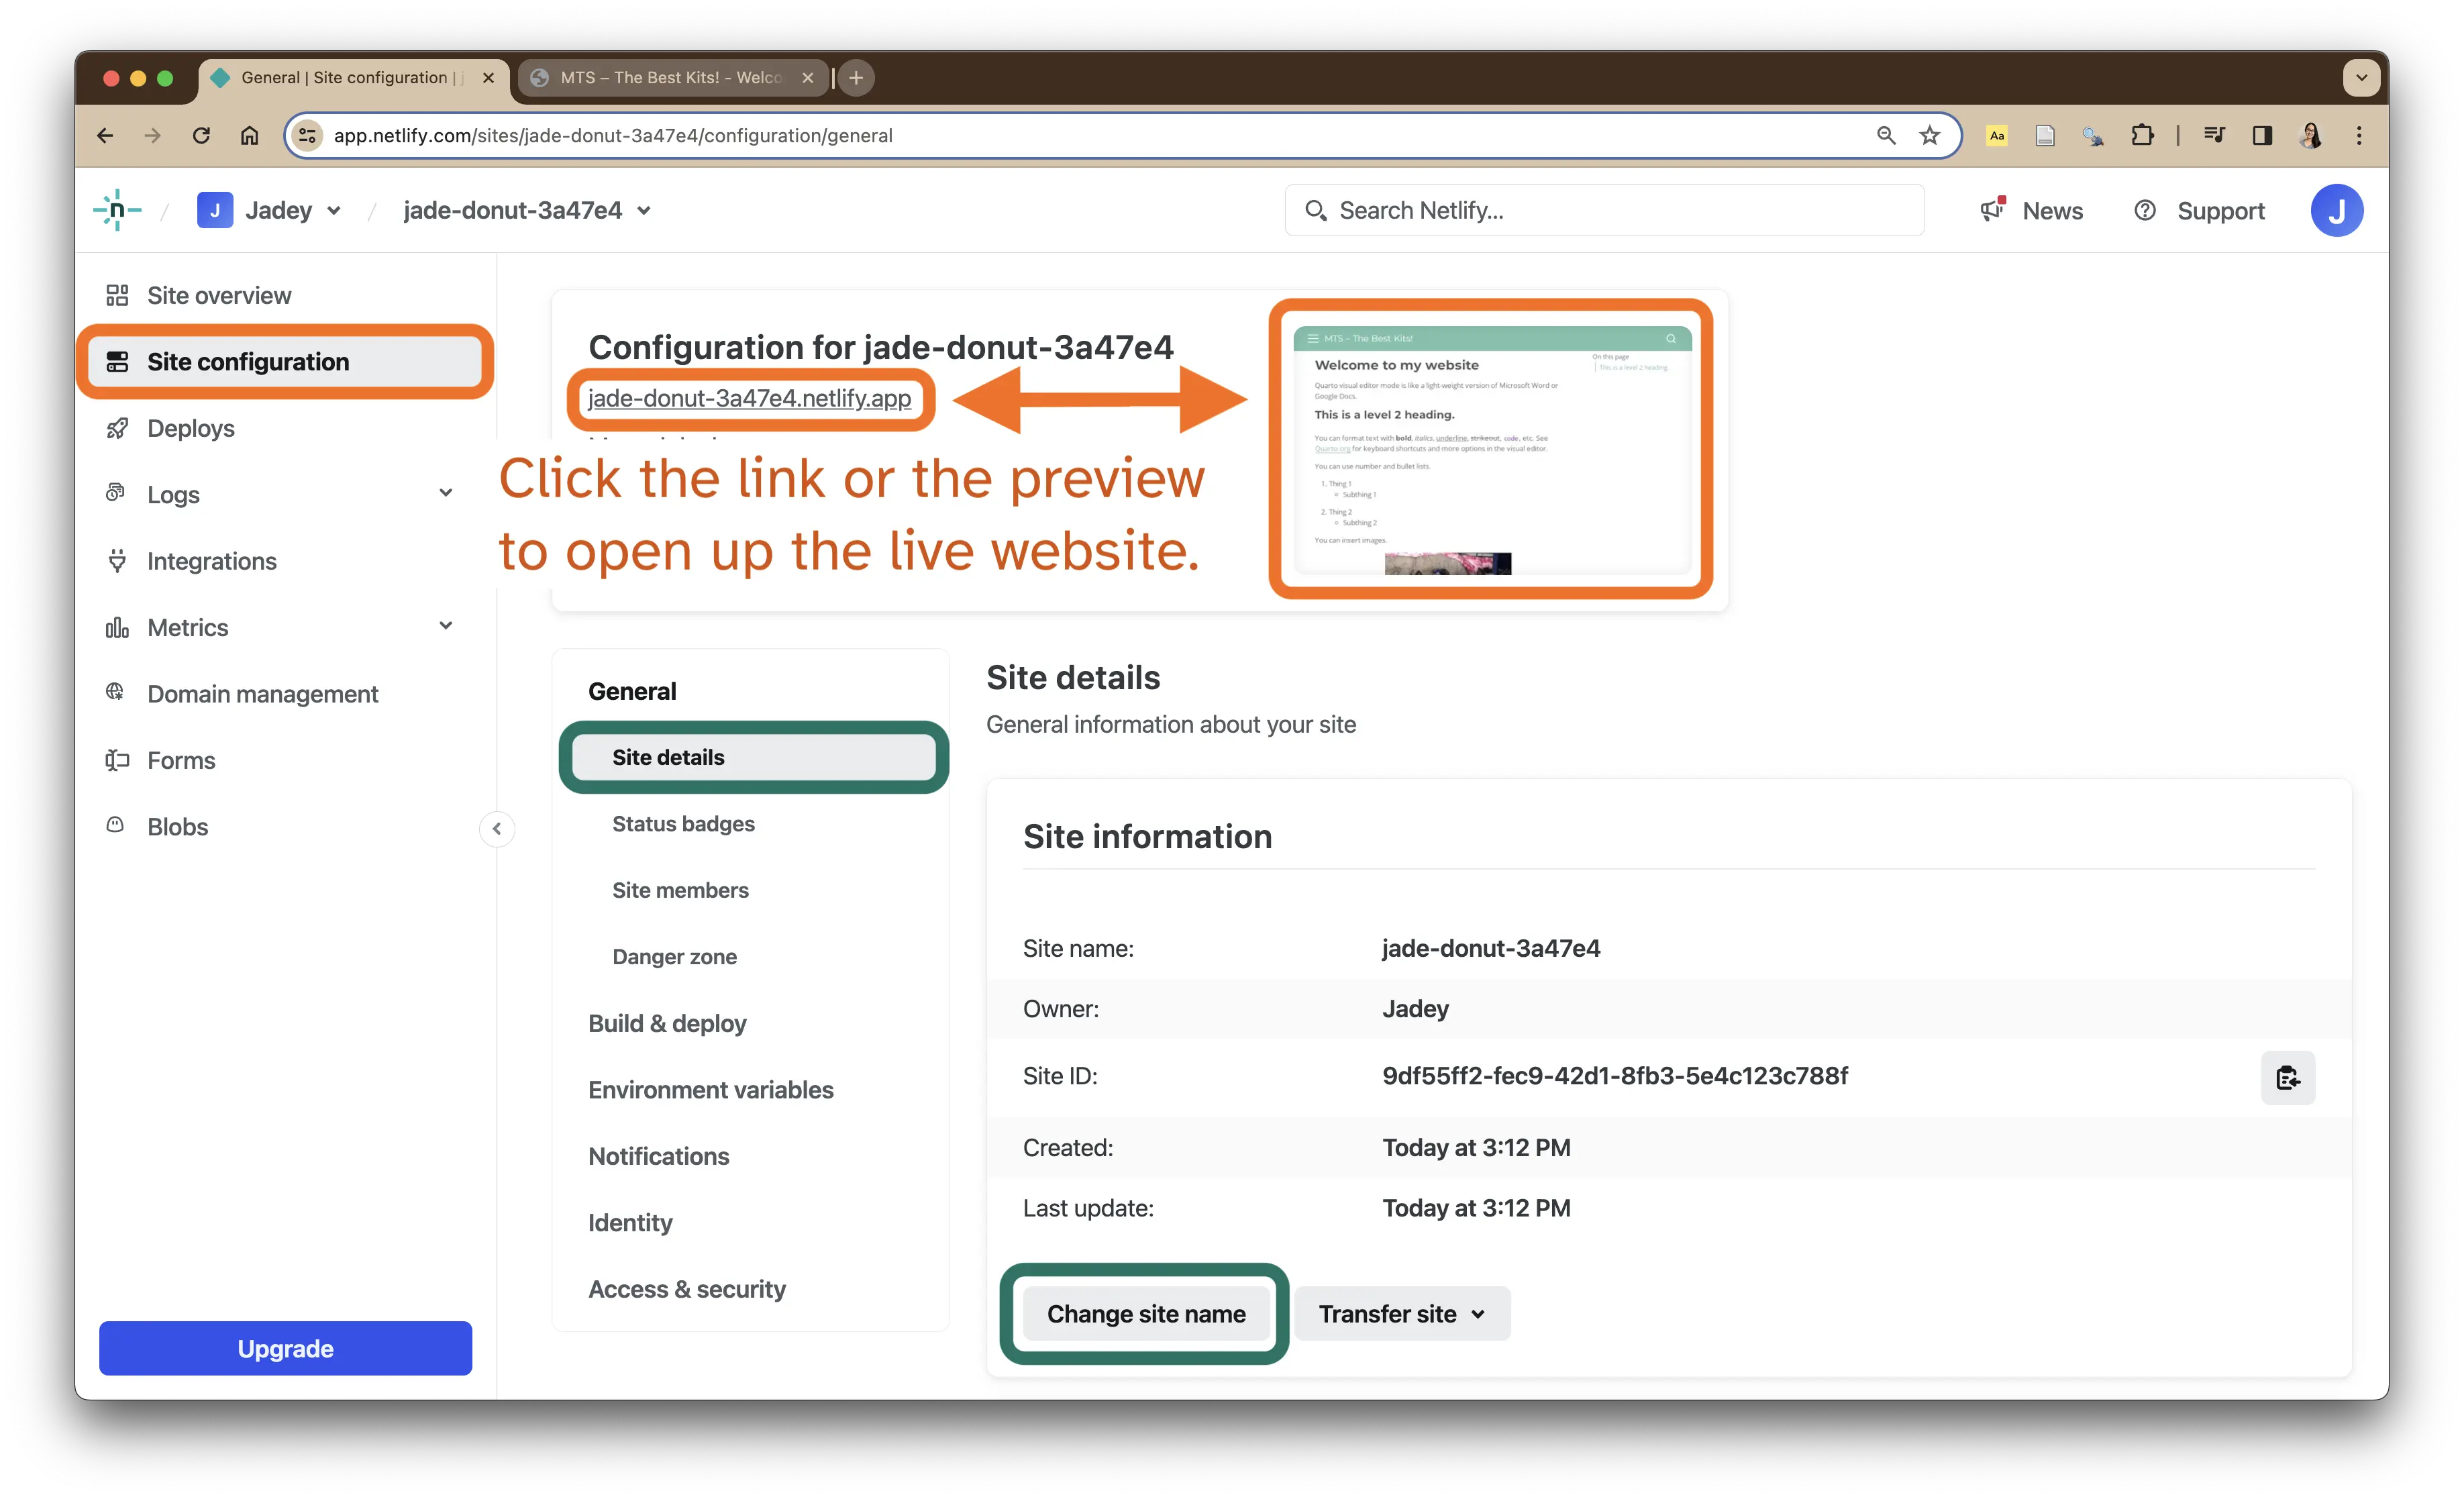
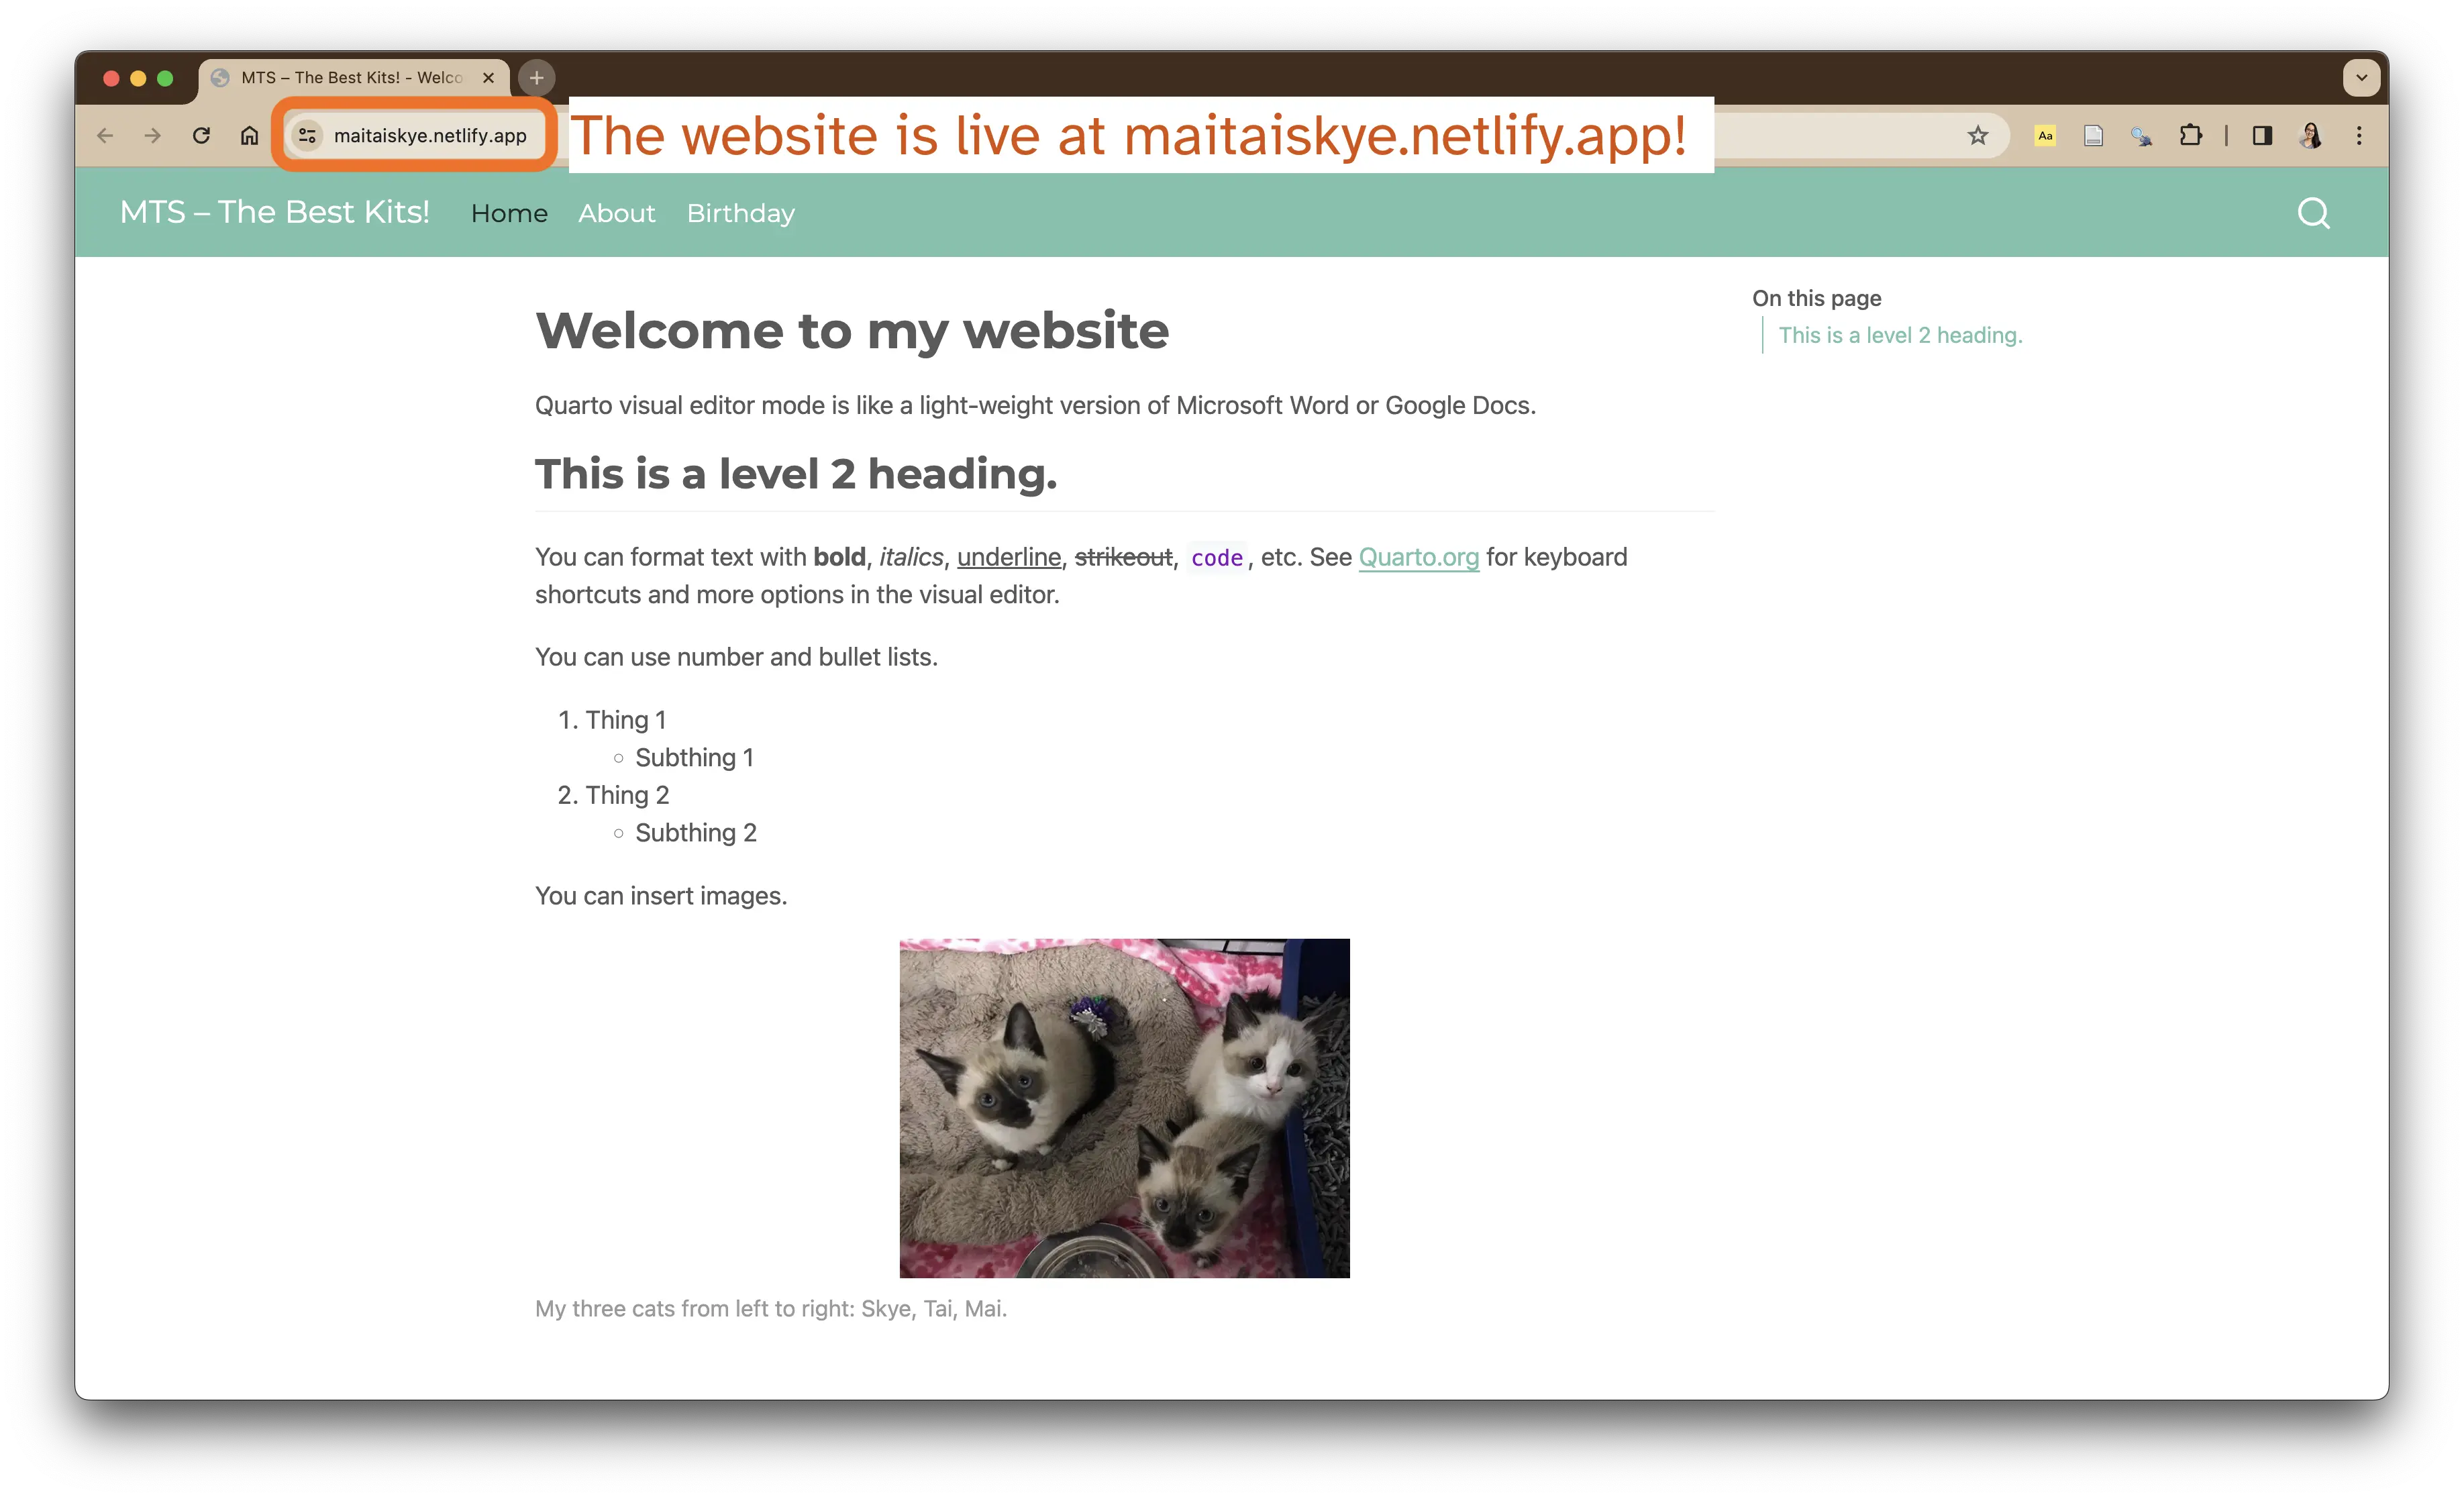
I changed the site name to maitaiskye so the URL for my website is https://maitaiskye.netlify.app/. The netlify.app part is not optional, unless you buy your own domain name.
Now we can see my website is live!
9.2 Your turn
- If you don’t yet have a Netlify account, sign up and log in.
- Go to the
Sitestab to access the drag & drop tool and upload your_sitefolder. - Open and check out your newly deployed site.
- Go to
Site configurationto change your site name. - Congratulations! Your website is live! 🎉
9.3 Buy your own URL
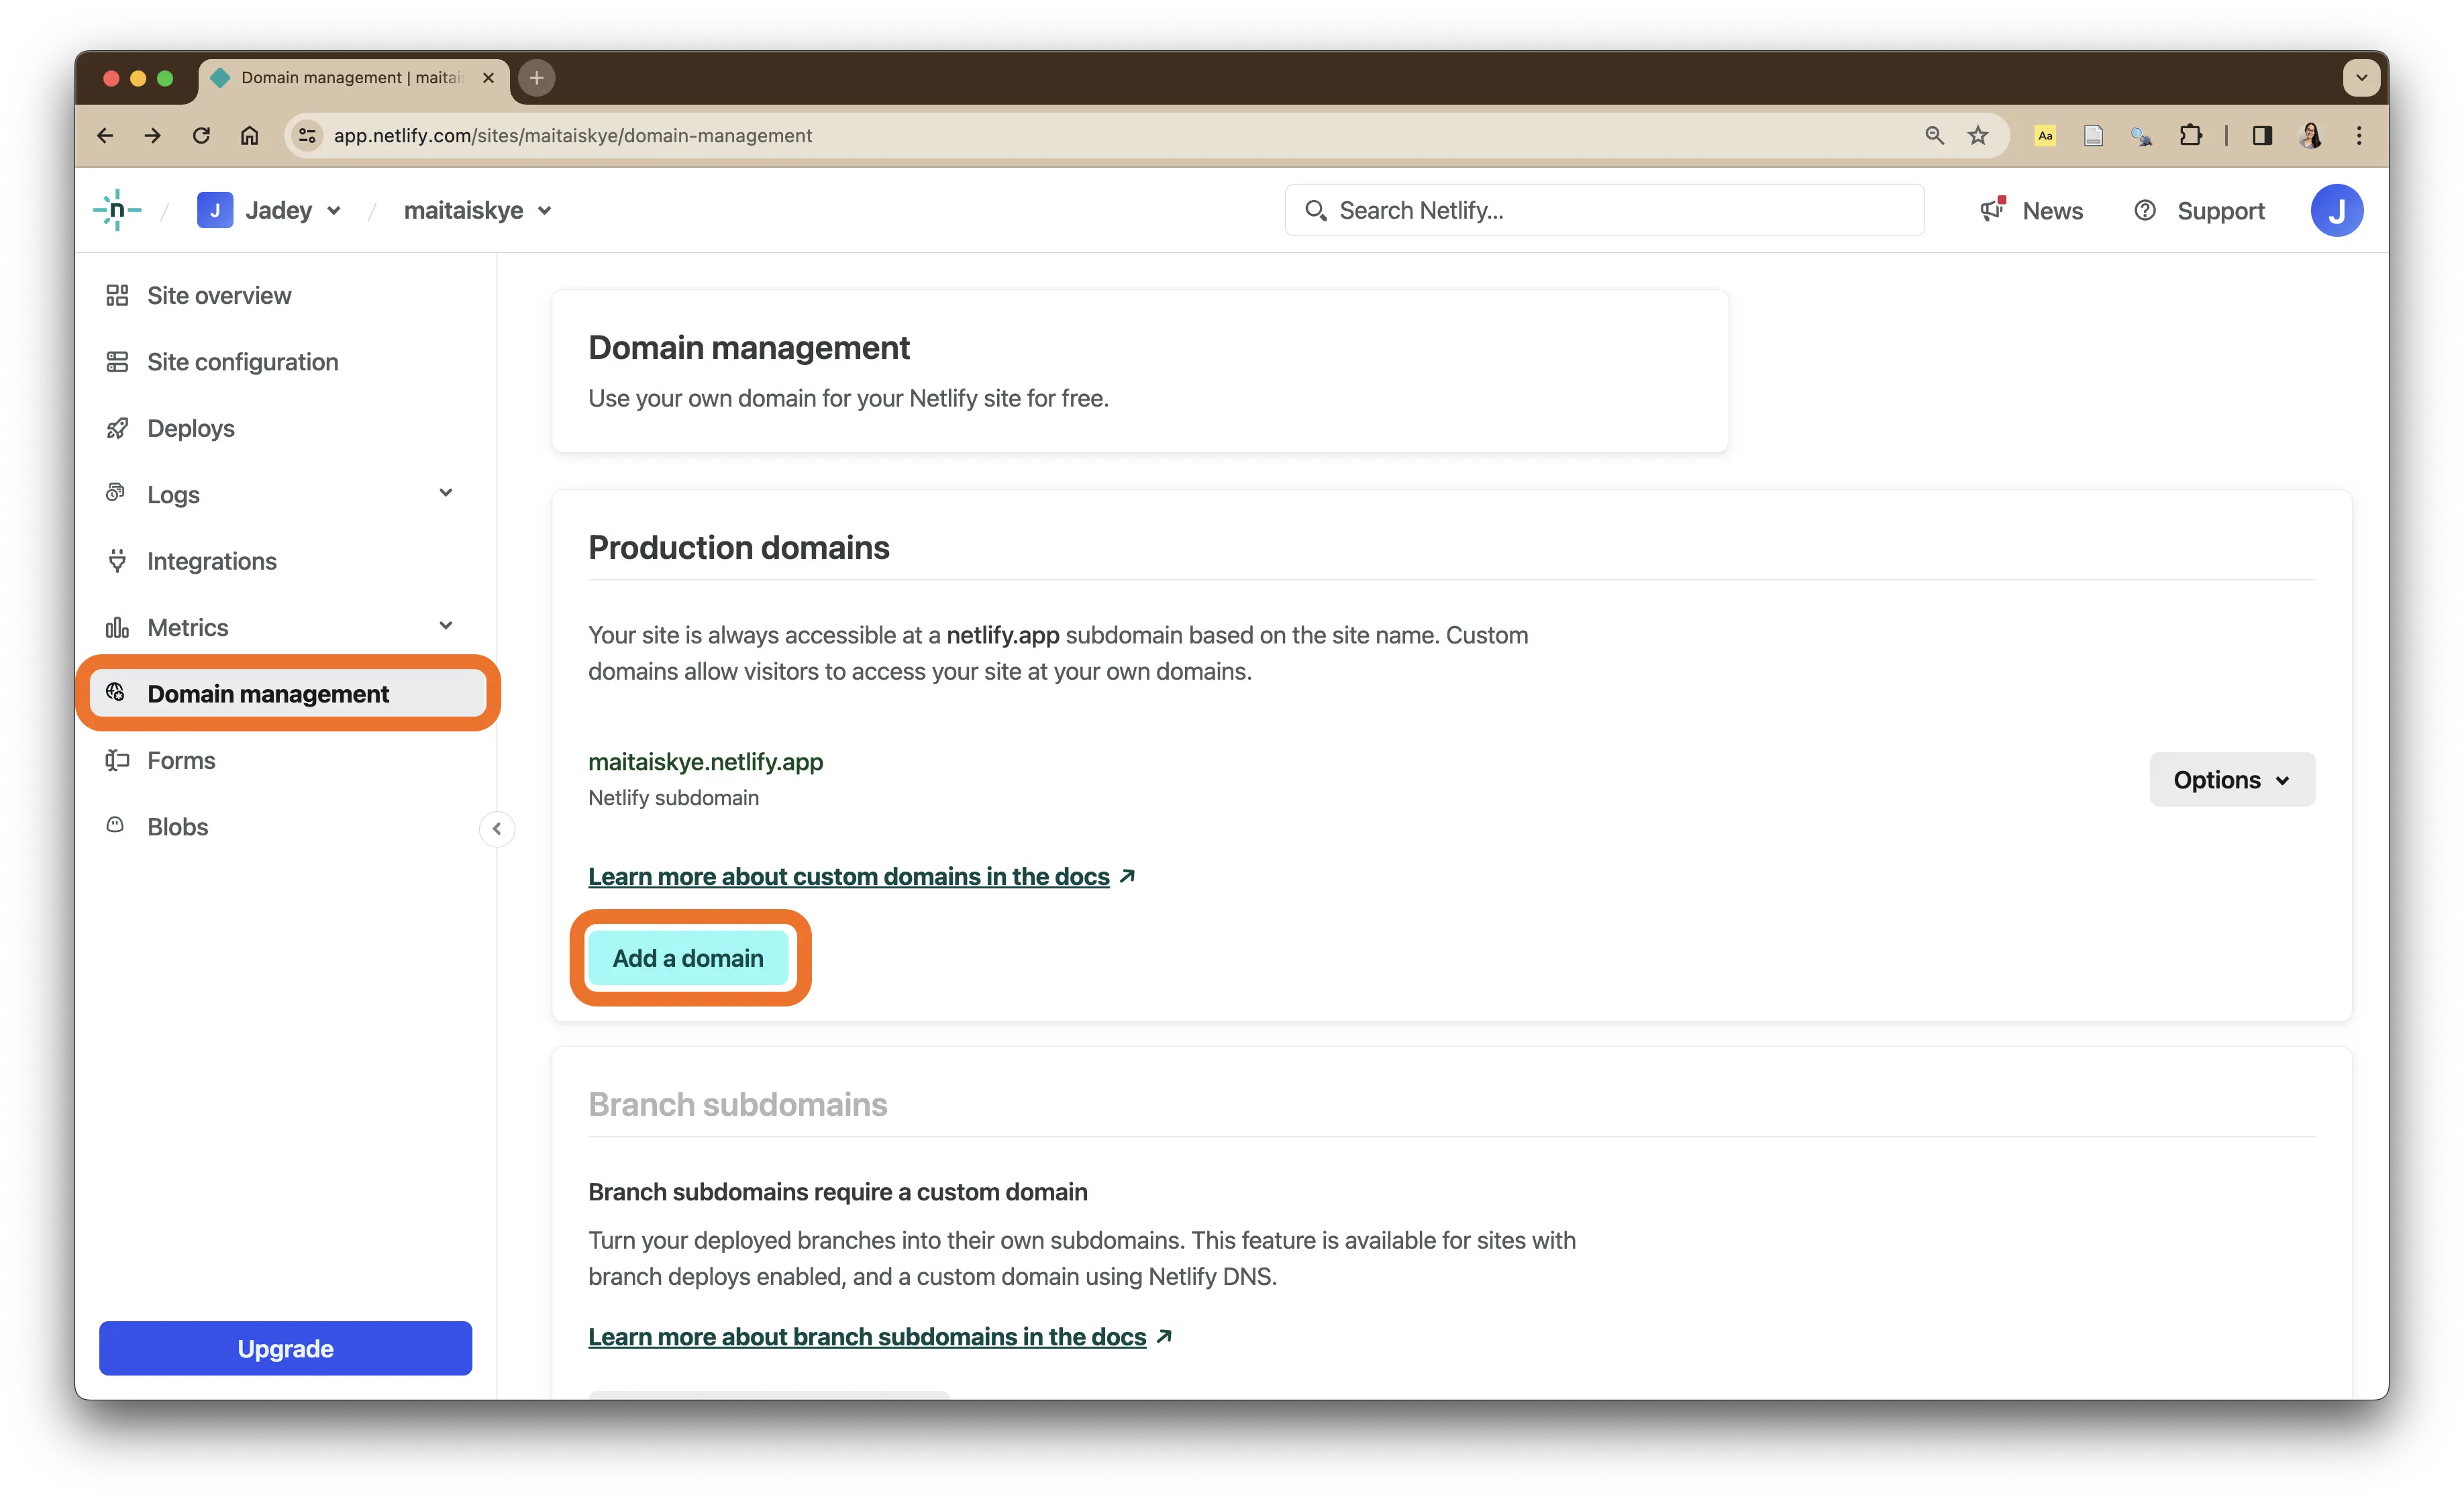
If you don’t want the netlify.app suffixed to your site name, you’ll need to purchase your own domain. Instead of Site configuration, go to Domain management, and then click Add a domain.
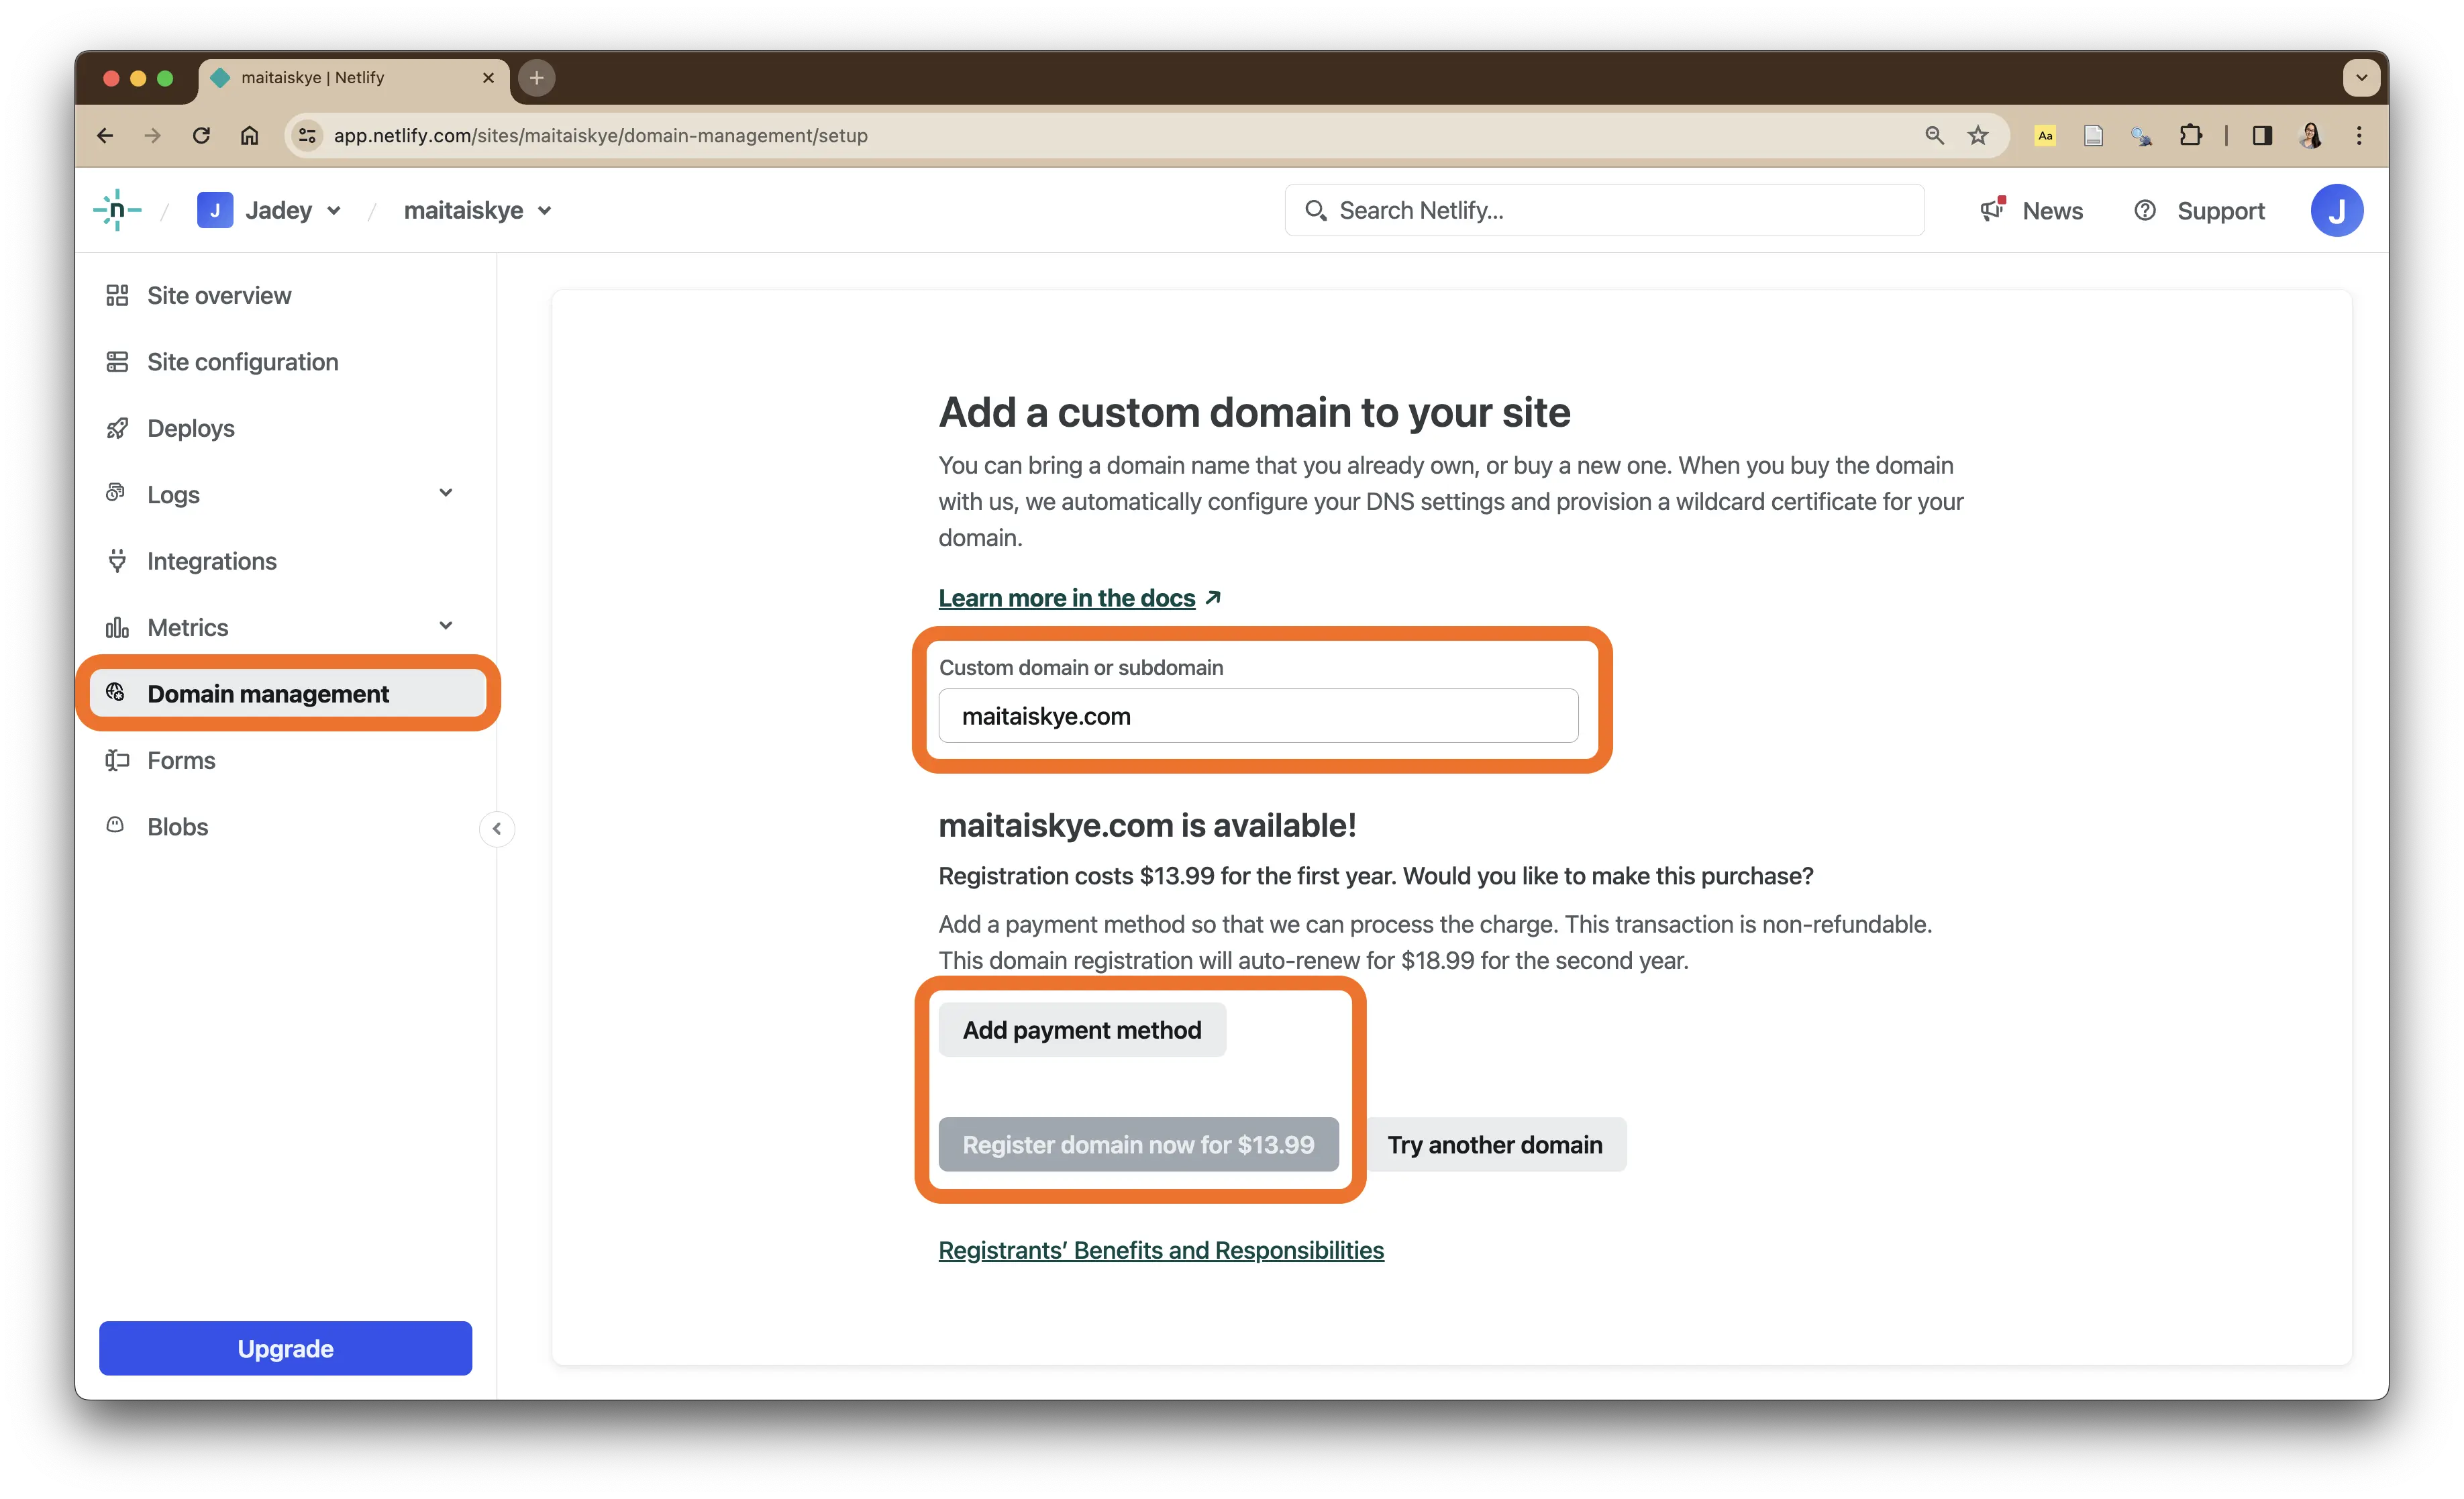
Enter whatever custom domain you want. There are a bajillion different extensions – domain.com lists them alphabetically and has a helpful FAQ about domain extensions. maitaiskye.com is available for $13.99 for the first year.
10 Update your website
When you make updates to your website, be sure to Render Website under the Build pane of RStudio to update the entire _site folder.
Log in to Netlify, click on your site, open the Deploys tab, and upload the _site folder.
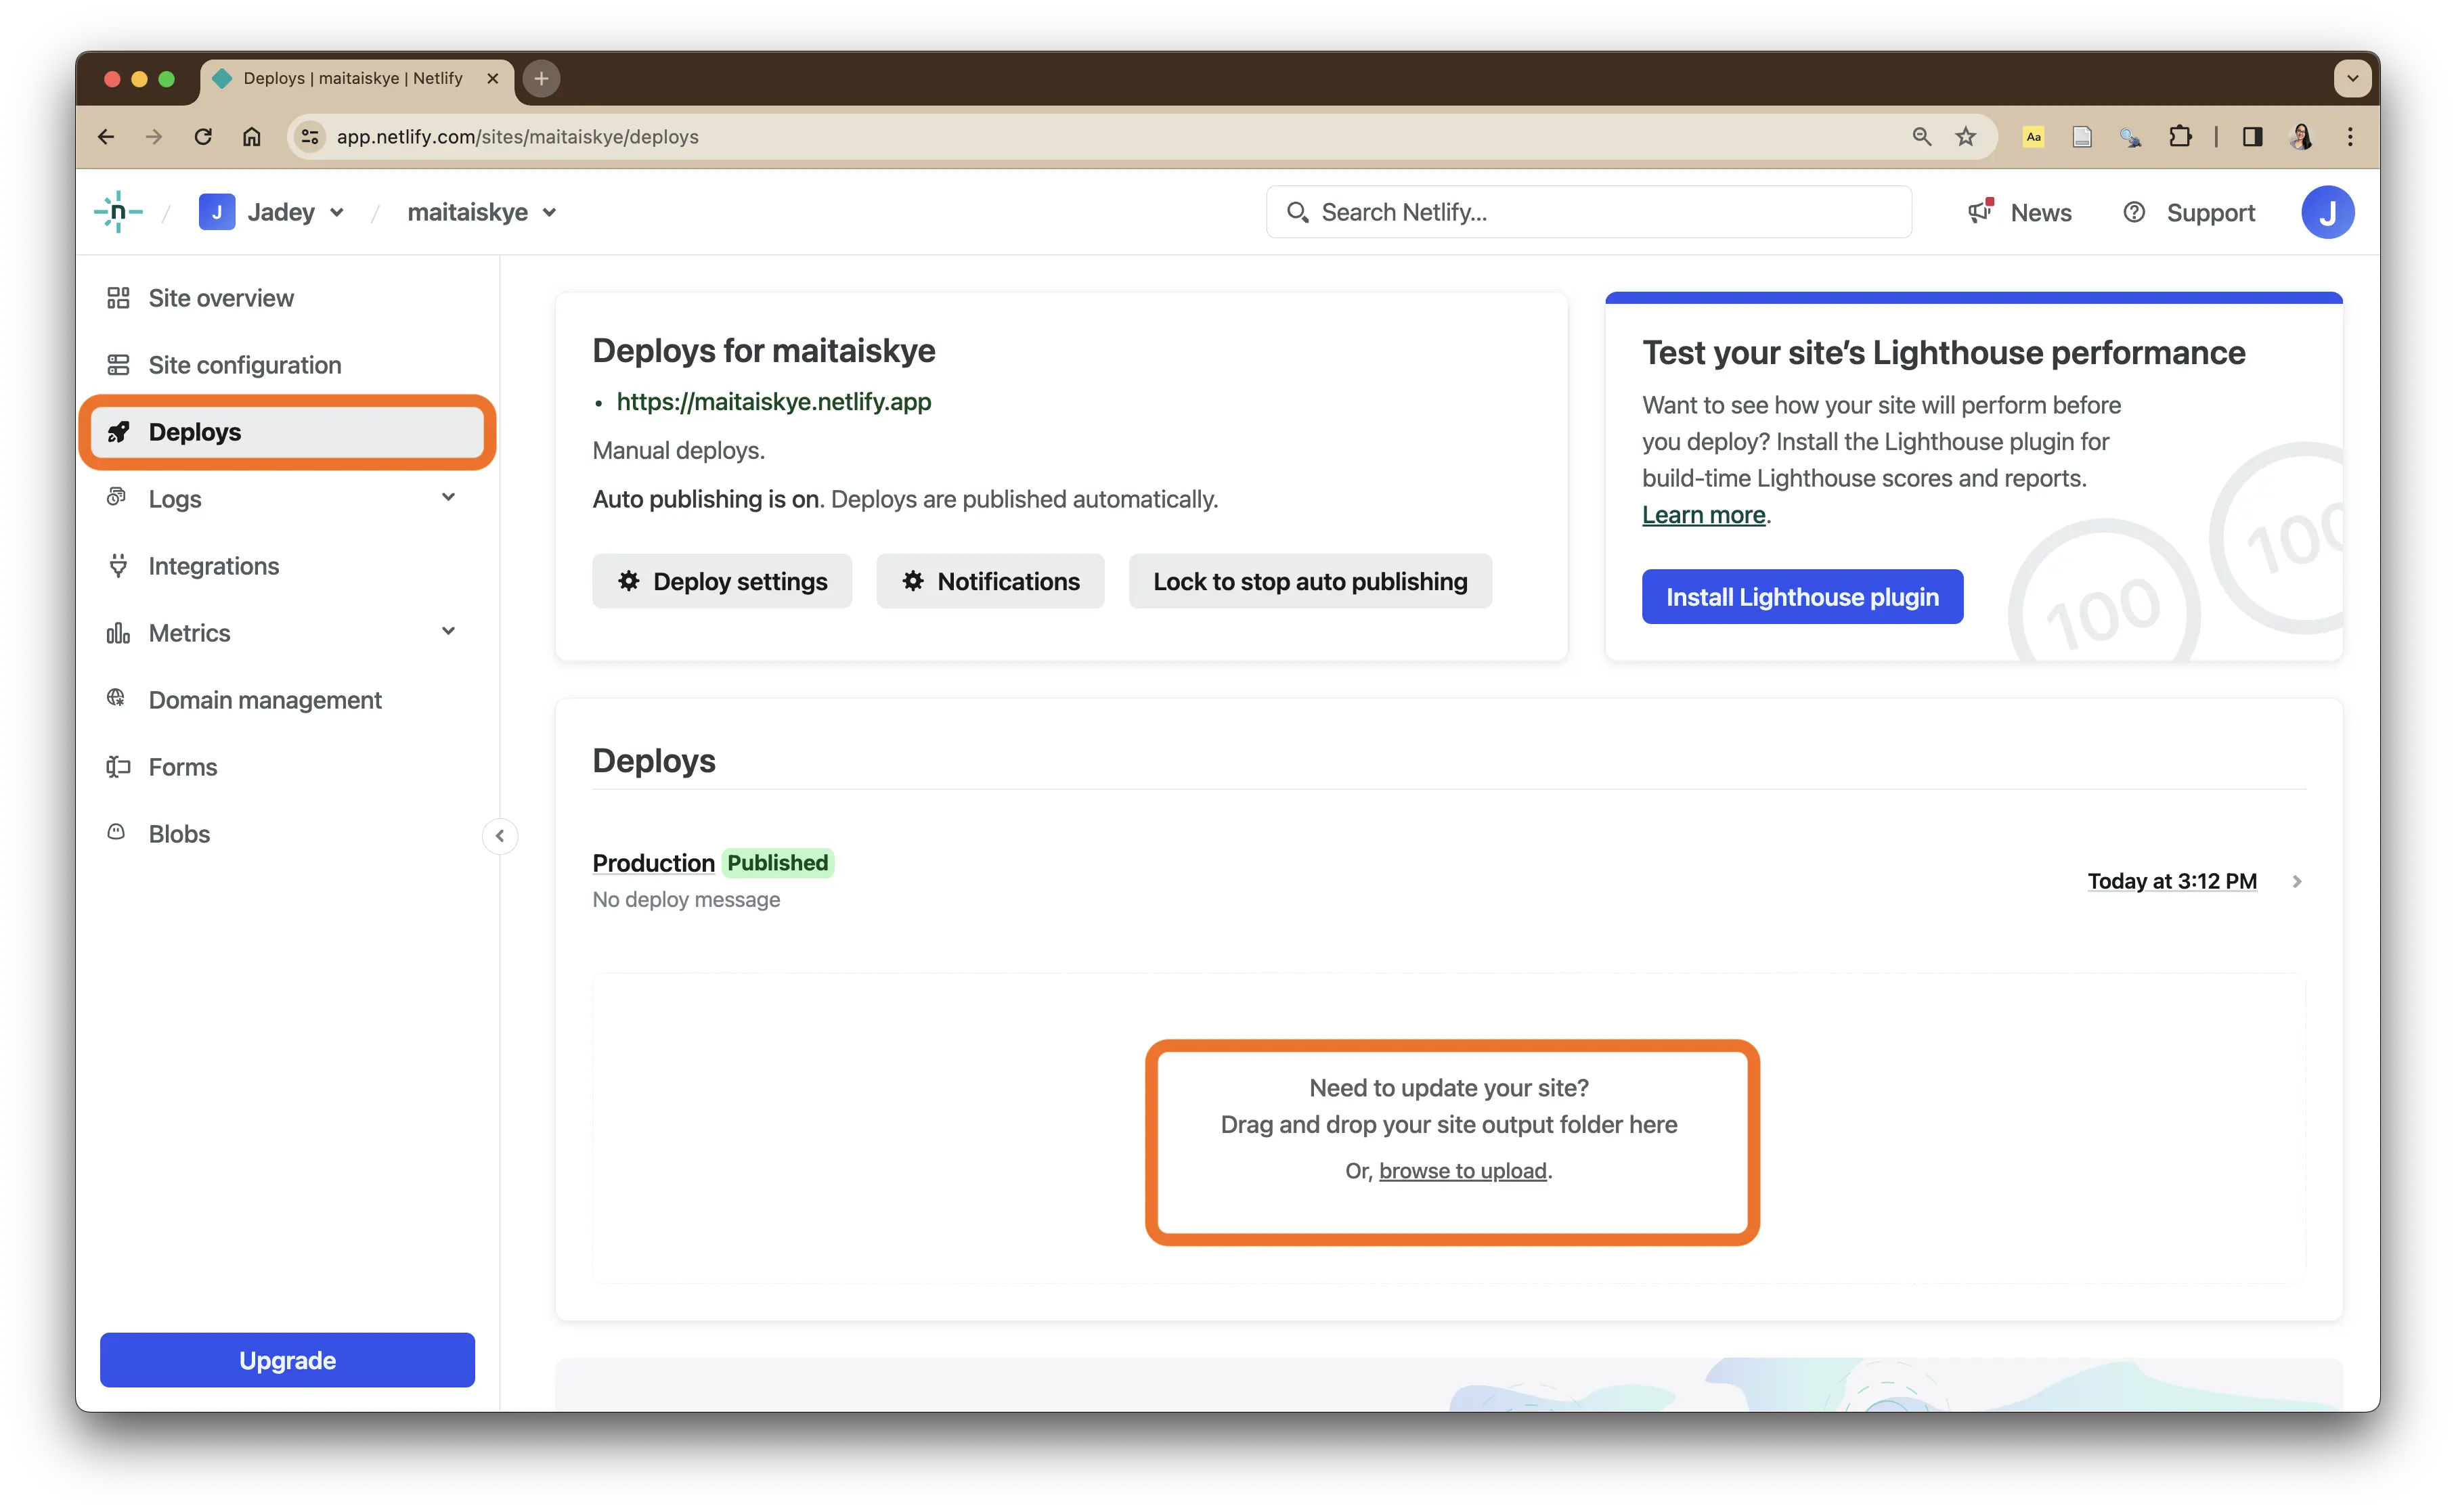
Once it says Published, go check out your changes!
Resources
When you’re ready for more advanced customization, check out these resources.
Wrap up
Building a website doesn’t have to be daunting, even if you have no technical background. With Quarto and Netlify, you can create and deploy a simple website with minimal pain. Start building your website today and share your creations with the world! Don’t forget to share your website in the comments below – I can’t wait to see what you create!
If you need additional assistance or prefer to have your website created for you, I’m available for consulting services or can handle the entire website creation process. Feel free to reach out for personalized assistance tailored to your needs!
Thank you Andreas Handel for the feedback on the first draft of this tutorial, and for the idea to create this beginner’s guide!
Footnotes
Generally, it’s good practice to not include special characters or spaces in the folder or file names. For example, if you want to name your website “My Website!!!”, name the folder “my-website”. Later, we will change how the website name displays in our configuration files.↩︎
This subdomain name is what comes before the
netlify.appdomain for the free tier of Netlify. I changed mine tomaitaiskye, so the URL ismaitaiskye.netlify.app.↩︎
Citation
@online{ryan2024,
  author = {Ryan, Jadey},
  title = {A Beginner’s Guide to Building a Simple Website with {Quarto}
    \& {Netlify}},
  date = {2024-02-19},
  url = {https://jadeyryan.com/blog/2024-02-19_beginner-quarto-netlify/},
  langid = {en}
}